Example "Creating and moving a Planar mover with External Setpoint Generation"
Using this short guide you will create a TwinCAT project that contains a Planar mover and moves it in a simple way by means of external setpoint generation.
Creating a Planar mover
- See Configuration.
- 1. Create a Planar mover.
- 2. Put "Parameter (Init)" into simulation mode (
TRUE). The parameter is hidden and only becomes visible if the "Show Hidden Parameters" checkbox is activated.
Creating a PLC
- See preliminary steps Creating a PLC.
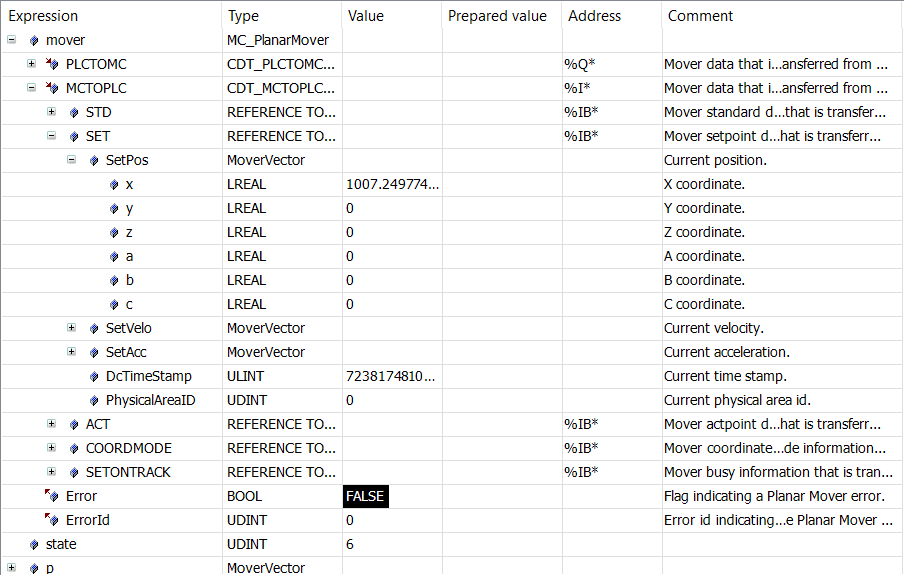
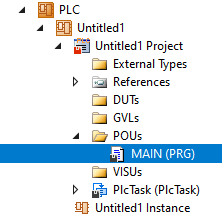
- 1. Use MAIN to create the mover(s) ("MC_PlanarMover") as follows.
- This/these represent(s) the mover(s) in the MC Configuration.
- 2. Create a Planar mover, a state variable for a state machine and variables for the external setpoint, as shown below.
PROGRAM MAIN
VAR
    mover : MC_PlanarMover;
    state : UDINT;
    p,v,a : MoverVector;
    deltat : LREAL := 0.01;
    jerk  : LREAL := 1.0;
    velo, acc, jerk : LREAL;
END_VAR- 3. Then program a sequence in MAIN.
- This program code activates the mover and starts the external setpoint generation. A profile is then followed that ends with a positive velocity. The subsequent stopping of the external setpoint generation ensures that the mover reduces its velocity to zero and is in the FreeMovement state after stopping (this is done with the maximum dynamics of the mover).
CASE state OF
  0:
    mover.Enable(0);
    state := 1;
  1:
    IF mover.MCTOPLC.STD.State = MC_PLANAR_STATE.Enabled THEN
      state := 2;
    END_IF
  2:
    p.x := 0.0; v.x := 0.0; a.x := 0.0;
    mover.StartExternalSetpointGeneration(0,0);
    mover.SetExternalSetpoint(p,v,a);
    state := 3;
  3:
    velo := v.x;
    acc := a.x;
    p.x := p.x + deltat * velo + deltat * deltat / 2 * acc + deltat * deltat * deltat / 6 * jerk;
    v.x := v.x + deltat * acc + deltat * deltat / 2 * jerk;
    a.x := a.x + deltat * jerk;
    mover.SetExternalSetpoint(p,v,a);
    IF a.x >= 10.0 THEN
      jerk := -1;
    END_IF;
    IF a.x <= 0.0 THEN
      state := 4;
    END_IF;
  4:
    mover.StopExternalSetpointGeneration(0);
    state := 5;
END_CASE
Sending the command
- 4. To send the commands you need to trigger the update method of the mover after the END_CASE:
mover.Update();When creating the PLC, a symbol of the "PLC Mover" is created, which can then be linked to the mover instance in the MC project.
- 1. To build, use the path PLC > Untitled1 > Untitled1 Project > Build.
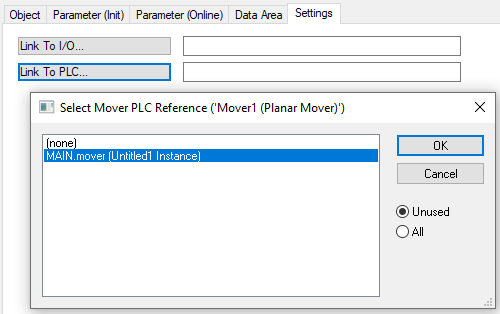
- Subsequently, the Planar mover in the "MC Project" (double-click) can be linked with the Link To PLC... button on the Settings tab.

Activating and starting the project
- 1. Activate the configuration via the button in the menu bar
 .
. - 2. Set the TwinCAT system to the "Run" state via the button
 .
. - 3. Log in the PLC via the button in the menu bar
 .
. - 4. Start the PLC via the Play button in the menu bar.
At the end of the state machine (state = 6), the mover is in the desired positive x-position.