Example: "Creating and moving Planar movers with track and group"
Using this guide you will create a TwinCAT project that includes two Planar movers, a Planar track and a Planar group, and moves the movers both on and alongside the track.
Creating a Planar mover
- See Configuration.
- 1. Create two Planar movers.
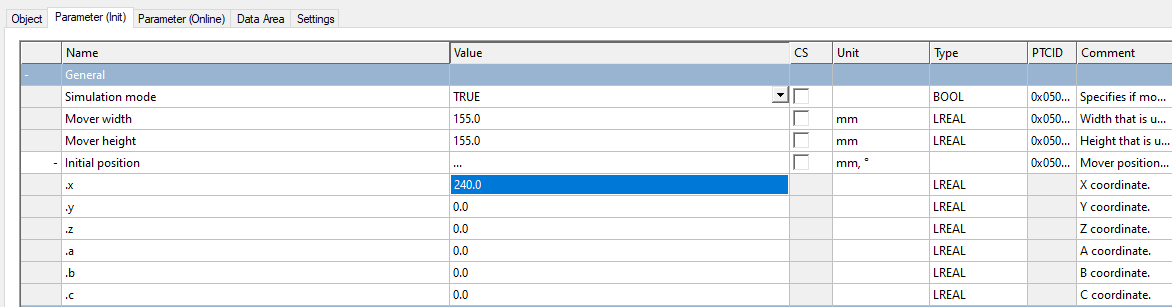
- 2. Put “Parameter (Init)” into simulation mode (
TRUE). The parameter is hidden and only becomes visible if the “Show Hidden Parameters” checkbox is activated. - 3. Change the start position of the second mover to x = 240.
Creating a Planar track and Planar group
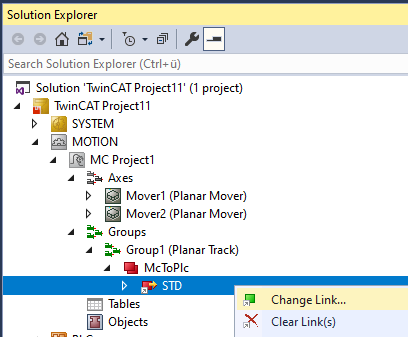
- 4. Add the Planar track via Groups > Add New Item…, see Configuration.
- 5. Proceed in the same way for the Planar group.
Creating a PLC
- To control the movers, the track and the group, a PLC must be created from which the user can issue commands to the mover, see Creating a PLC.
- 6. Create two movers (MC_PlanarMovers), an MC_PlanarTrack and an MC_PlanarGroup via MAIN.
- These represent the movers, the track and the group in the MC Configuration.
- 7. Create a state variable for a state machine and two auxiliary positions for the track, as shown below.
- 8. Also create a feedback, see Planar Feedback.
- The feedback can be associated with any commands. It provides detailed information about the command execution and the execution time.
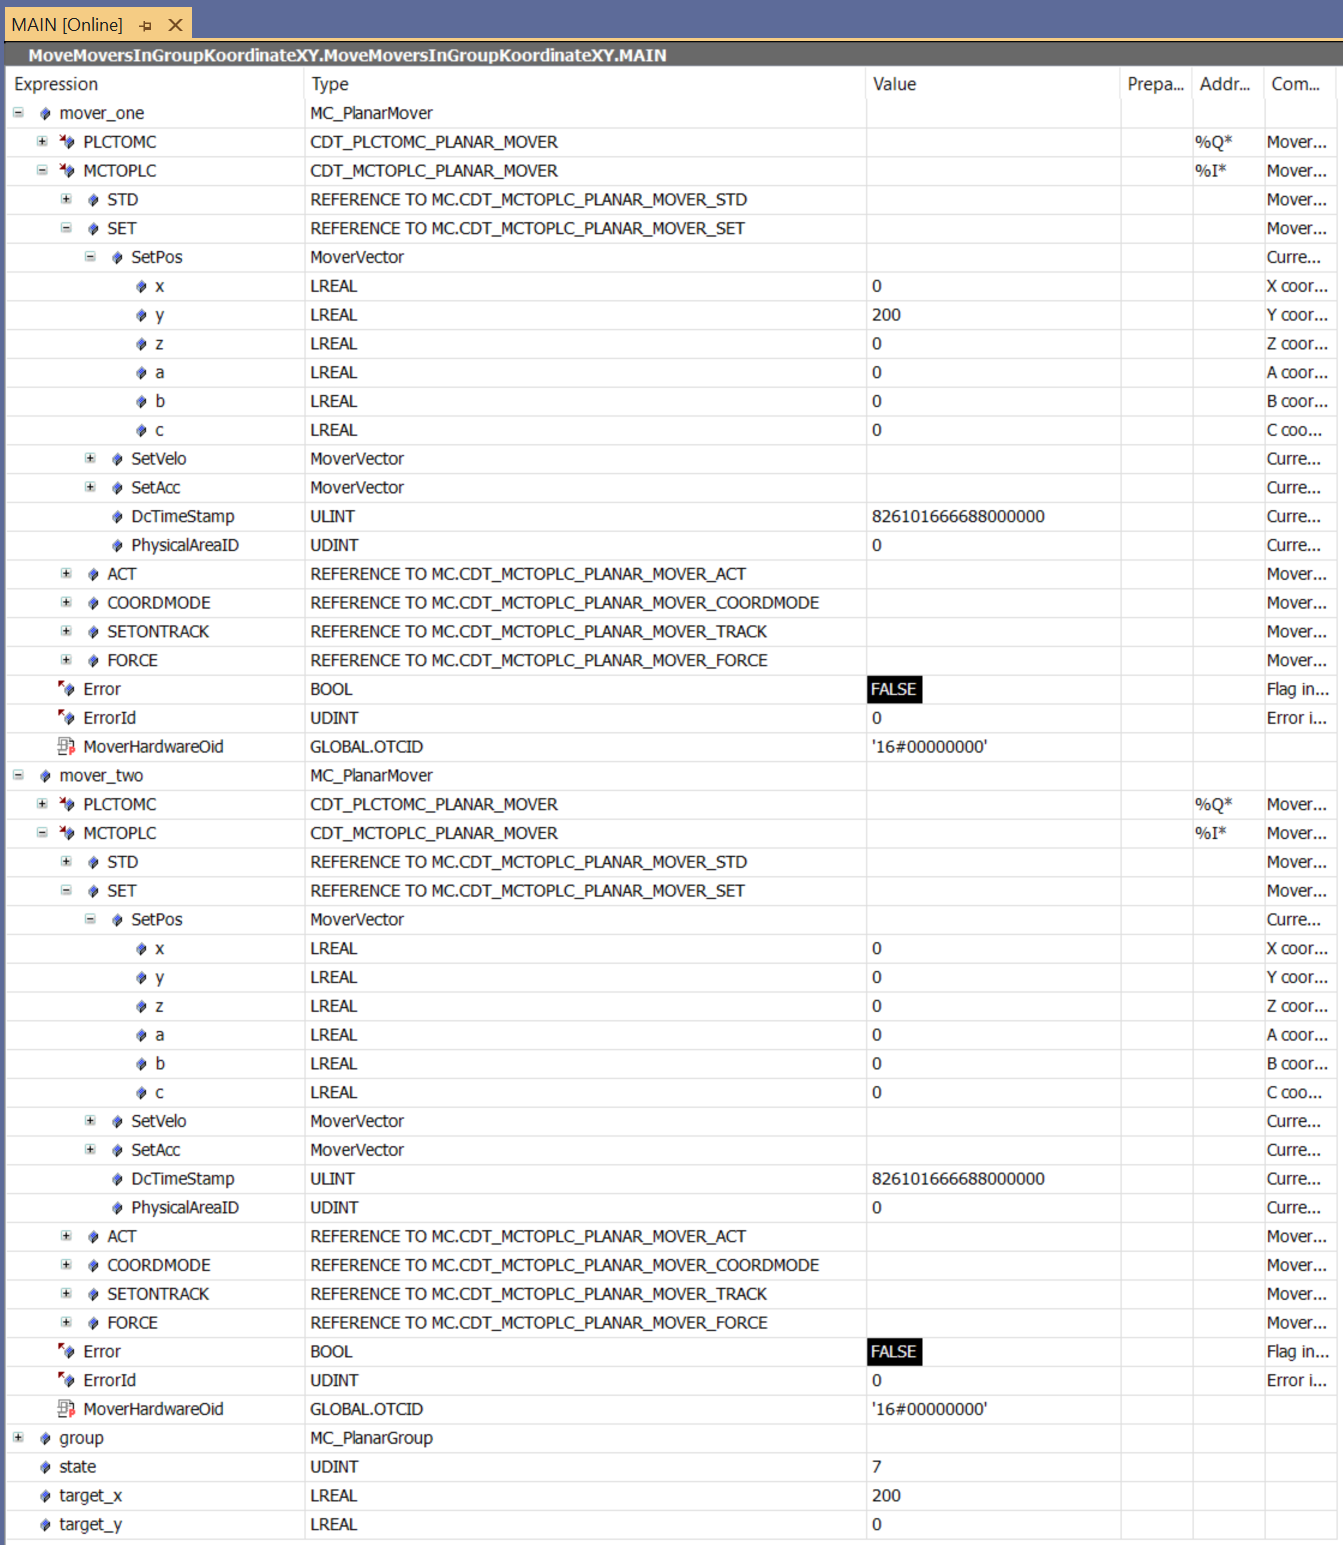
PROGRAM MAIN
VAR
    mover_one, mover_two : MC_PlanarMover;
    track : MC_PlanarTrack;
    group : MC_PlanarGroup;
    state : UDINT;
    pos1, pos2 : PositionXYC;
    feedback : MC_PlanarFeedback;
END_VAR- 9. Then program a sequence in MAIN.
- This program code creates and activates a track, a group and both movers. Both the movers and the track are added to the group. After that, Mover 1 is joined and moved on the track. When moving, feedback is provided via which we receive the rejection of the command as an error. The command is rejected because Mover 2 is blocking the track (collision error).
CASE state OF
  0:
    pos1.SetValuesXY(0, 0);
    pos2.SetValuesXY(400, 0);
    track.AppendLine(0, pos1, pos2);
    track.Enable(0);
    group.Enable(0);
    state := 1;
  1:
    IF track.MCTOPLC_STD.State = MC_PLANAR_STATE.Enabled
    AND group.MCTOPLC_STD.State = MC_PLANAR_STATE.Enabled THEN
         state := 2;
    END_IF
  2:
    mover_one.Enable(0);
    mover_two.Enable(0);
    state := 3;
  3:
    IF mover_one.MCTOPLC.STD.State = MC_PLANAR_STATE.Enabled
    AND mover_two.MCTOPLC.STD.State = MC_PLANAR_STATE.Enabled THEN
         state := 4;
    END_IF
  4:
    mover_one.AddToGroup(0,group);
    mover_two.AddToGroup(0,group);
    track.AddToGroup(0,group);
    state := 5;
  5:
    IF mover_one.MCTOPLC.STD.GroupOID > 0
    AND mover_two.MCTOPLC.STD.GroupOID > 0
    AND track.MCTOPLC_STD.GroupOID > 0 THEN
         state := 6;
    END_IF
  6:
    mover_one.JoinTrack(0, track, 0, 0);
    state := 7;
  7:
    IF mover_one.MCTOPLC.STD.CommandMode = MC_PLANAR_MOVER_COMMAND_MODE.OnTrack THEN
         state := 8;
    END_IF
  8:
    mover_one.MoveOnTrack(feedback, 0, 150.0, 0, 0);
    pos2.SetValuesXY(240, 320);
    mover_two.MoveToPosition(0, pos2, 0, 0);
    state := 9;
  9:
    IF mover_two.MCTOPLC.SET.SetPos.x >= 240 AND mover_two.MCTOPLC.SET.SetPos.y >= 320 THEN
         state := 10;
    END_IF
  10:
    mover_one.MoveOnTrack(0, 0, 150.0, 0, 0);
    state := 11;
  11:
    IF mover_one.MCTOPLC.SETONTRACK.SetPos >= 150.0 THEN
         state := 12;
    END_IF

END_CASE
Sending the command
- 10. To send the command, you must call the mover, the track and the group cyclically with their update method after the END_CASE:
mover_one.Update();
mover_two.Update();
track.Update();
group.Update();
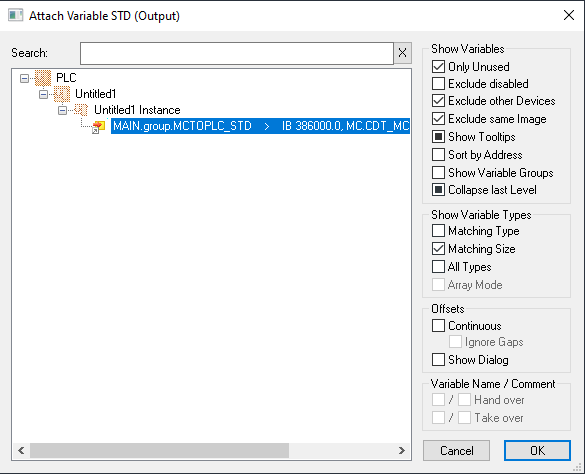
feedback.Update();When creating the PLC, a symbol of the "PLC Mover" is created, which can then be linked to the mover instance in the MC project.
- 1. To build, use the path PLC > Untitled1 > Untitled1 Project > Build.
- Subsequently, the Planar mover in the “MC Project” (double-click) can be linked with the Link To PLC... button on the Settings tab.

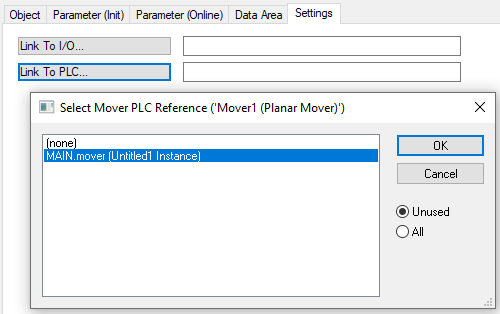
The track and the group must be linked separately.

Activating and starting the project
- 1. Activate the configuration via the button in the menu bar
 .
. - 2. Set the TwinCAT system to the "Run" state via the button
 .
. - 3. Log in the PLC via the button in the menu bar
 .
. - 4. Start the PLC via the Play button in the menu bar.
At the end of the state machine (state=12), the movers are in the desired position.
The feedback indicates the collision error. In addition, in case of collision errors in the feedback, the blocking object is displayed with its OID. It would now be possible, after Mover 2 has been moved out of the way, to move Mover 1 on the track.