Example: “Connecting a Planar mover to a track and moving it using GapMode Standard2D”
Using these instructions, you will create a TwinCAT project that includes two Planar movers and one Planar track. Both movers will be coupled to the track and moved along it.
Creating a Planar mover
- See Configuration.
- 1. Create two Planar movers.
- 2. Put "Parameter (Init)" into simulation mode (
TRUE). The parameter is hidden and only becomes visible if the "Show Hidden Parameters" checkbox is activated. - 3. Change the start position of the second mover to x = 240.
Creating a Planar track
- 4. Add the Planar track via Groups > Add New Item…, see Configuration.
Creating a PLC
- See preliminary steps under Creating a PLC.
- 1. Create the desired number of movers ("MC_PlanarMover") and tracks ("MC_PlanarTrack") via MAIN.
- These represent movers and tracks in the MC Configuration.
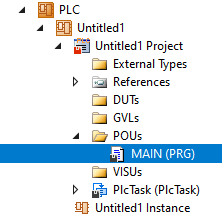
- 2. Create two Planar movers, a Planar track, a state variable for a state machine and two auxiliary positions for the track, as shown below.
PROGRAM MAIN
VAR
    mover_one, mover_two : MC_PlanarMover;
    track                : MC_PlanarTrack;
    state                : UDINT;
    pos1, pos2           : PositionXYC;
    opt                  : ST_MoveOnTrackOptions;
END_VAR- 3. Then program a sequence in MAIN.
- This program code creates and activates a track and both movers. Afterward, both movers are coupled to the track and moved.
CASE state OF
  0:
    pos1.SetValuesXY(0, 0);
    pos2.SetValuesXY(400, 0);
    track.AppendLine(0, pos1, pos2);
    track.Enable(0);
    state := 1;
  1:
    IF track.MCTOPLC_STD.State = MC_PLANAR_STATE.Enabled THEN
      state := 2;
    END_IF
  2:
    mover_one.Enable(0);
    mover_two.Enable(0);
    state := 3;
  3:
    IF mover_one.MCTOPLC.STD.State = MC_PLANAR_STATE.Enabled
    AND mover_two.MCTOPLC.STD.State = MC_PLANAR_STATE.Enabled THEN
      state := 4;
    END_IF
  4:
    mover_one.JoinTrack(0, track, 0, 0);
    mover_two.JoinTrack(0, track, 0, 0);
    state := 5;
  5:
    IF mover_one.MCTOPLC.STD.CommandMode = MC_PLANAR_MOVER_COMMAND_MODE.OnTrack
    AND mover_two.MCTOPLC.STD.CommandMode=MC_PLANAR_MOVER_COMMAND_MODE.OnTrack THEN
      state := 6;
    END_IF
  6:
opt.gapMode := MC_GAP_MODE_ON_TRACK.Standard2D;
opt.gap := 10.0;
    mover_one.MoveOnTrack(0, 0, 150.0, 0, opt);
    mover_two.MoveOnTrack(0, 0, 350.0, 0, opt);
    state := 7;
  7:
    IF mover_one.MCTOPLC.SETONTRACK.SetPos >= 149.9
    AND mover_two.MCTOPLC.SETONTRACK.SetPos >= 349.9 THEN
      state := 8;
    END_IF

END_CASE
Sending the command
- 4. To send the command, you must call the movers and the track cyclically with their update method after the END_CASE:
mover_one.Update();
mover_two.Update();
track.Update();
Building the PLC creates symbols of the "PLC mover" and “track”, which can then be linked to the mover and track instance in the MC project.
- 1. To build, use the path PLC > Untitled1 > Untitled1 Project > Build.
- Subsequently, the Planar movers in the "MC Project" can be linked with the Link To PLC... button on the Settings tab.
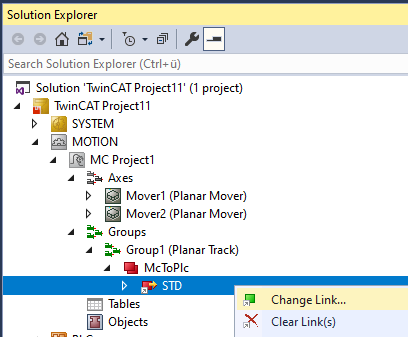
- The track must be linked separately via the following dialog boxes.

Activating and starting the project
- 1. Activate the configuration via the button in the menu bar
 .
. - 2. Set the TwinCAT system to the "Run" state via the button
 .
. - 3. Log in the PLC via the button in the menu bar
 .
. - 4. Start the PLC via the Play button in the menu bar.
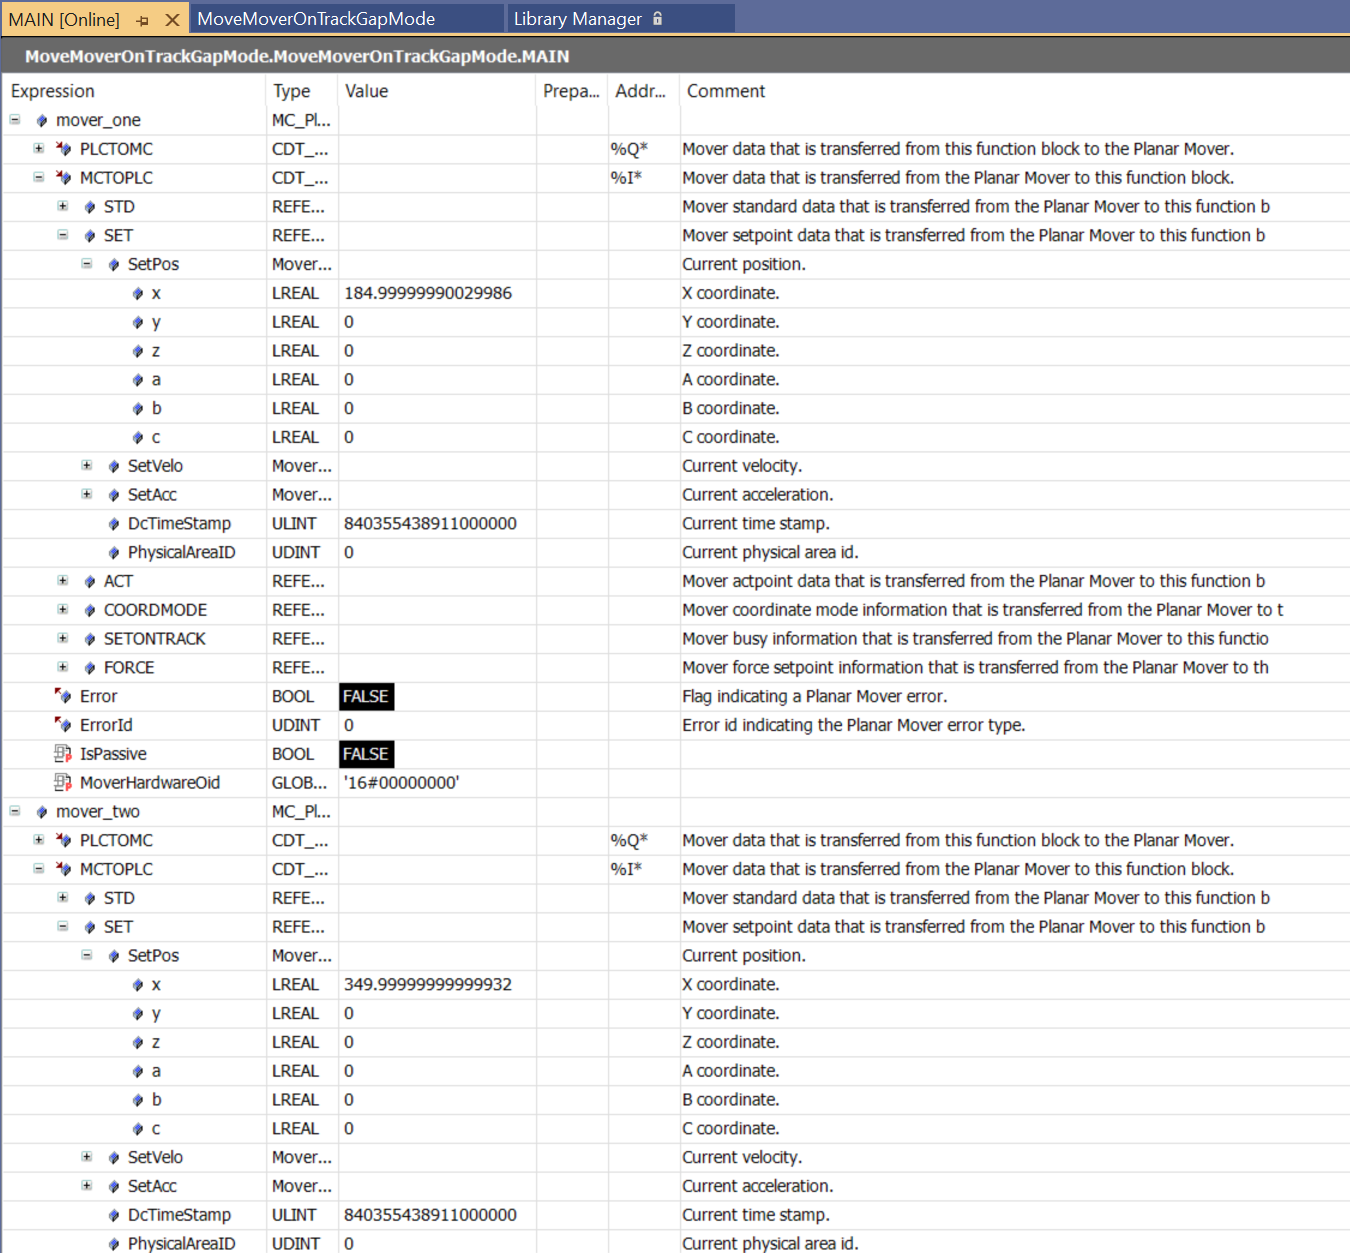
At the end of the state machine (state=8), mover 2 is in the desired positions. Mover 1 waits behind it at the specified distance.