User-specific transformations
In addition to the provided transformations, own kinematic transformations can also be implemented and integrated as TwinCAT C++ module.
Restrictions
- The function blocks FB_KinCalcTrafo and FB_KinCalcMultiTrafo cannot be used for user-specific transformations.
- An Online Change is only allowed with TwinCAT C++ modules of the project type "TwinCAT 3 Versioned C++ Project". Otherwise, discontinuities may occur on the C++ side.
Preparation
Beforehand, the development computer must be set up once for the development of TwinCAT C++ modules. Details can be found in the TwinCAT C++ documentation.
Development of a TwinCAT C++ module for 2D XC kinematics
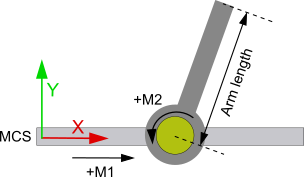
The following example of 2D XC kinematics shows how to create user-specific kinematics. The kinematics is composed of a linear axis (M1), on which there is a rotation axis (M2) with an arm. The arm length should be adjustable.
Notice | |
Online Change An Online Change is only allowed with TwinCAT C++ modules of the project type "TwinCAT 3 Versioned C++ Project". Otherwise, discontinuities may occur on the C++ side. |
Configuring the transformation module in the XAE
- Requirement: An empty TwinCAT project must be located on a development system that is set up for TwinCAT C++ development.
- 1. Add a TwinCAT C++ project to the empty TwinCAT project.
To do this, right-click on the subtree C++ > Add New Item...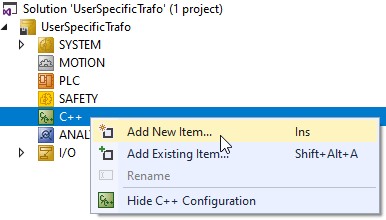
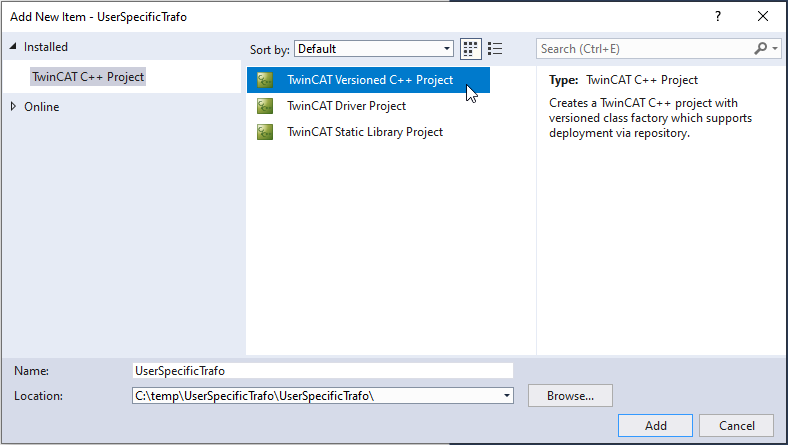
- 2. Select TwinCAT Versioned C++ Project as the project type and assign a name. Confirm the selection with the Add button.
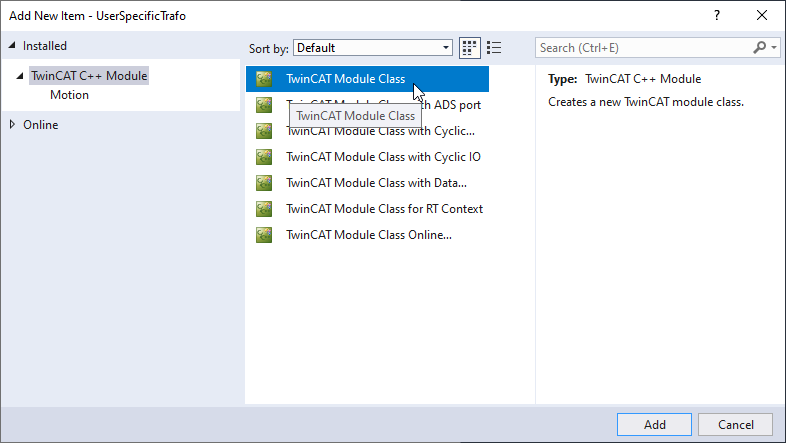
- 3. Select TwinCAT Module Class as module type. Confirm the selection with the Add button.
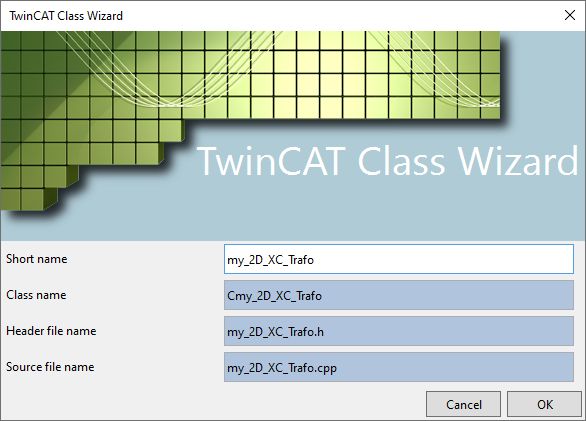
- 4. Give the module a name in the next step. Confirm the information with the OK button.
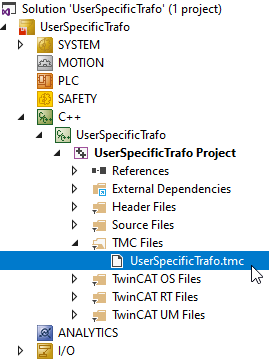
- A TwinCAT C++ project with module was created.
Adding interfaces and parameters
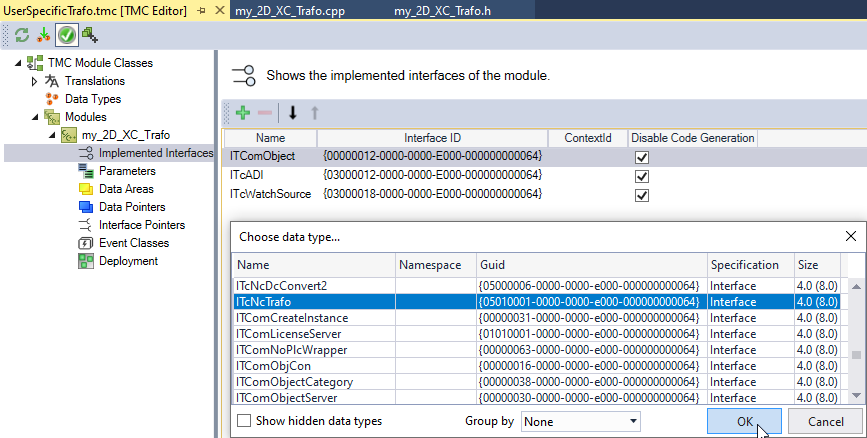
- 5. Double-click on the tmc file in the Solution tree to open the TMC Editor to add interfaces and parameters.
- 6. For a user specific transformation the interface ITcNcTrafo is required.
Open the Choose data type... dialog in the TMC editor via Modules > <Module Name> > Implemented Interfaces > Add new interface (insert). - 7. Select "ItcNcTrafo" and confirm with OK.
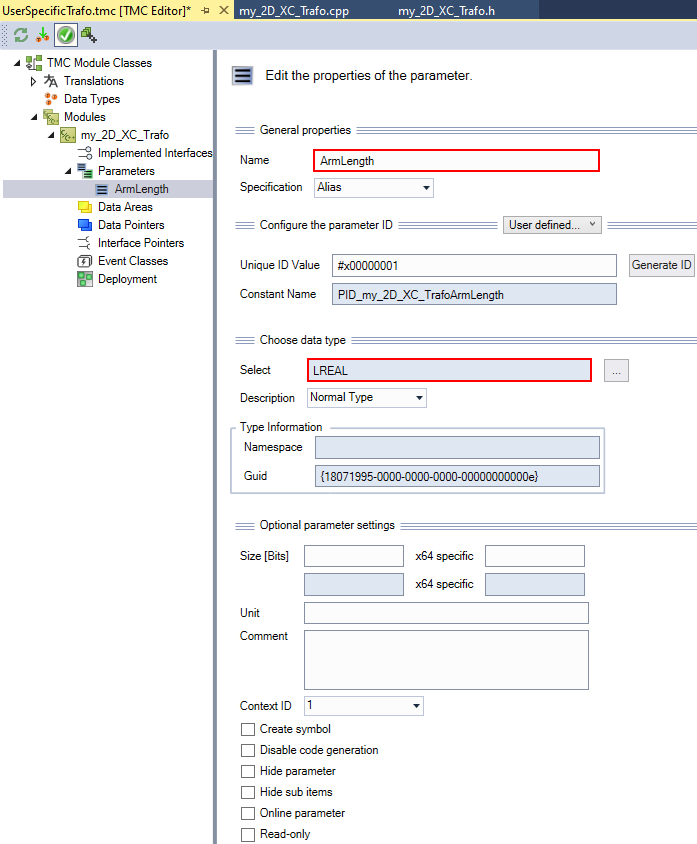
User-specific transformations can also have parameters with which the transformation can be configured. For the 2D-XC kinematics in the example, the arm length should be adjustable.
Adjust arm length
- 8. Add a new parameter in the TMC editor via Modules > <Module Name> > Parameters > Add new Parameter (Insert).
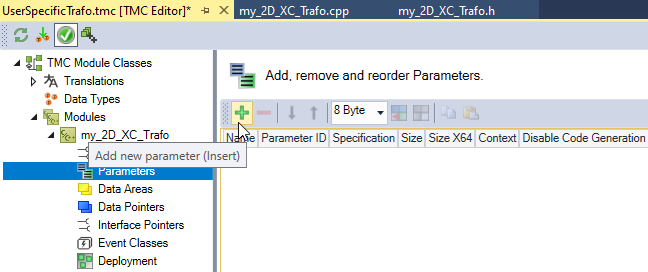
- With a double click on the new parameter it can be configured.
- 9. Configure the adjustable arm length parameter as follows:
- After the changes to the tmc file are completed, the TwinCAT TMC code generator can be executed.
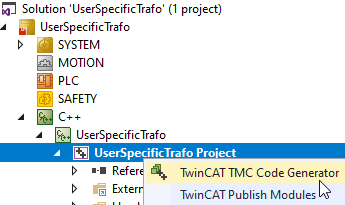
Run TwinCAT TMC code generator
- 10. Go via the TMC Editor menu or make a right click on the C++ project > TwinCAT TMC Code Generator in the Solution tree.
- 11. Add the header
TcNcKinematicsInterfaces.hin the header<ProjectName>Interfaces.h.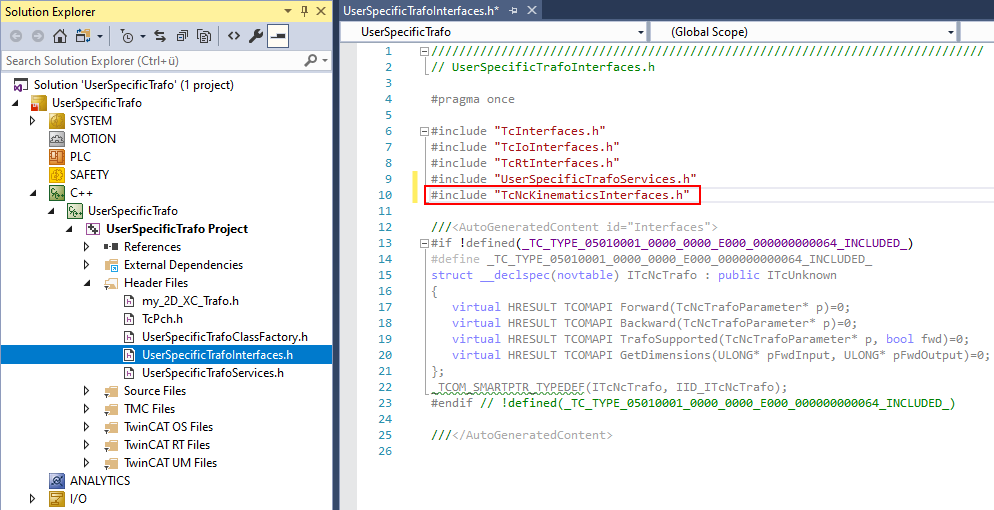
- 12. The functions
Forward,Backward,TrafoSupported,GetDimensionshave been automatically created atSource Files\<TrafoName>.cpp, but do not yet contain a valid implementation.
In the functionGetDimensions, a check of the number of ACS and MCS axes has to be implemented.
HRESULT CMyTrafo::GetDimensions(ULONG* pFwdInput, ULONG* pFwdOutput)
{
    HRESULT hr = S_OK;

    if (pFwdInput && pFwdOutput)
    {
        *pFwdInput = 2;
        *pFwdOutput = 2;
    }
    else
    {
        hr = E_POINTER; //pointer error
    }
    return hr;
}- 13. TwinCAT calls the function
GetDimensionsduring activation. If required, you can implement additional checks in the function that should be performed during activation. For example, checking user-specific license files. - 14. When building the kinematic group (FB_KinConfigGroup) the function
TrafoSupportedis called.
In addition, it is recommended to call the function also in the functionsForwardandBackward.
Axis dimensions and parameter values should be checked for validity in the function.
HRESULT CMyTrafo::TrafoSupported(TcNcTrafoParameter* p, bool fwd)
{
    HRESULT hr = S_OK;

    if (p)
    {
        if (fwd)
        {
            if (p->dim_i != 2 || p->dim_o != 2)
            {
                // kinematics transformation error: invalid dimension
                hr = MAKE_ADS_HRESULT(NCERR_KINTRAFO_INVALIDDIM);
            }
        }
        else
        {
            if (p->dim_i != 2 || p->dim_o != 2)
            {
                // kinematics transformation error: invalid dimension
                hr = MAKE_ADS_HRESULT(NCERR_KINTRAFO_INVALIDDIM);
            }
            if (p->i[1] > m_ArmLength)
            {
                // kinematics transformation error: invalid position
                hr = MAKE_ADS_HRESULT(NCERR_KINTRAFO_INVALIDAXISPOS);
            }
        }
    }
    else
    {
        hr = E_POINTER;
    }
    return hr;
}- 15. Implement the (position) transformations in the functions
ForwardandBackward.
The parameters “o” and “i” are available for this purpose. Where "i" are always the input values and "o" the output values, the same applies to theForwardfunction:
o[0]    = Position of first MCS_axis
d_o[0]  = Velocity of first MCS_axis
dd_o[0] = Acceleration of first MCS_axis

i[0]    = Position of first ACS_axis
d_i[0]  = Velocity of first ACS_axis
dd_i[0] = Acceleration of first ACS_axis
It is not necessary to implement the transformations for velocity and acceleration.
At the beginning of both functions the function TrafoSupported should be called to check if the positions are valid.
HRESULT CMyTrafo::Forward(TcNcTrafoParameter* p)
{
    HRESULT hr = TrafoSupported(p, true);
    if (SUCCEEDED(hr))
    {
        if (p->i && p->o)
    {
            p->o[0] = p->i[0] + m_ArmLength*cos_((p->i[1])*PI/180);
            p->o[1] = m_ArmLength * sin_((p->i[1])*PI / 180);
        }

        if (p->d_i && p->d_o)
        {
            p->d_o[0] = p->d_i[0];
            p->d_o[1] = p->d_i[1];
        }

        if (p->dd_i && p->dd_o)
        {
            p->dd_o[0] = p->dd_i[0];
            p->dd_o[1] = p->dd_i[1];
        }
    }

    return hr;
}
HRESULT CMyTrafo::Backward(TcNcTrafoParameter* p)
{
HRESULT hr = TrafoSupported(p,false);
if (p->i && p->o)
{
p->o[1] = asin_(p->i[1] / m_ArmLength) * 180 / PI;
p->o[0] = (p->i[0] - (cos_(p->o[1] * PI / 180)*m_ArmLength));
}
if (p->d_i && p->d_o)
{
p->d_o[0] = p->d_i[0];
p->d_o[1] = p->d_i[1];
}
if (p->dd_i && p->dd_o)
{
p->dd_o[0] = p->dd_i[0];
p->dd_o[1] = p->dd_i[1];
}
return hr;
}Creating and publishing the modules
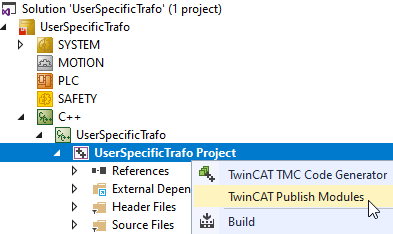
- 16. Right-click on C++- > UserSpecificTrafo Project in the Solution tree and select TwinCAT Publish Modules.
- 17. Check the Build output. There should be no error message here.

NC/PTP configuration
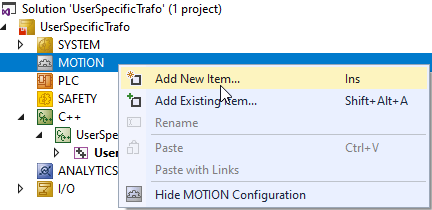
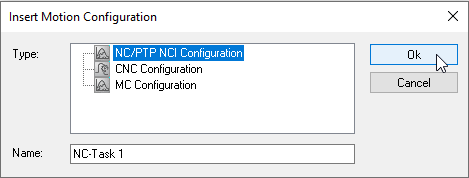
- 18. Create an NC project in the MOTION subtree.
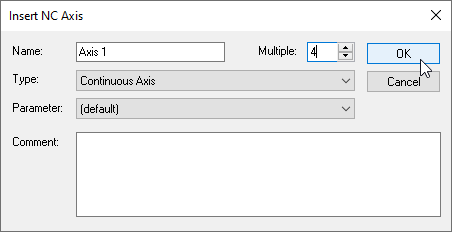
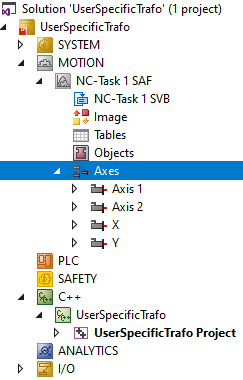
- 19. Create the required PTP axes.
Creating a transformation
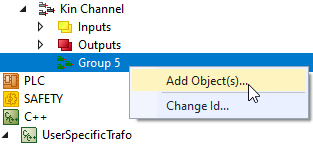
- 20. Create an additional NC channel (for Kinematic Transformation) in the NC project.
- 21. Then add the created transformation to the group of the kinematic channel.
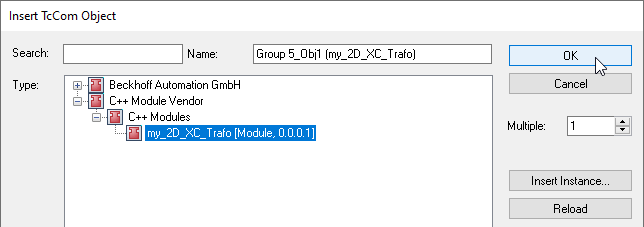
To do so, right-click on the Group > Add Object(s)... - The Insert TcCom Object dialog opens.
- 22. Select your transformation module and confirm your selection with OK. If you cannot find your module, refresh the view via Reload.
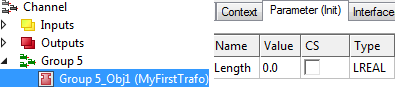
- 23. Parameterize the object parameters according to the kinematics used.
- The XAE configuration is now complete.


- The transformation can now be activated via the PLC (see PLC library). Define a cyclic channel interface in the PLC to address the transformation and link it to the I/O of the kinematic channel.
in_stKinToPlc      AT %I*     : NCTOPLC_NCICHANNEL_REF;
out_stPlcToKin     AT %Q*     : PLCTONC_NCICHANNEL_REF;