Application
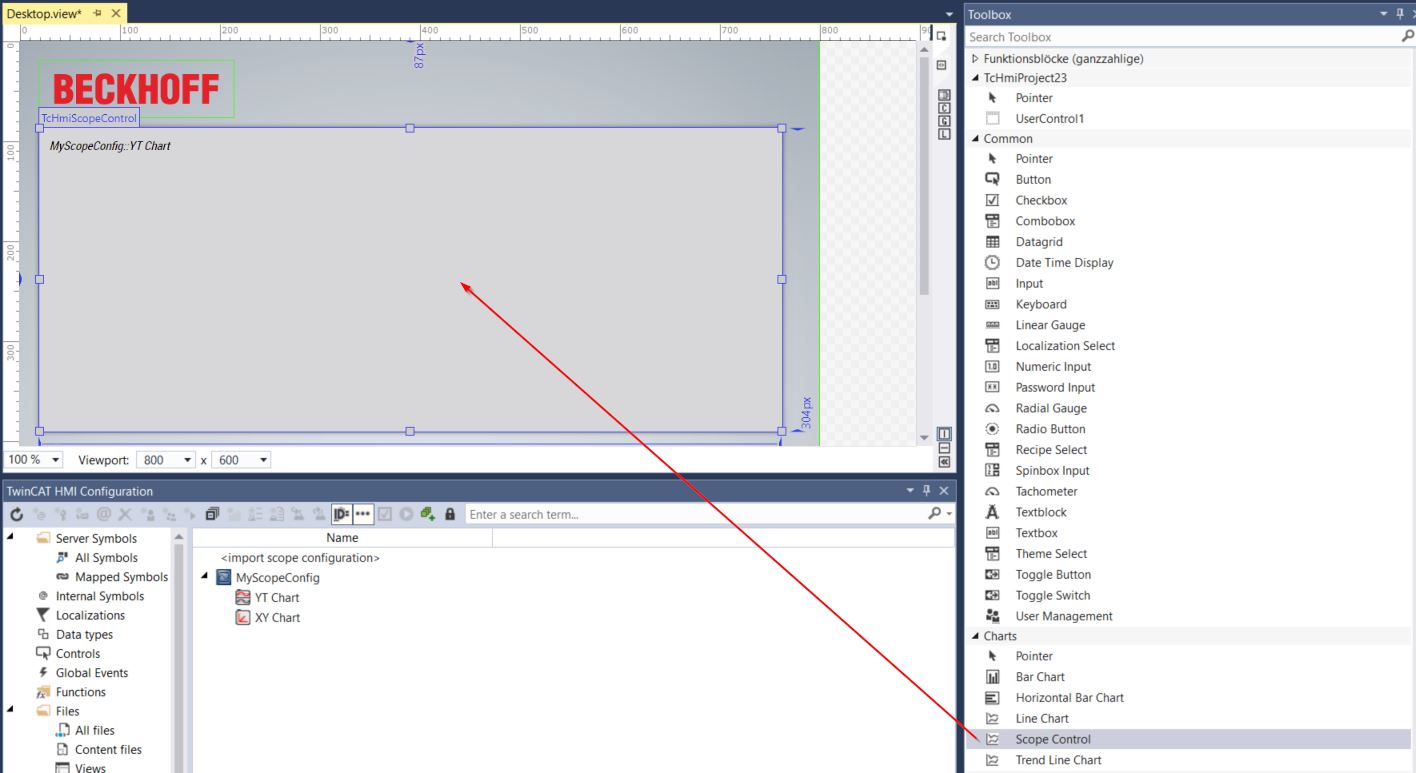
- 1. Open an HMI page and drop an instance of the TwinCAT HMI Scope Control. This can be found in the Toolbox under the category Charts.
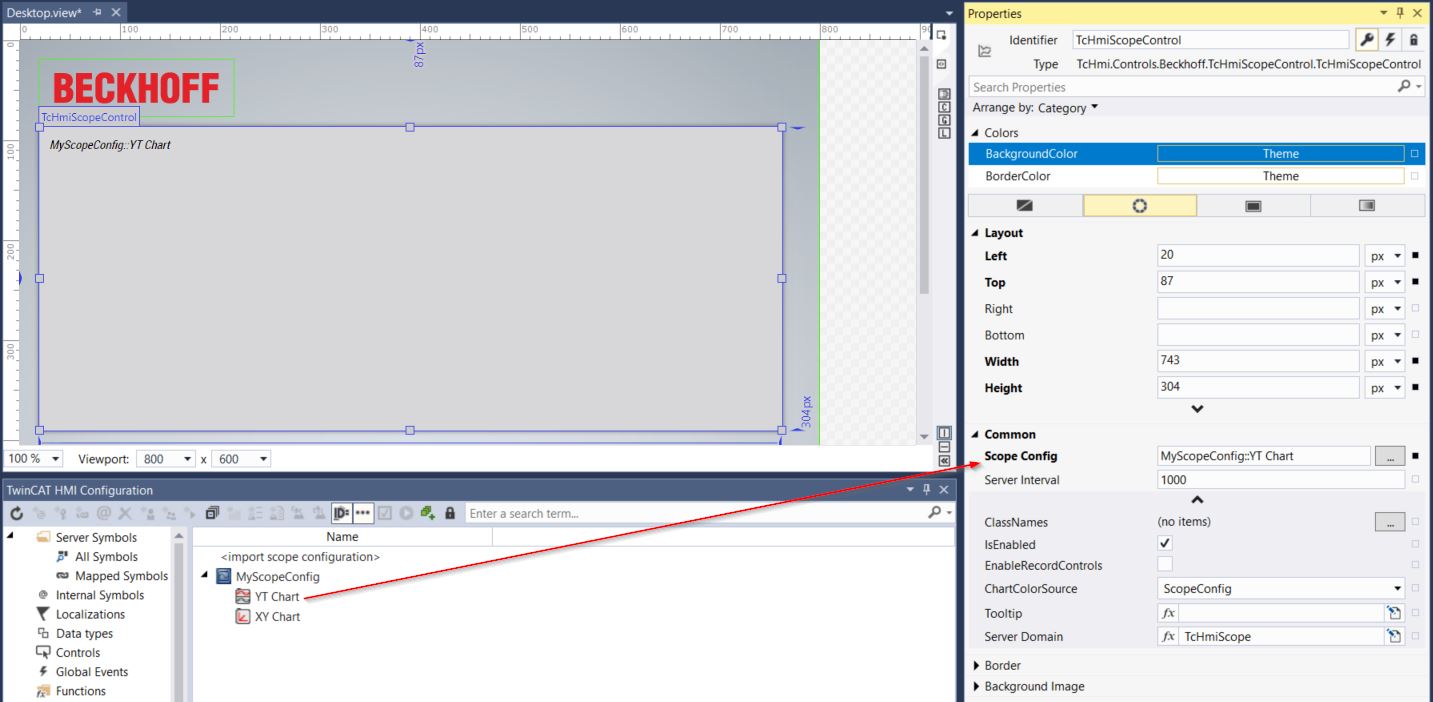
- 2. Go to the Properties window to configure the control.
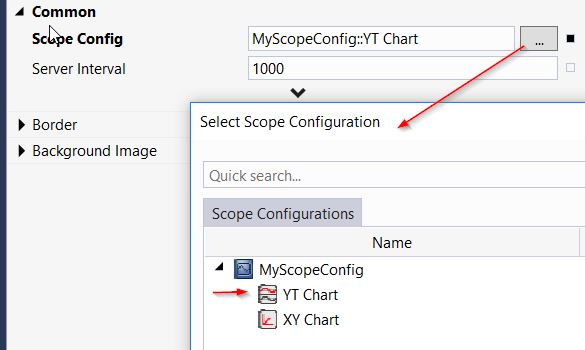
- 3. You can create a link between the Scope chart and the Scope control by linking the attribute "Scope Config". Here you have two options:
- Select the chart below your Scope configuration by clicking on the "..." button next to the "Scope-Config" attribute:
- Alternatively, you can drag and drop the chart from the TwinCAT HMI Configuration window onto the "Scope-Config" attribute:
Configure Scope Charts
The general configuration of the Scope charts (e.g. axes, colors, channels, data sources, etc.) is done in the Scope project. Instructions for this can be found in the Documentation of the TwinCAT Scope.
 | After you have made a change in the Scope project, you must update an already existing Scope configuration in the TwinCAT HMI project. |
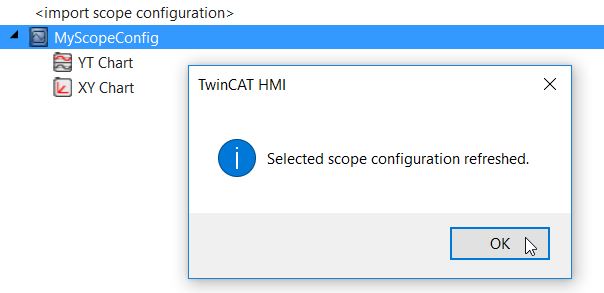
- 1. To do this, right-click on the Scope configuration entry in the TwinCAT HMI Configuration window and select Refresh.
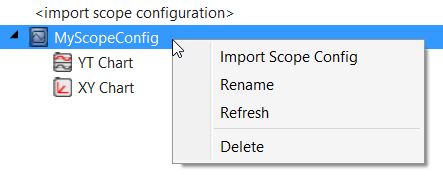
- The configuration has been updated.
Configure Scope Control
Further setting options are available in the TwinCAT HMI Scope Control. This can be found in the properties of the control under the category Common.
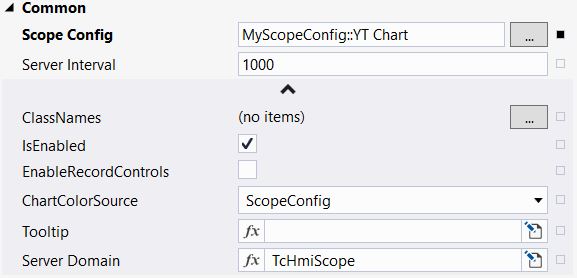
- Scope Config: Selection of the chart that is displayed in the current control instance. For example, you can create multiple instances of the control to display different charts simultaneously. Alternatively, you can switch the configuration at runtime within the control instance.
- EnableRecordControls: Specifies whether the start and stop record buttons are displayed in the Scope control.
- Server Interval: Interval at which the data between the control and the extension is updated.
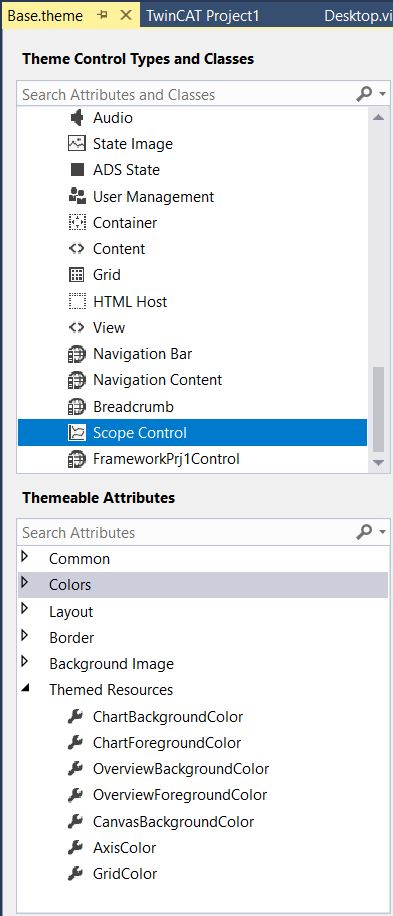
- ChartColorSource: Defines whether the colors of the chart are taken from the Scope project, or whether they are set via the ThemedResources in a TwinCAT HMI Theme.
- Server Domain: Name of the Scope extension that provides the Scope configuration. This attribute usually does not have to be changed.
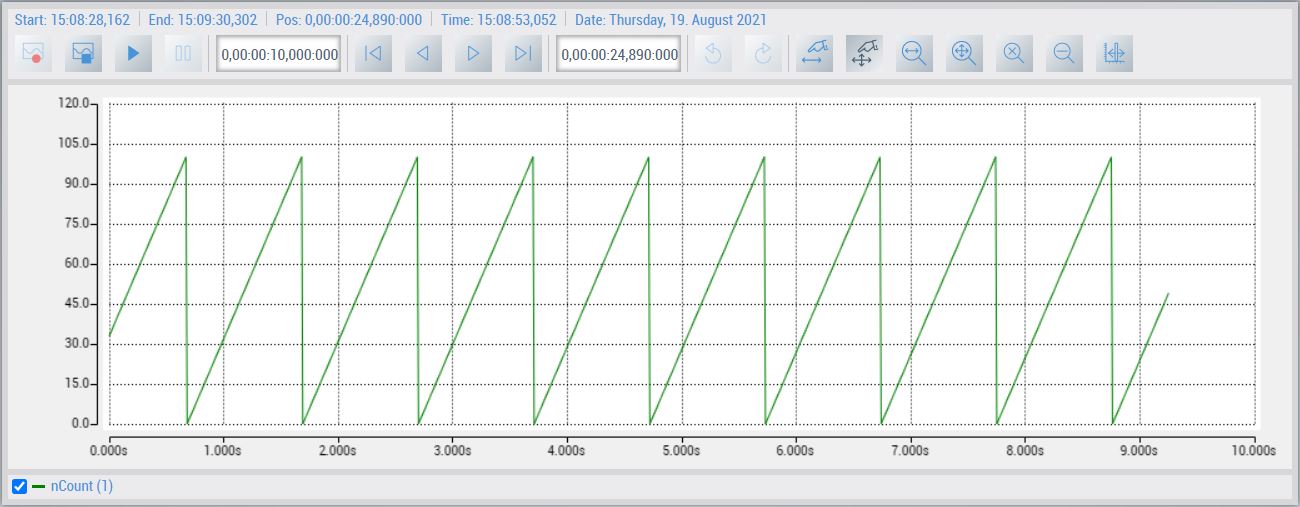
Using the Scope Control in the Client
After you have completed the configuration, you can use the Scope in the client. The familiar TwinCAT Scope functionalities are available for analysis.
Sample
A sample of the use of the scope in the TwinCAT HMI can be found in chapter Samples.