Dashboardkonfiguration
DashboardConfiguration.content
The dashboard configuration page is used to set the desired dashboard. The page shows the basic structure of the dashboard and contains the following components:
- Setting the row heights of the three rows (unit can be selected in
px,factorand%) - Area for displaying the preview of the dashboard and for uploading and downloading the dashboard configuration
- Row 1 | Column 1
- Row 1 | Column 2
- Row 1 | Column 3
- Row 2 | Column 1
- Row 2 | Column 2
- Row 2 | Column 3
- Row 3 | Column 1
- Row 3 | Column 2
- Row 3 | Column 3
Area 3-11: Switching on and off, determining the width (unit can be selected in px, factor and %) and configuring the up to nine tiles to be displayed using combo boxes


ShowDashboard.content
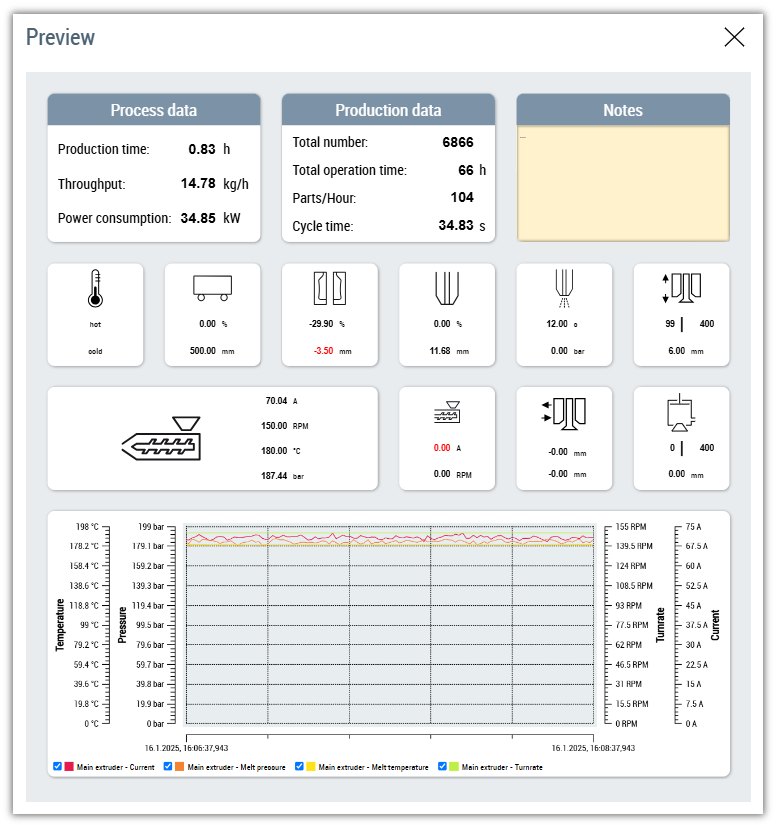
This page is displayed in the pop-up window and is used to display the preview of the dashboard.
Extension of the available tiles
To expand the tiles available for the dashboard, the following steps must be carried out:
- Creation of a new content within the Contents/Dashboard/Tiles folder with a suitable name (e.g. Tile_Sample.content)
- Create the content as responsive as possible so that the tile adapts accordingly for different sizes
- Extend the TcHmiSrv symbol DashboardConfigurationCombobox in the TwinCAT HMI Configuration window with a new element
Value: The path of the new content (e.g. Contents/Dashboard/Tiles/Tile_Sample.content)Text: The text to be displayed in the combo box for the selection of this content (e.g. %l%Sample%/l%)
 | Available since version 12.10.2 |
| Available in the variants (link):
|


