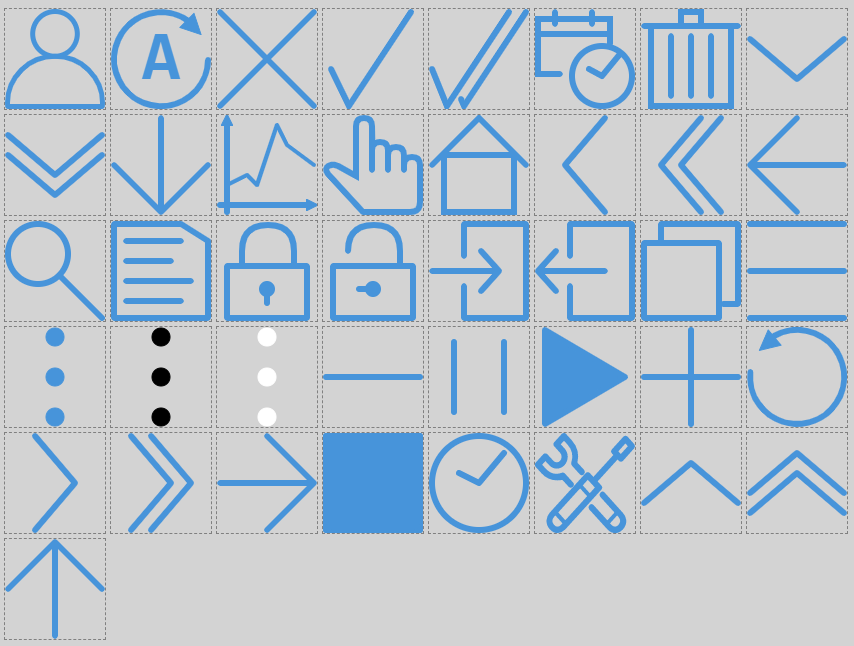
Icons
TcHmiBa contains various icons that are necessary for the implementation of visualizations for building automation. The icons are created in *.svg format and are intended for use on the web.
Installation
In order to use the icons, the NuGet package Beckhoff.TwinCAT.HMI.BA.Icons must be installed.
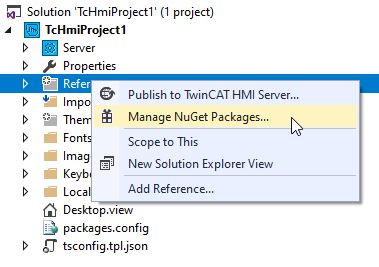
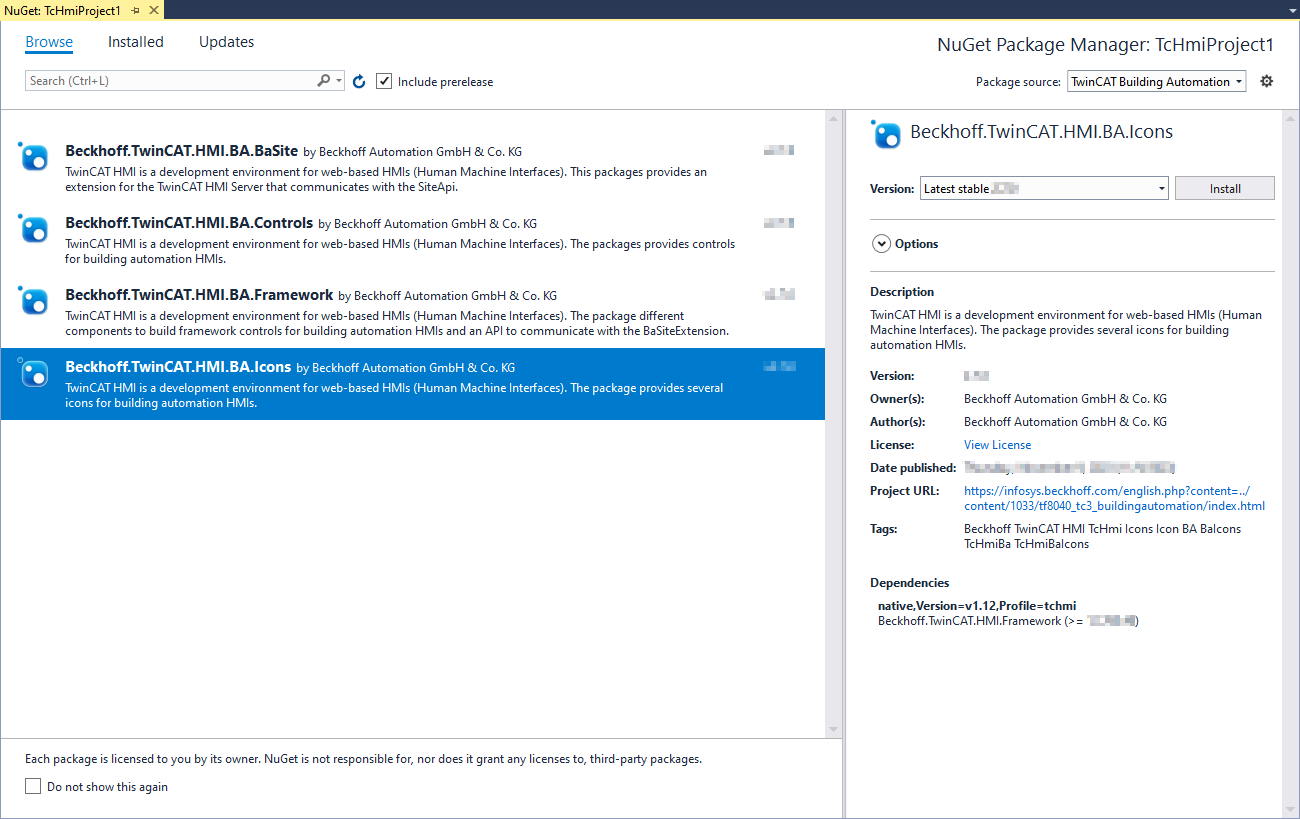
Since there is a dependency on the Beckhoff.TwinCAT.HMI.Framework, this is also installed.
Use
There are three different application options.
ZIP archive
A NuGet package is basically a ZIP archive that allows direct use of the icons after unpacking. The unpacked content looks like this:
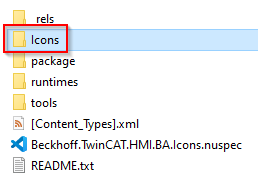
Only the folder Icons is relevant. It contains the various icons divided according to content categories.
GalleryExplorer
After installing the NuGet package in a TwinCAT HMI project, the icons integrate into the GalleryExplorer.
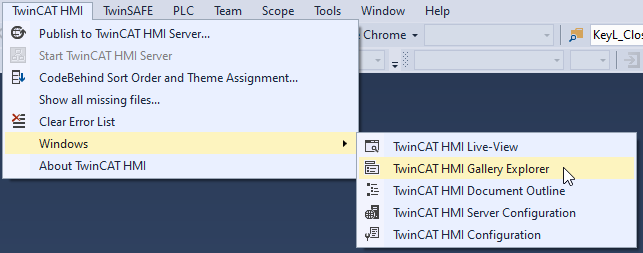
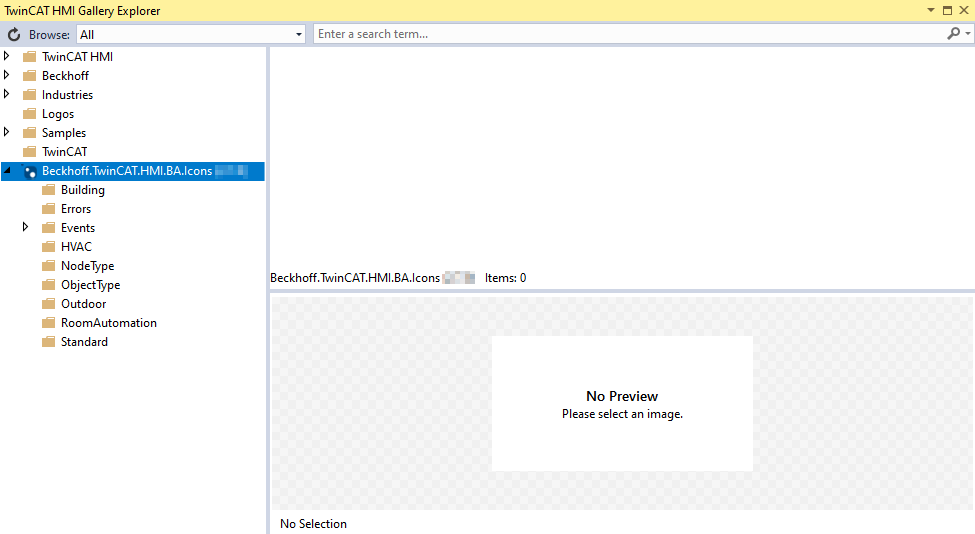
The icons here are arranged according to function. To use an icon from the GalleryExplorer, it must be dragged and dropped into a folder in the project.
 | The icon is created as a copy in the project directory, not as a reference. |
Use as reference
When using the icons as reference, their extended functionalities can be used. In addition, the icons benefit directly from updates to the NuGet package.
TcHmi project
With the function
TcHmi.BuildingAutomation.Functions.GetBaIconPath()the icons can be used as a reference in a TcHmi project.
The following steps are required:
- 1. Drag a control (e.g. a button) to the content/view.
- 2. Create the Function Binding.
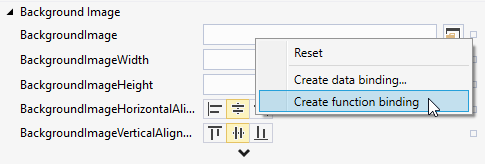
- 3. In the field Backgroundimage enter GetBaIconPath (function is suggested).

- 4. Path specification to the icon, e.g. "HVAC/fan" (quotation marks must be observed).
- 5. Adjust size and position.
- After that the button should look like this:
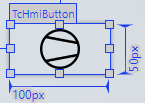
| The path information can be taken from the structure of the GalleryExplorer. |
The extended functions of the icons can only be used with controls from the NuGet package Beckhoff.TwinCAT.HMI.BA.Controls.
The controls that have a category Icon have extended setting options.
As an example, the button from the category BA | Common is used below.
The Icon attribute can be set again using the
TcHmi.BuildingAutomation.Functions.GetBaIconPath()function.
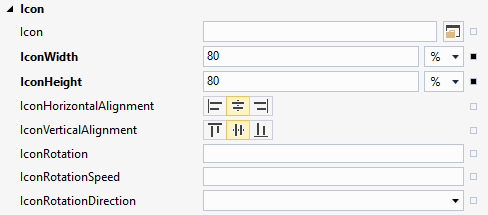
This form of embedding allows the icon to change dynamically. The following attributes are available:
- IconRotation
- IconRotationSpeed
- IconRotationDirection
- IconColor (see Colors category)
In the code
For using the icons in the code, e.g. when developing framework controls, the icon paths can be accessed even more easily. The namespace
TcHmi.BuildingAutomation.Iconscontains constants that point to the respective icons in the NuGet package (e.g. TcHmi.BuildingAutomation.Icons.HVAC.Fan.path).
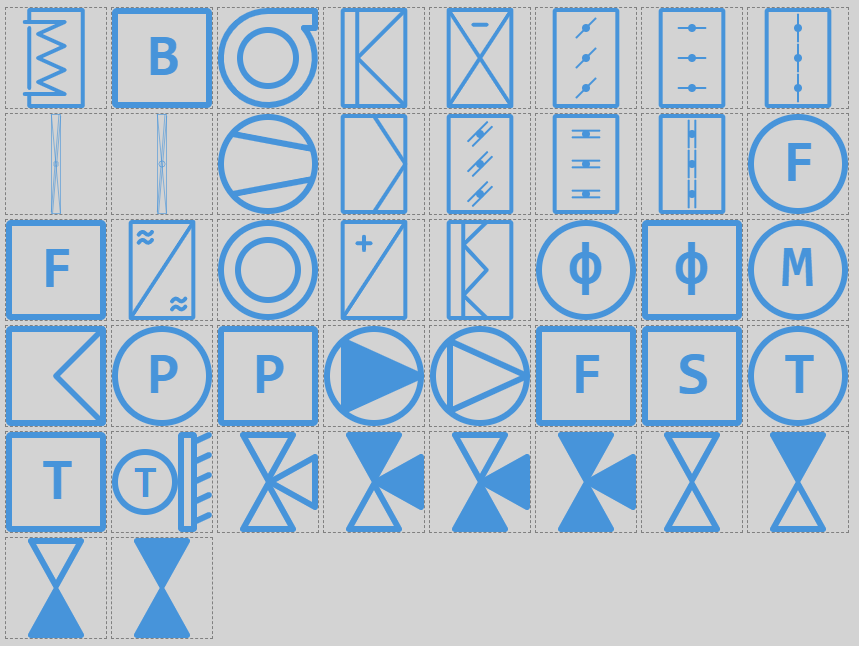
HVAC symbols
Symbols for P&I diagrams.
| The icons are drawn with appropriate size ratios for an P&I diagram and are only shown differently in this listing. |
Event symbols
Symbols to represent alarms, events or notifications.
Events
The concept of alarms uses the following icons.
Icon | Name |
|---|---|
| Alarm |
| Fault |
| Maintenance |
| Notification |
| Miscellaneous |


The events are displayed in different states.
Flag
The flag icons are displayed when one of the StatusFlags of an object is active.
Icon | Name |
|---|---|
| InAlarm |
| Fault |
| Overridden |
| OutOfservice |


Priorities
Icon | Name |
|---|---|
| LifeSafety |
| Critical |
| ManualLocal |
| ManualRemote |


Lock
Icon | Name |
|---|---|
| High |
| Medium |


NodeType
Icon | Name |
|---|---|
| Aggregate |
| Buildings |
| Building element |
| Component |
| Control cabinet |
| Floor |
| Information focus |
| Property |
| Plant |
| Room |
| Technical system |


ObjectType
Symbols for the different object types.
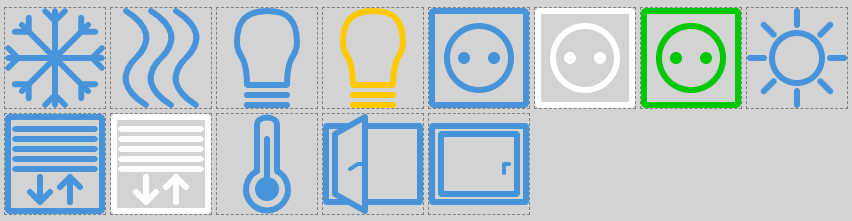
Room Automation
Symbols for room automation.
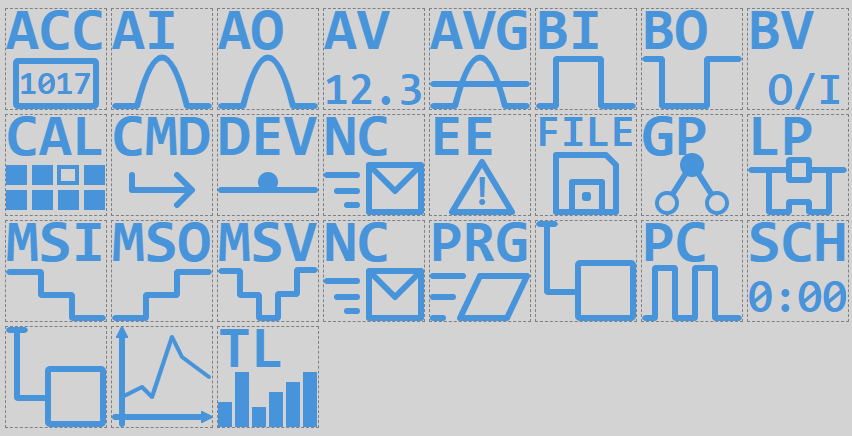
Standard
Standard symbols for visualizations.