Activating a TwinCAT project
- Execute the TwinCAT project with the following steps.
- 1. Activate the configuration via
 or via the Visual Studio Menu > TwinCAT > Activate Configuration.
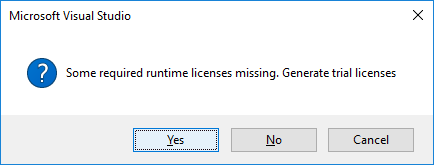
 - 2. If no licenses have been activated yet on the target system, the following dialog appears. For an initial test you can create a trial license by selecting Yes and entering a security code.
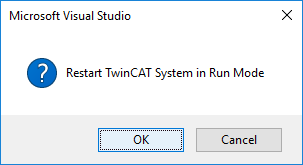
- You will then be asked whether you want to restart TwinCAT.
- 3. Confirm the restart with Yes.
Alternatively, a restart can be triggered via  or via the Visual Studio Menu > TwinCAT > Restart TwinCAT System.
- The TwinCAT project is activated and the axes can be moved manually via the commissioning dialog.
- If, on the other hand, you want to move an axis via the PLC, create a PLC in advance according to Simple movement via the PLC and activate the TwinCAT project again.
- 4. Log in the PLC via
 or via Visual Studio Menu > PLC > Login.
 - 5. Then start the PLC via
 or via the Visual Studio Menu > PLC > Start.