Importing a CSV file (configuration example)
This chapter illustrates the import of a CSV file. The individual sections build on each other and should be followed sequentially! In addition, please note that it is only a sample configuration. Real projects may differ.
What is a CSV file?
A CSV file is used in the TC Motion Designer to import a simple data structure (table in Microsoft Excel, characteristic values from a database) into an existing project. A prerequisite is that a project has already been created in the Solution Explorer, and a DC link has also been created.
Our example is an actual customer project of Beckhoff Automation GmbH & Co. KG, in which a label application process has been implemented.
The following must be observed:
- The first column specifies the time in seconds. Several data, e.g.
velocity/speed → column 1, process mass → column 2, process force → column 3 can be added. - The decimal separator (, or .) and number separator (tab, semicolon, etc.) can be selected as required.
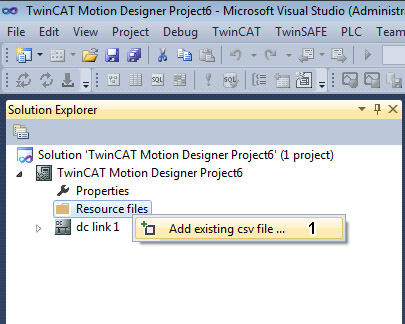
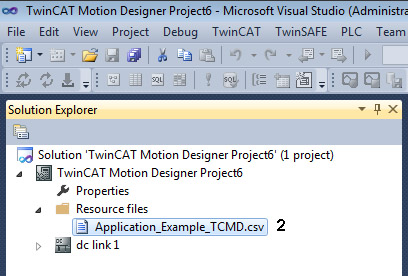
Adding the CSV file in the TC Motion Designer project (under MS Visual Studio) | ||
| The CSV file "Application_Example_TCMD" (2) was successfully added to the Solution Explorer. | |
|
| |
| ||
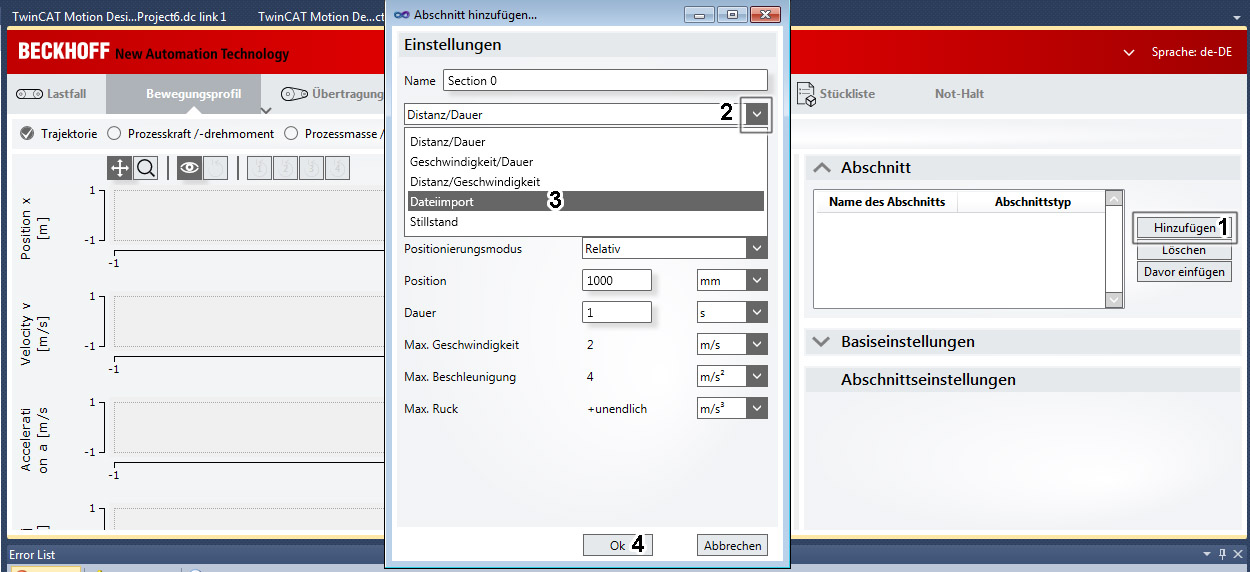
Preparing the CSV file for import into the motion profile | ||
| Next, add a new movement section:
| |
 | Further information on creating a motion section! For further information on creating and specifying a section please refer to chapter: 4.2: “Motion profile”. |
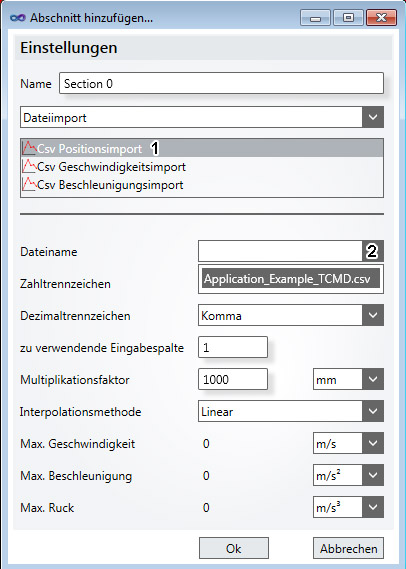
Importing and specifying the CSV file in the section settings | ||
Please choose between the following import options:
The difference is in the requirements for the processing process for your application.
The next step is the file import:
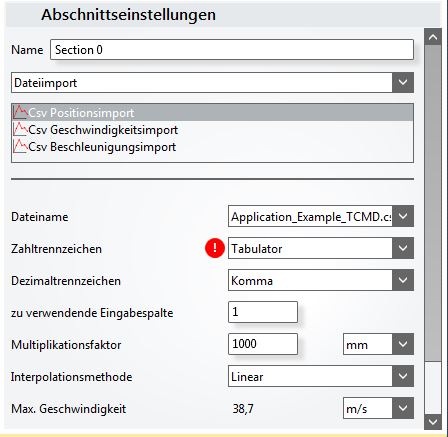
| After successful import of the CSV file, edit the setting:
Select semicolon instead of tab. The error message should disappear after the setting was changed. Note: This selection is required because the format Comma Separated Values uses semicolons to separate the data fields. The multiplication factor can take into account different units:
| |
| ||
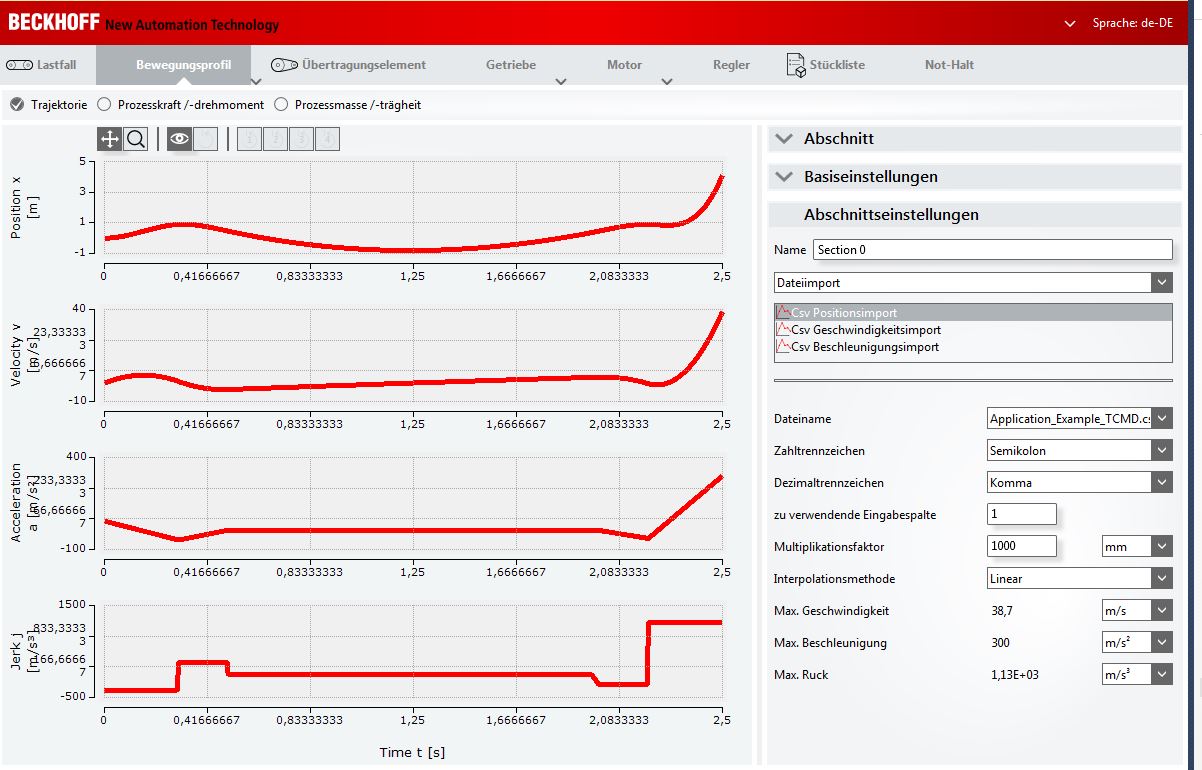
Overview of the imported CSV file as movement section | ||
|
When all settings have been implemented, the imported CSV file and its characteristic values are displayed graphically. You can customize the section settings according to the requirements of your application. | |