Installing TwinCAT 3 Engineering and Runtime
- You have read the section Integration in Visual Studio.
- You have downloaded the current installation program TC31-Full-Setup 3.1 from the Beckhoff homepage.
- 1. Run the program to start the installation.
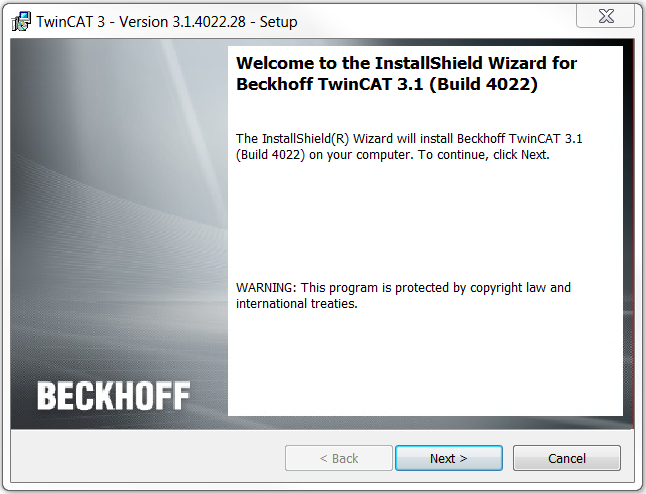
- The TwinCAT 3.1 - Install Shield Wizard will open, which guides you through the installation and in which you make all further installation settings (licence agreement, customer information, setup type).
- 2. Click on Next to proceed with the installation.
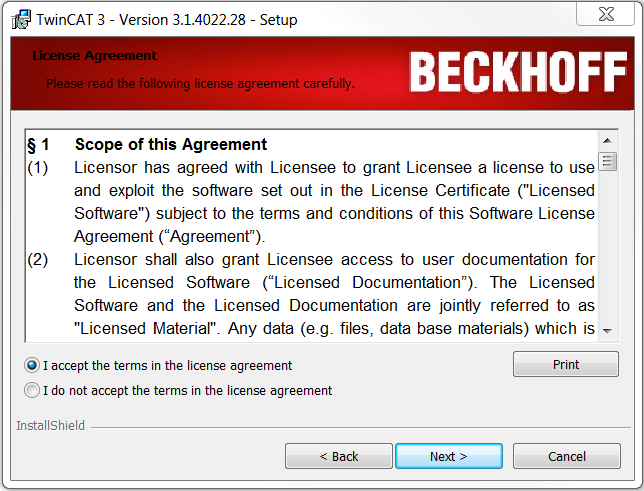
- 3. Accept the license agreement and click on Next.
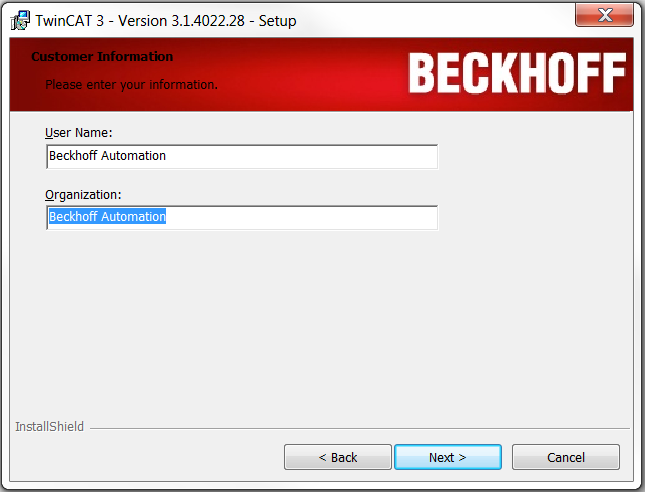
- 4. Enter your User Name and Organization. Click on Next.
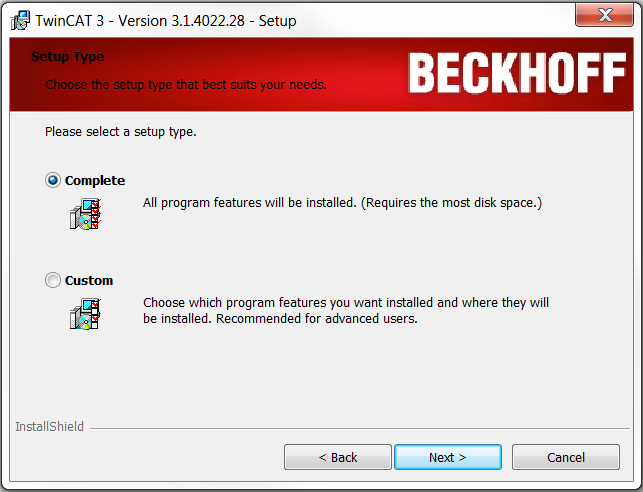
- 1. Activate the Complete option to install the complete TwinCAT system. Click on Next.
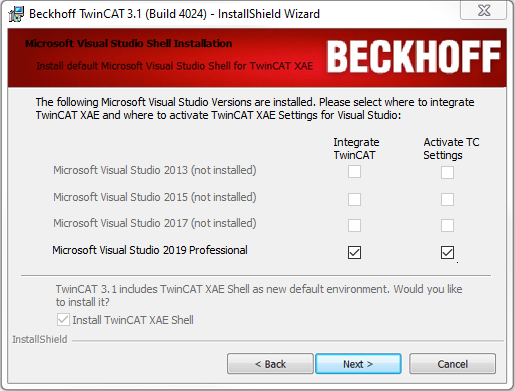
- 2. If you have already installed Visual Studio 2013/2015/2017/2019 (or a Visual Studio Shell 2013-2019), activate the Integrate TwinCAT selection boxes for the versions in which you wish to install TwinCAT 3.
- 3. If you also want to (re-)activate the TwinCAT XAE settings, activate the associated Activate TC Settings selection boxes.
- 4. If you have not yet installed any Visual Studio version, activate the Install TwinCAT XAE Shell selection box in order to install the Visual Studio Shell as the environment. Click on Next.