Add / modify / delete data types
Data types used by TwinCAT C++ modules can be added, edited and deleted with the help of the TwinCAT Module Class (TMC) editor.
This article describes:
- Step 1: Create a new data type in the TMC file.
- Step 2: Start the TwinCAT TMC Code Generator in order to generate C++ code on the basis of a module description in the TMC file.
- Using the data types.
Step 1: Generate a new data type
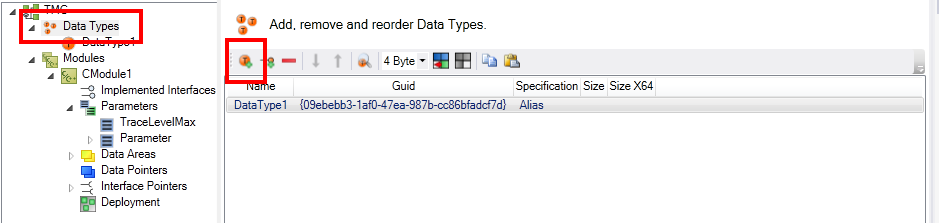
- 1. After starting the TMC Editor, select the Data Types node.
- 2. Extend the list of data types and interfaces by a new data type by clicking on the + button Add a new data area.
- A new data type is then listed as a new entry:
- 3. Select the generated "Data Type1" in order to obtain details of the new data type.
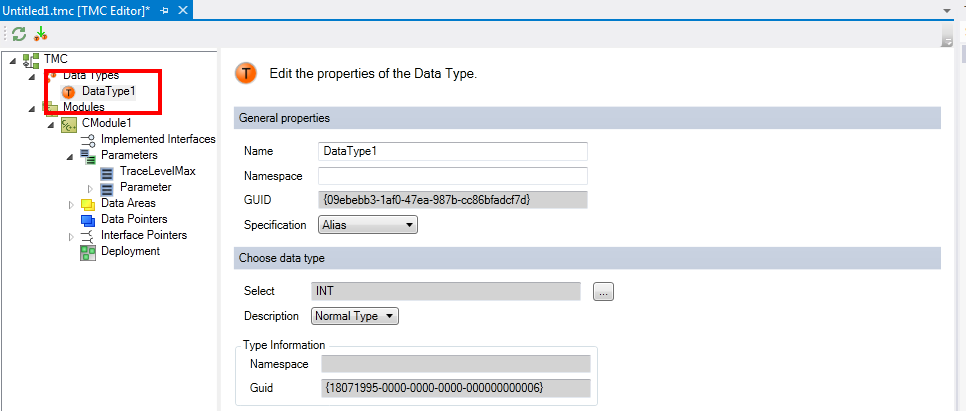
- 4. Specify the data type.
- 5. Rename the data type.
In this sample stSensorData, select the specification STRUCT and click on Edit Struct.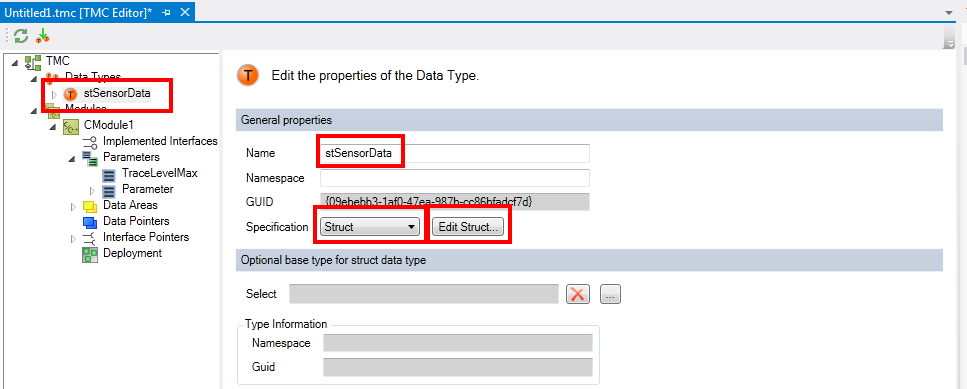
- 6. Insert new sub items in the structure by clicking on the Add a new sub item button.
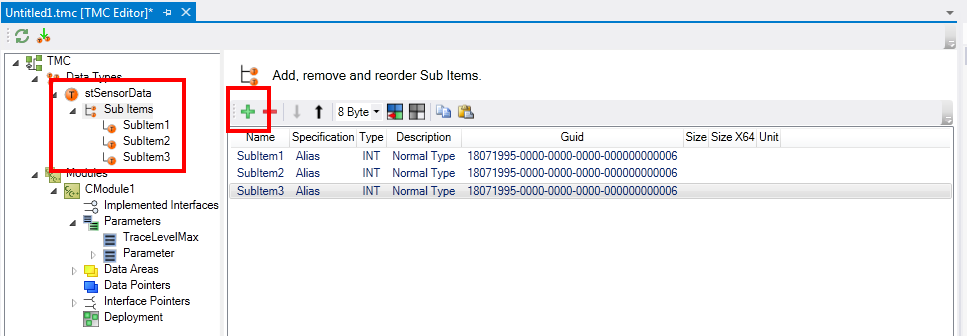
- 7. You can edit the properties by double-clicking on the sub item. Give the sub item a new name and select a suitable data type.
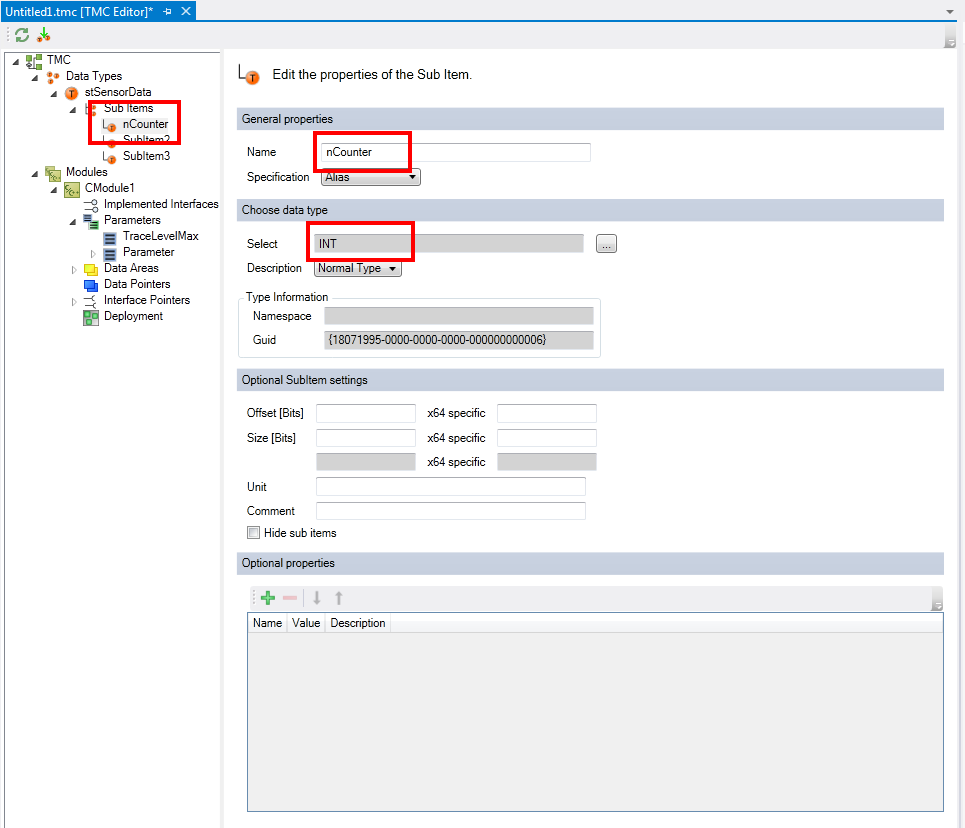
- 8. Give the other sub items a new name and select a suitable data type.
- 9. Save the changes you have made in the TMC file.
Step 2: Start the TwinCAT TMC Code Generator to generate code for the module description.
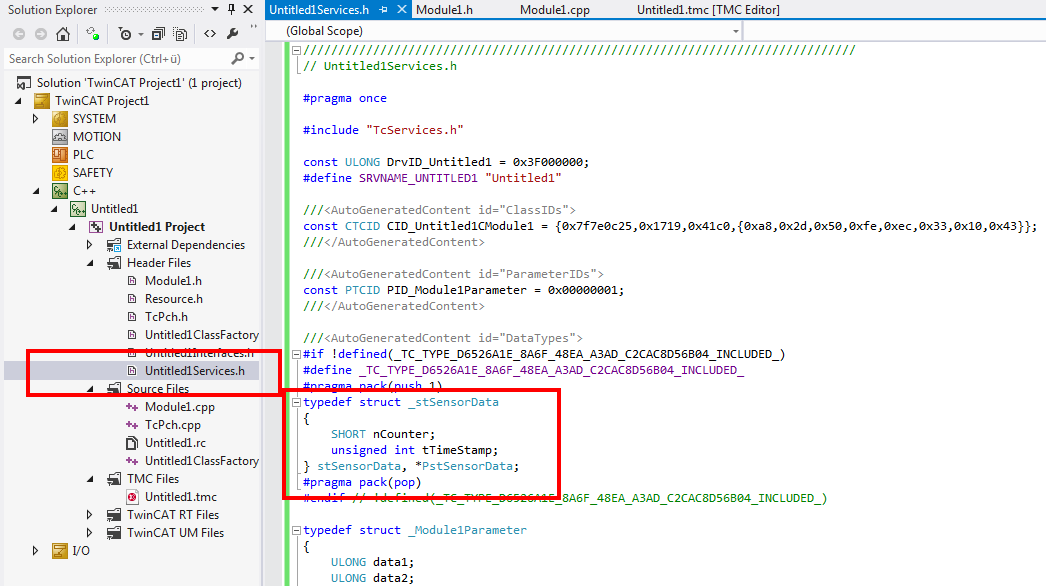
- 1. Right-click on your project file and select TwinCAT TMC Code Generator to generate the source code for your data type:

- You can see the data type declaration in the module header file "Untitled1Services.h"
- If you add a further data type or a further sub-element, run the TwinCAT TMC Code Generator again.