Configuration
To configure the modulo function, proceed as follows:
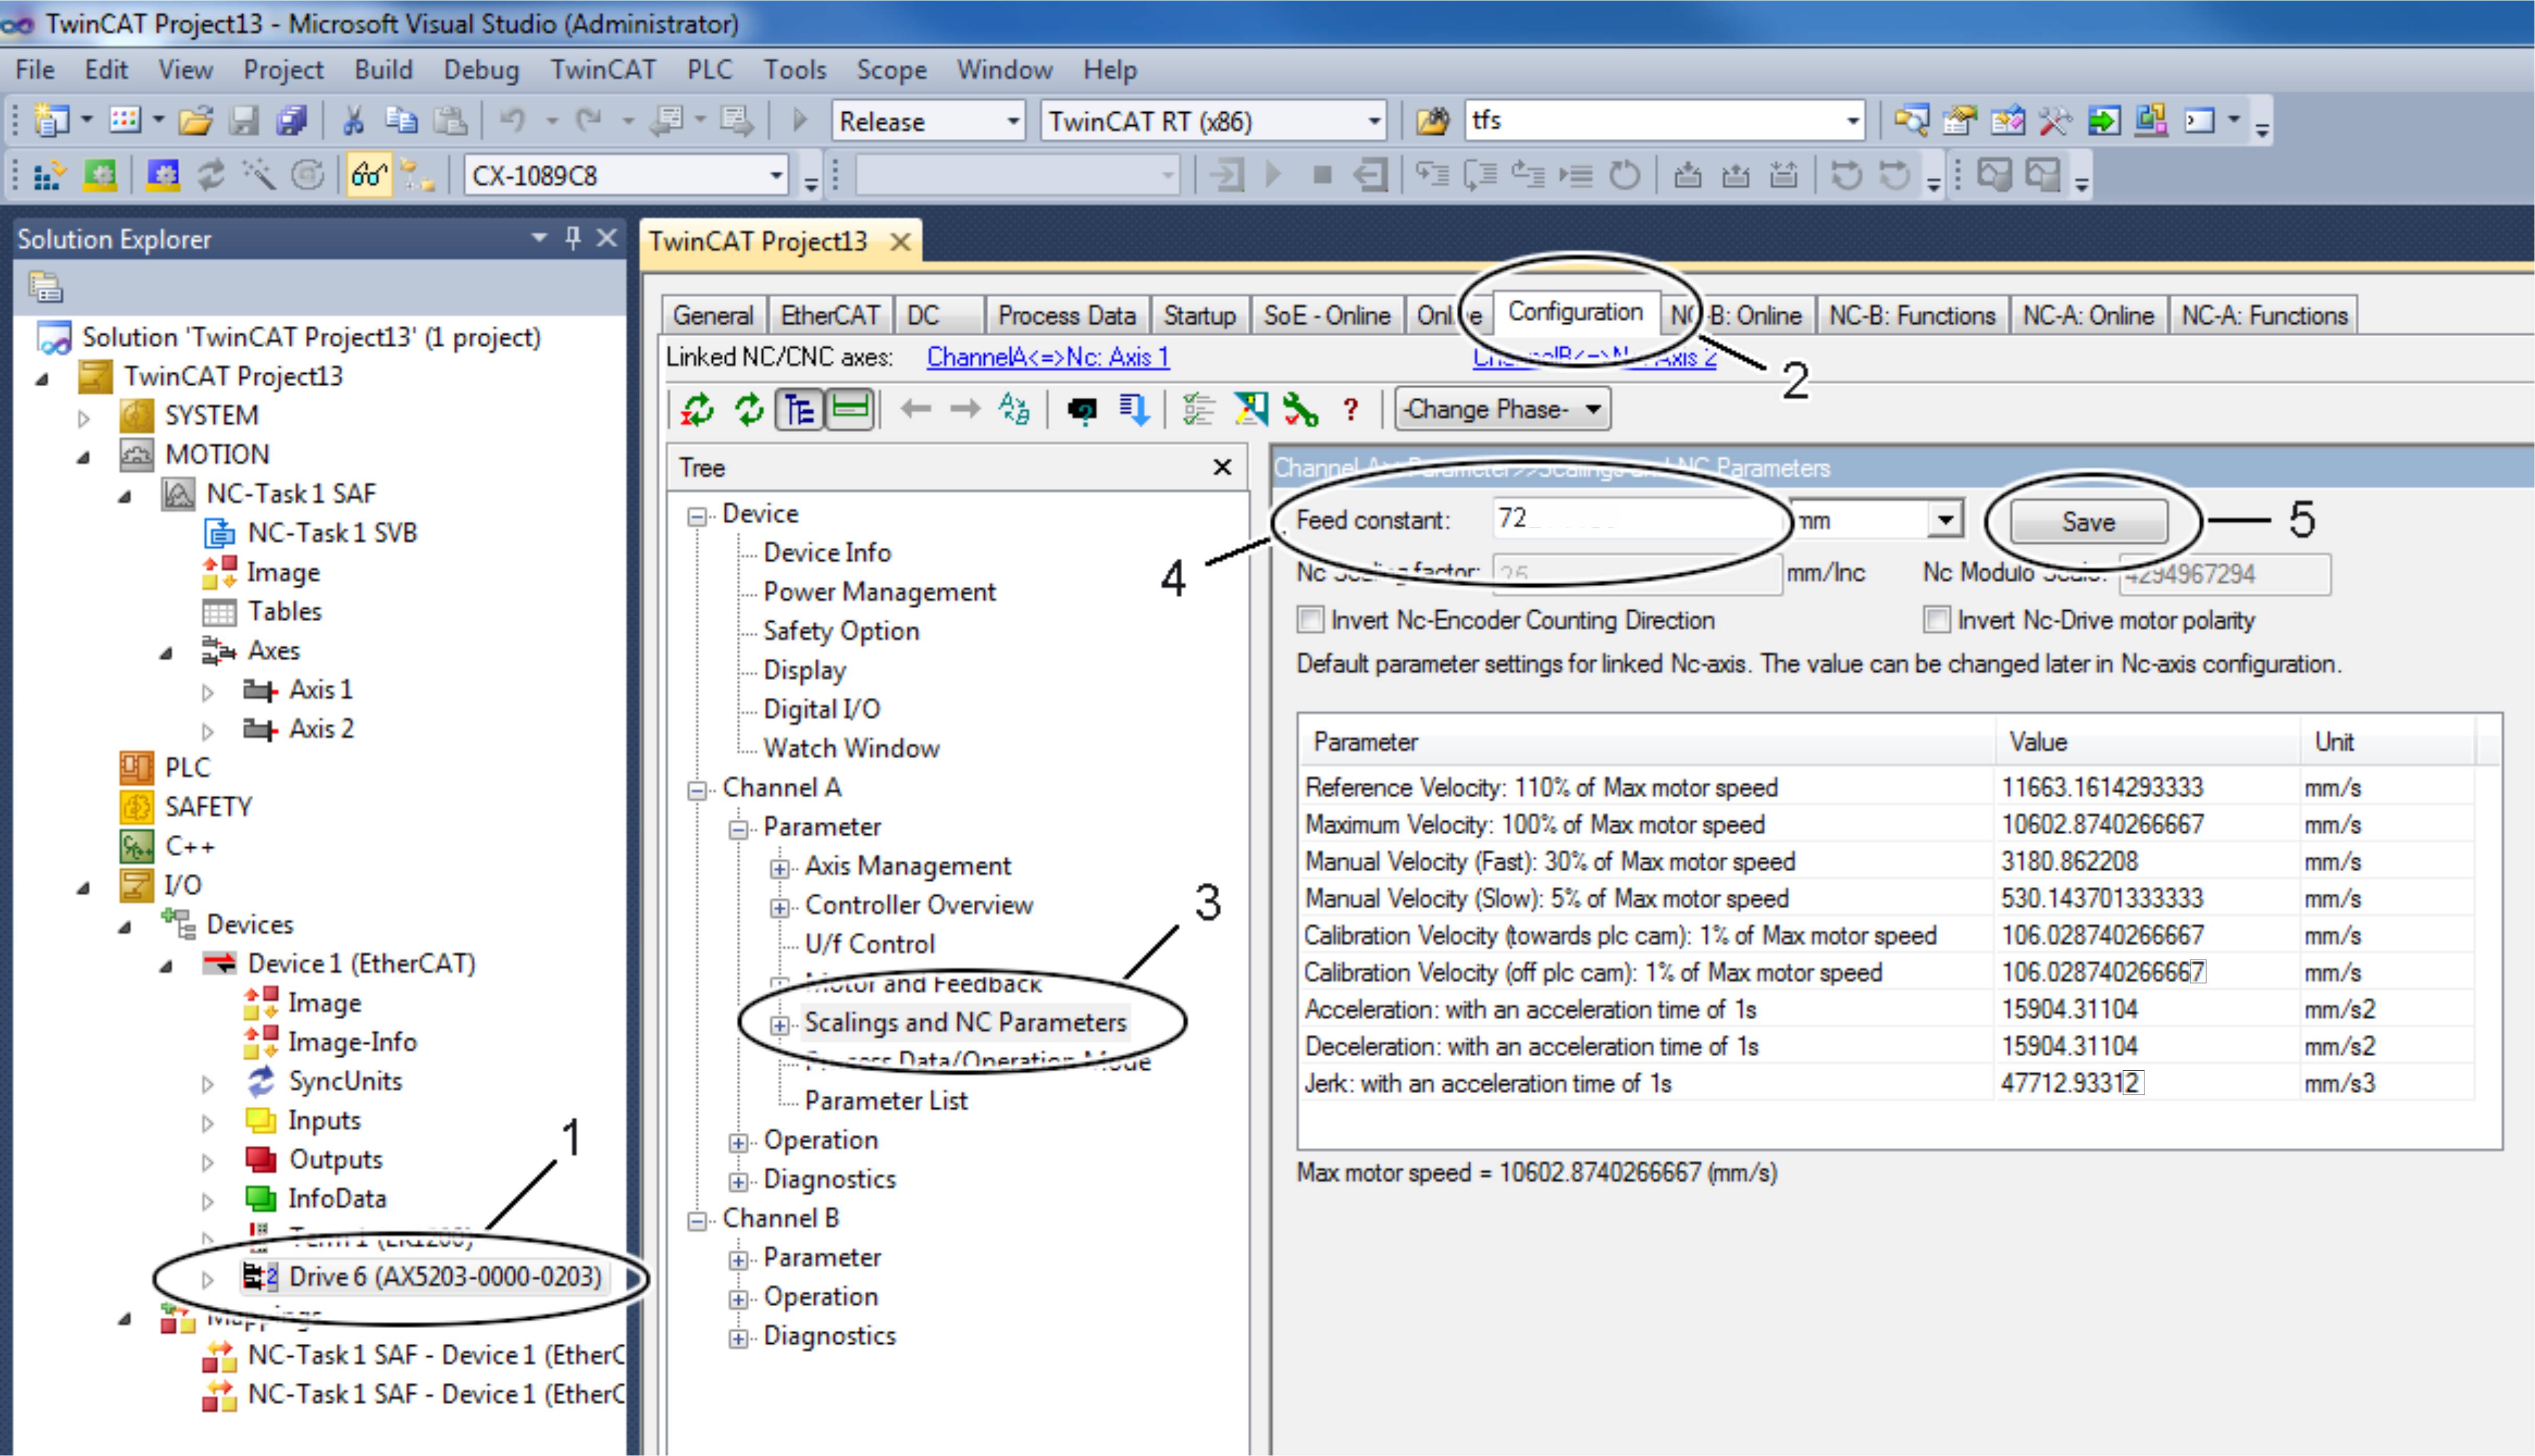
- Select the device “AX5203” (1).
- Open the TCDriveManager (2).
- Select the item “Scalings and NC Parameters” (3) for channel A.
- Define the feed constant (4).
- Complete the input with “Save” (5).
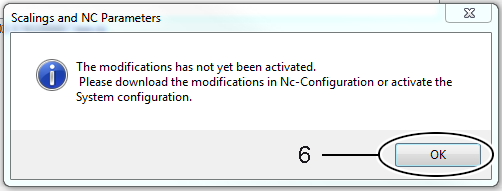
- Confirm the message with “OK” (6).
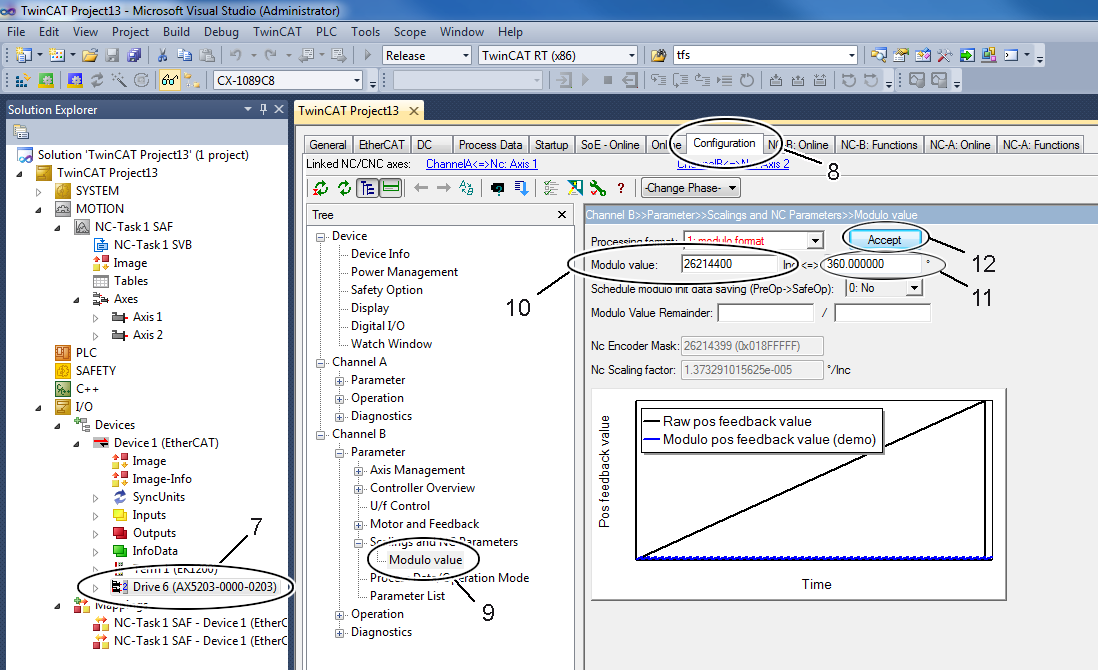
- Select the device “AX5203” (7).
- Open the TCDriveManager (8).
- Select the item “Modulo value” (9).
- Define the modulo range in the preset unit (11).
The TcDriveManager subsequently calculates the modulo value in the unit increments (10).
Complete the input with “Accept” (12).
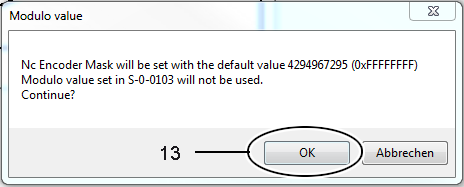
- Confirm the message with “OK” (12).
- Repeat the procedure for the second channel (“Channel B”).
- Activate the configuration.

- If no modulo data have been saved in the servo drive yet, error code F350 (“No saved data could be loaded”) appears on initialization; see also section Exchange.
- The reset functionality is described in section Resetting the modulo error.
Further Information