Mapping and configuration of temperature zones
A few individual steps must be taken in the engineering to commission the temperature control. After that, setup and configuration is possible purely on the user interface. The following step-by-step instructions show you the setting necessities in TwinCAT Engineering.
- 1. Configure the usable number of zones in the Tc2_PfwLib_Processing.
References > Tc2_PfwLib_Processing > Global Variables > TcPfw_Parameter_Scaling > cnPfwTempCtrlLast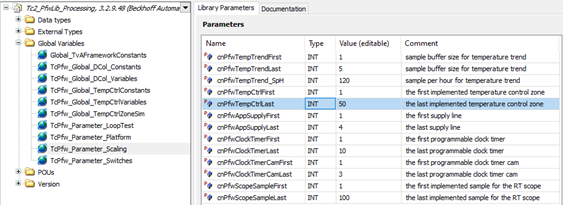
The library included in the Tc3_PlasticBaseApplication cannot be adjusted! It is necessary to add the Tc2_PfwLib_Processing library to your project to adjust the number of temperature zones. - 2. Link their analog inputs of the temperature sensors to the array
.in_PfwTempCtrlInput[].
After setting the number of zones, the project must be created successfully so that the mapping is updated, otherwise the mapping will not have the set number of zones. - 3. Link your digital outputs of the heating and cooling relays to the array
.out_pfwTempCtrlOutput[].
Cooling relays must be mapped to .SelOutNeg. - 4. Group the linear arrangement of zones to match their application. You have the following options here:
- A contiguous section of the arrangement shall be assigned to a group of temperature zones. In this sample, zones 1 to 10 are assigned to group 1.
hr := fbTemperature.LinkGroup(nStartIdx := 1, nEndIdx := 10, nGroupIdx := 1, bOverwrite := FALSE);- The devices of a temperature zone group are scattered over the array and must be individually assigned to the group. In this sample, zone 12 and zone 20 are assigned to group 2.
hr := fbTemperature.LinkZone(nLinearIdx := 12, nGroupIdx := 2, 0, bOverwrite := FALSE);
hr := fbTemperature.LinkZone(nLinearIdx := 20, nGroupIdx := 2, 0, bOverwrite := FALSE);