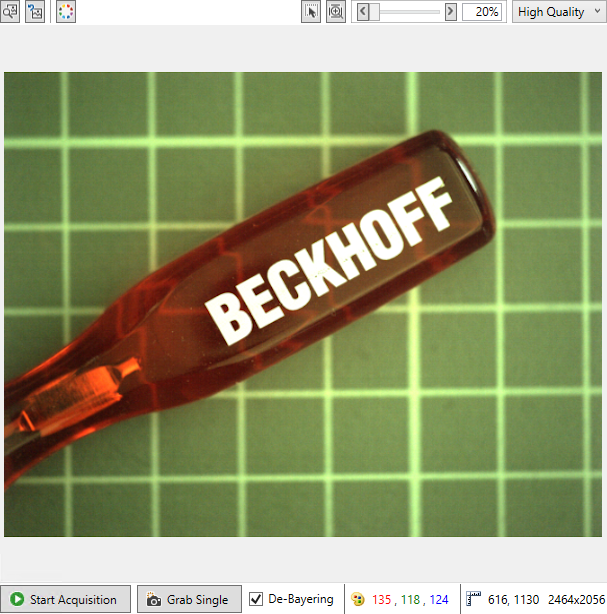
Image preview
The area on the left in the Configuration Assistant features a preview window and some operating elements.
 | In this image preview, only 8-bit integer images are correctly displayed. |
Lower bar
Below the preview window are the controls for starting / stopping the preview and information about the cursor position on the image:
Start/Stop Acquisition | Button for starting or stopping image acquisition. |
Grab Single | Button for triggering a single image. |
De-Bayering | Images in Bayer format can be previewed as RGB images. This setting is set by default based on the pixel format used and can be deactivated manually. If a Bayer Pixel format has been chosen in the Camera Features but a different format is received, a warning is displayed that the formats do not match. If this option is activated, the next image from the camera will be converted, not the present one. |
Pixel Value | The color or intensity value of the pixel at the mouse cursor position on the image is indicated here. |
Cursor Position | Shows the mouse cursor position on the image. Please note that the zero point for images is always at the top left. |
Image size | The size of the displayed image is shown here in pixels. |

| Image acquisition and trigger settings Make sure that the image acquisition and trigger settings of the camera are selected in such a way that the camera reacts to the commands. |
Upper bar
Above the preview image there are some controls for facilitating the camera configuration and adjustment of the image display.
Camera configuration
| After clicking this button, an ROI can be drawn directly in the preview image by holding the left mouse button down. This ROI is written to the camera parameters, so that the next image is sent with the set ROI. |
| After clicking this button a previously set ROI will be deleted, i.e. image size and offset will be set to the default values of the camera. |
| Clicking will perform a white balance on color cameras. The camera must support the following GenAPI parameters for this: BalanceRatioSelector and BalanceRatio (or BalanceRatioAbs for older cameras). In addition, the camera image must contain a white (not overexposed or reflective) object, such as a sheet of paper, for white balance. Following a white balance, the necessary values are saved in the named GenAPI parameter and can be adopted into the Initialization Commands or UserSets. Automatically persistent storage on the camera may be specific to the camera concerned, but is not a standard feature. This button is only active if there is a valid color format (3-channel images as RGB or 1-channel images in the Bayer format). |
 Set ROI
 Reset ROI
 Whitebalance
Displayed image size

Adjustment options for the image display size. The image can be scaled between 20% and 6400% of the original size using the slider or by entering a value in the text field. After clicking on the left button, a rectangular area can be dragged directly in the preview image by holding down the left mouse button. The scaling is then adjusted accordingly so that the selected area is displayed in the preview. By clicking on the “Fit to window” button, second from the left, the display size is automatically selected so that the preview makes the best possible use of the available space on the screen.
Interpolation
Here you can choose between different interpolation methods to scale the image from the original size to the display size:

High Quality | High-quality interpolation with smooth edge and pixel transitions. |
Nearest | Interpolation by adopting the locally nearest pixel value, whereby the individual pixels are displayed visibly and delimited. This method can be used to check pixel values. |
Right-click the image
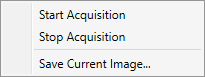
Start Acquisition | Start image acquisition. |
Stop Acquisition | Stop image acquisition. |
Save Current Image | Save image as bitmap, JPEG or PNG. |