Moving an axis using Motion UI
| |
This example requires simulation axes - improper use of real axes can result in fatal or serious injury! This example creates an axis movement. When using real axes, different safety requirements apply. There is a risk of fatal or serious injury due to unintended movement of real axes.
|

- An axis object has been created;
see Create an axis object.
- 1. Activate the TwinCAT project.
- 2. Enable the axis using All in the Enable dialog.
- The sliders in the Enable dialog should now be highlighted in green. In addition, the axis status in the widget bar should be highlighted in green and display the status
Standstill. - 3. Move the axis by clicking and holding one of the jog buttons
 in the sidebar.
 - While you hold down the button, the axis state
Discrete Motionshould be displayed. The displayed position changes as the object moves, and the current velocity is shown. - 4. Now perform an absolute movement. To do this, you need to enter values in the Move Absolute dialog box. For example, enter the value “1000” for Position and the value “750” for Velocity.
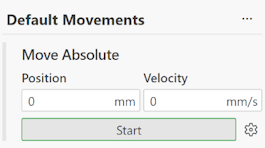
- 5. To specify motion dynamics, you can use the gear icon
 to open additional settings and configure the parameters.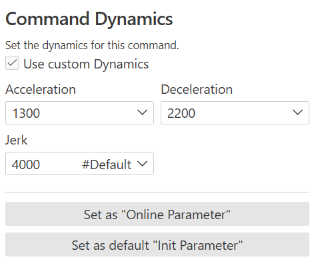
- If user-defined parameters are stored for a command, the gear icon turns green:
 .
.
Clicking the Adopt as default ‘Init Parameter’ button applies the parameters defined here to the axis’s parameter list, overwriting any settings previously configured there. - 6. Click the Start button to begin the movement.
- The green bar on the dialog box indicates that the movement is active. During the motion, the axis state is displayed as
Discrete Motion.
The current position changes, and the velocity is also displayed.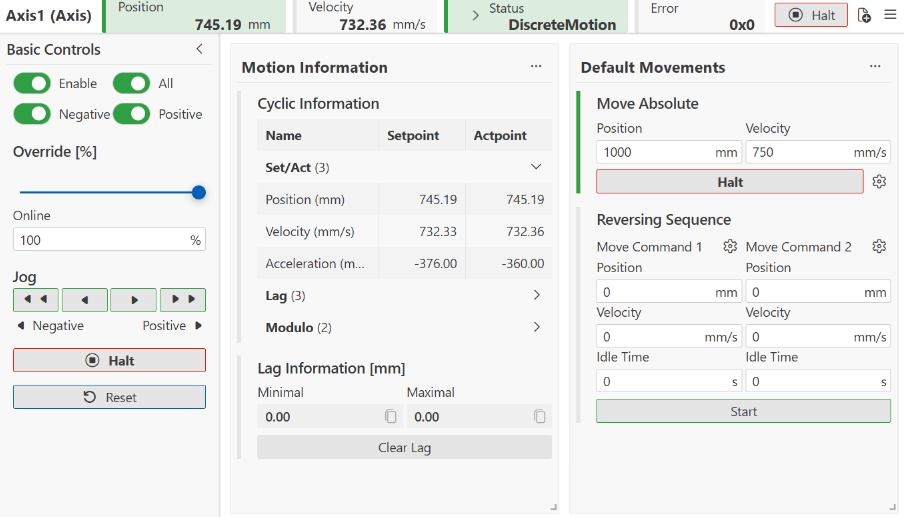
- 7. Click the Stop button to stop the axis from moving. This aborts the motion command.