Configuring speech input
A configuration wizard is available for the configuration of the speech input (ASR). This guides you through the ASR configuration.
- 1. To open the ASR Configuration Wizard, right click TwinCAT Speech Configurator in the Solution Explorer.
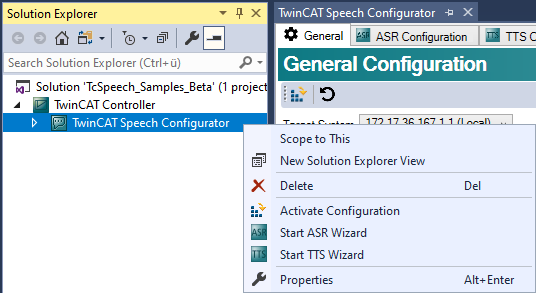
- 2. Select Start ASR Wizard from the context menu.
- The ASR Configuration Wizard opens.
In the lower section you will see a list of all already configured microphones, which is empty in the case of a new project. A selected microphone is listed in the upper section.
In the first part of the configuration, the wizard guides you through the configuration of the microphone input of the sound card.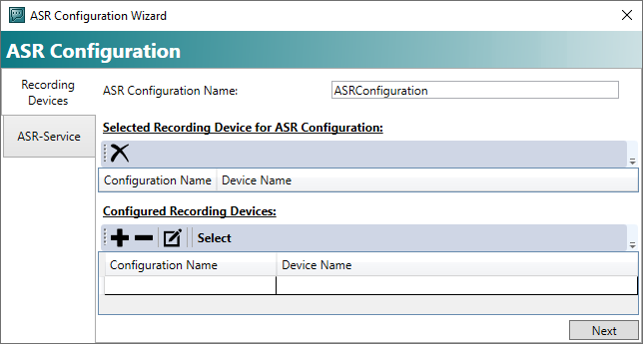
- 3. To add a new microphone input, click the + button.
- The Device Wizard opens.
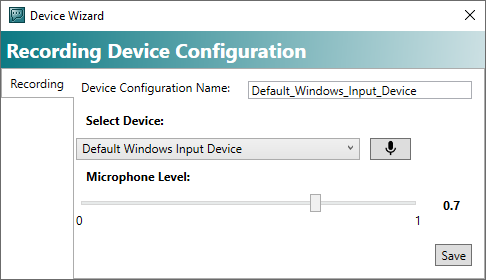
- 4. In the Select Device drop-down list, select the appropriate microphone input.
If you select the Default Windows Input Device here, the default sound card set in the operating system will always be used. - 5. Click the Save button.
- The Device Wizard closes.
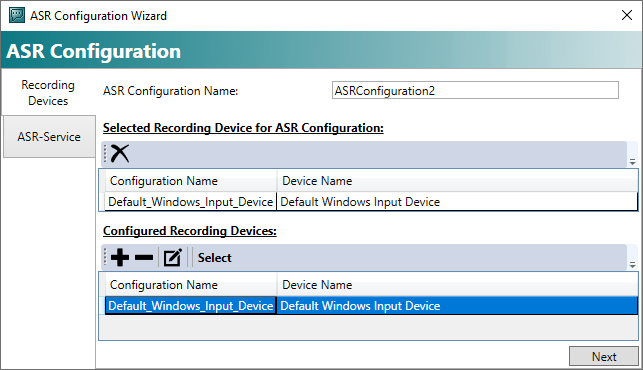
- 6. If necessary, mark the newly created microphone input and click Select.
- The microphone input is added to the list Selected Device for ASR.
- 7. Click the Next button.
- The second part of the configuration opens, which is where you configure the actual speech recognition service. As in the first step, a list of services that have already been configured is shown below. The selected service is in the list Selected Service for ASR Configuration.
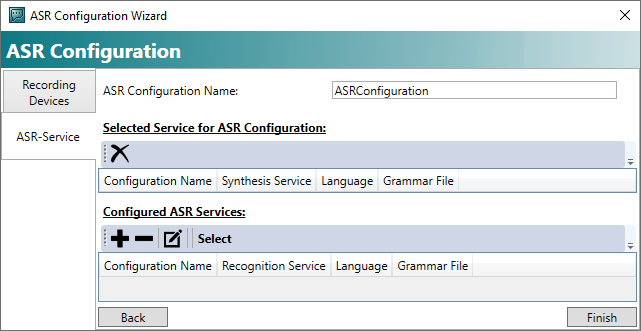
- 8. To add a speech recognition service, click the + button.
- The ASR Service Wizard opens and guides you through the configuration of a speech recognition service and an SRGS file.
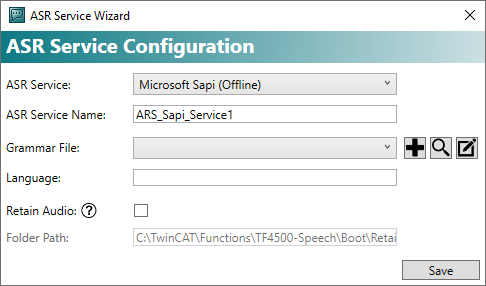
- 9. Now configure a speech recognition service.
- 10. Select the desired provider from the ASR Service drop-down list.
- 11. You can give the speech recognition service its own name in the ASR Service Name input field.
- 12. Configure a grammar file with the sentences to be recognized.
- 13. To add a grammar file, click the + button.

- 14. Create a new grammar file by clicking Create new Grammar File.
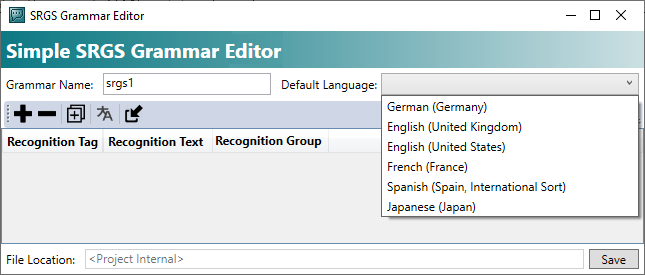
- 15. Name the file in the Grammar Name input field.
- 16. Select the desired default language from the Language drop-down list.
You can store several languages in the SRGS Editor and switch between them later, for example from the PLC or HMI. - 17. Click the + button.
- A new row is added.
- 18. Click the Save button.
- The configured grammar file appears in the Grammar File drop-down list and the selected language is shown in the Language box.

- 19. If you want to save the speech inputs, check the Retain Audio check box.

- 20. In the Folder Path input box, enter the location where you want to store the speech inputs.
- 21. Click the Save button.
- The ASR Service Wizard closes.
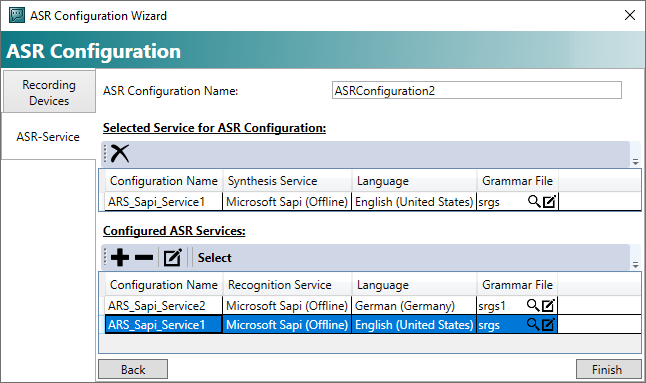
- 22. If speech recognition services have already been created, select the newly created speech recognition service and click Select.
- The speech recognition service is added to the list in the section Selected Service for ASR Configuration.
- 23. Click the Finish button.
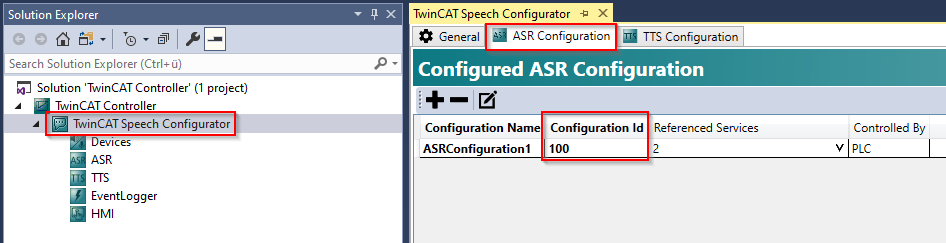
- At the end of the configuration, TwinCAT Speech creates an identification number for it. This can be found in the list of ASR configurations under Configuration Id and you need it for the PLC programming of the TwinCAT Speech project.
- 24. Activate the TwinCAT Speech configuration on the target system.
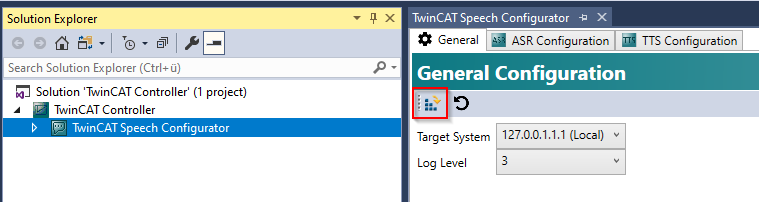
- The TwinCAT Speech configuration is activated on the target system and can be used by the PLC.