Labeling options for image classification
For image classification data sets, there are various options available for creating and managing labels.
Labeling during file upload
Labels can be assigned while the image data is being uploaded.
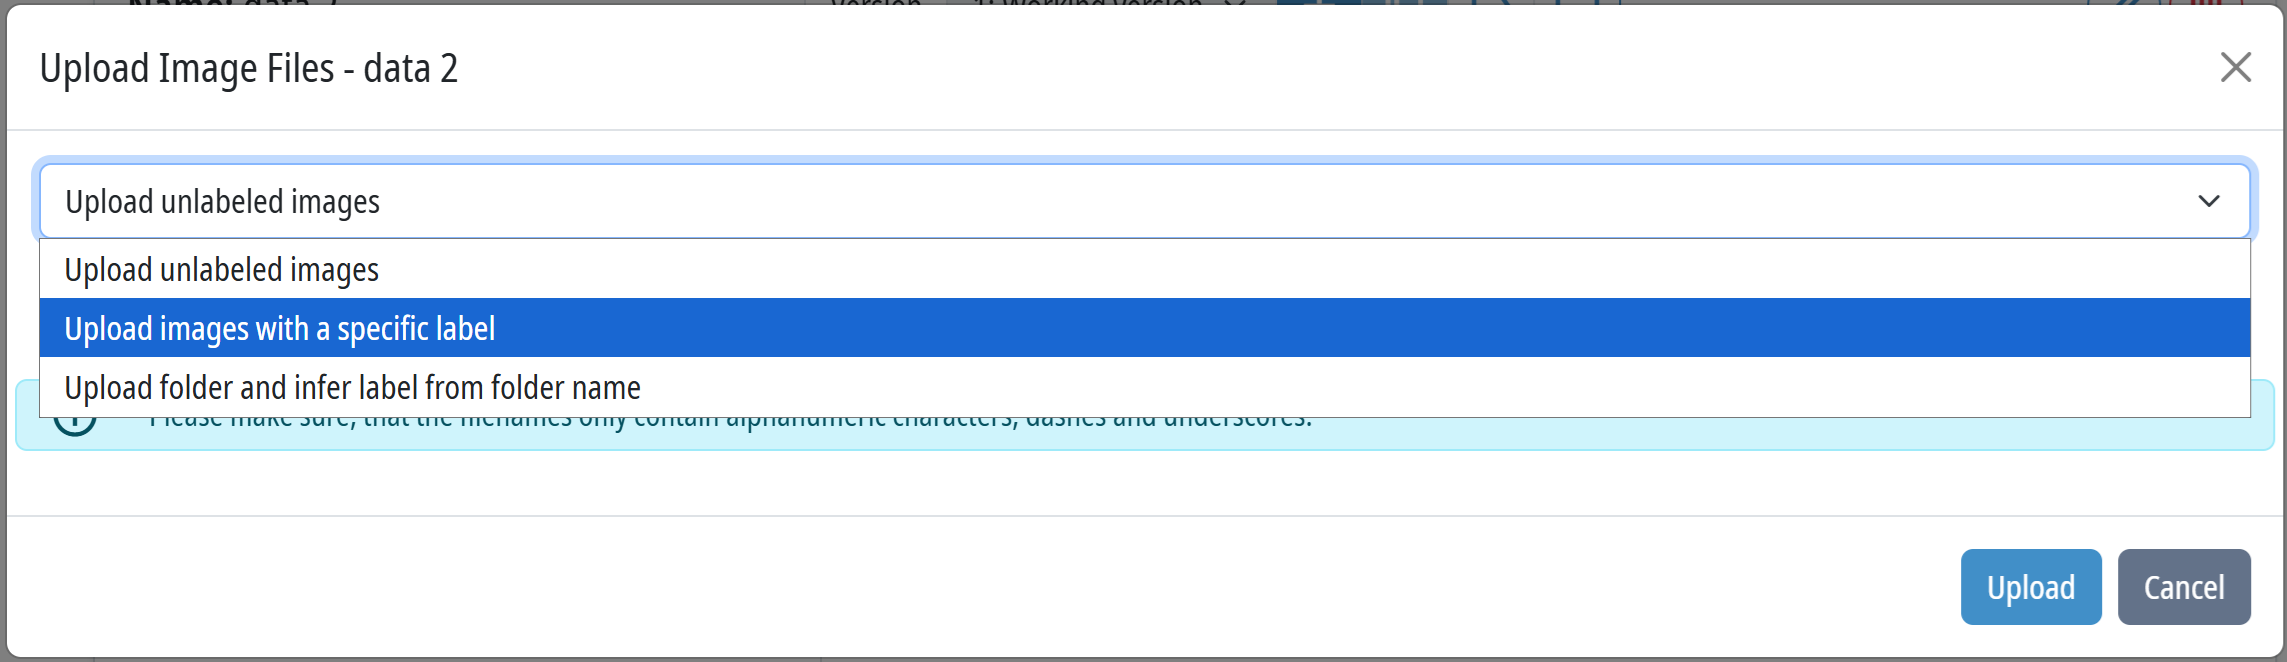
Label assignment for an upload batch
When uploading, you can specify that all selected images be assigned to a specific label.
By uploading data in multiple batches with different labels, you can create a data set with multiple classes.
Example:
- Upload Batch 1 → Label OK
- Upload Batch 2 → Label NOK
Labeling via folder structure
Alternatively, images can already be organized locally into subfolders.
When uploading a directory tree, the name of each subfolder is automatically used as a label.
Example:
dataset/
├── OK/
│   ├── img_001.png
│   └── img_002.png
├── NOK/
│   ├── img_003.png
│   └── img_004.png
In this example, the labels "OK" and "NOK" are automatically generated and assigned to the respective images.
Importing external labels
Labels can be imported from external annotation tools.
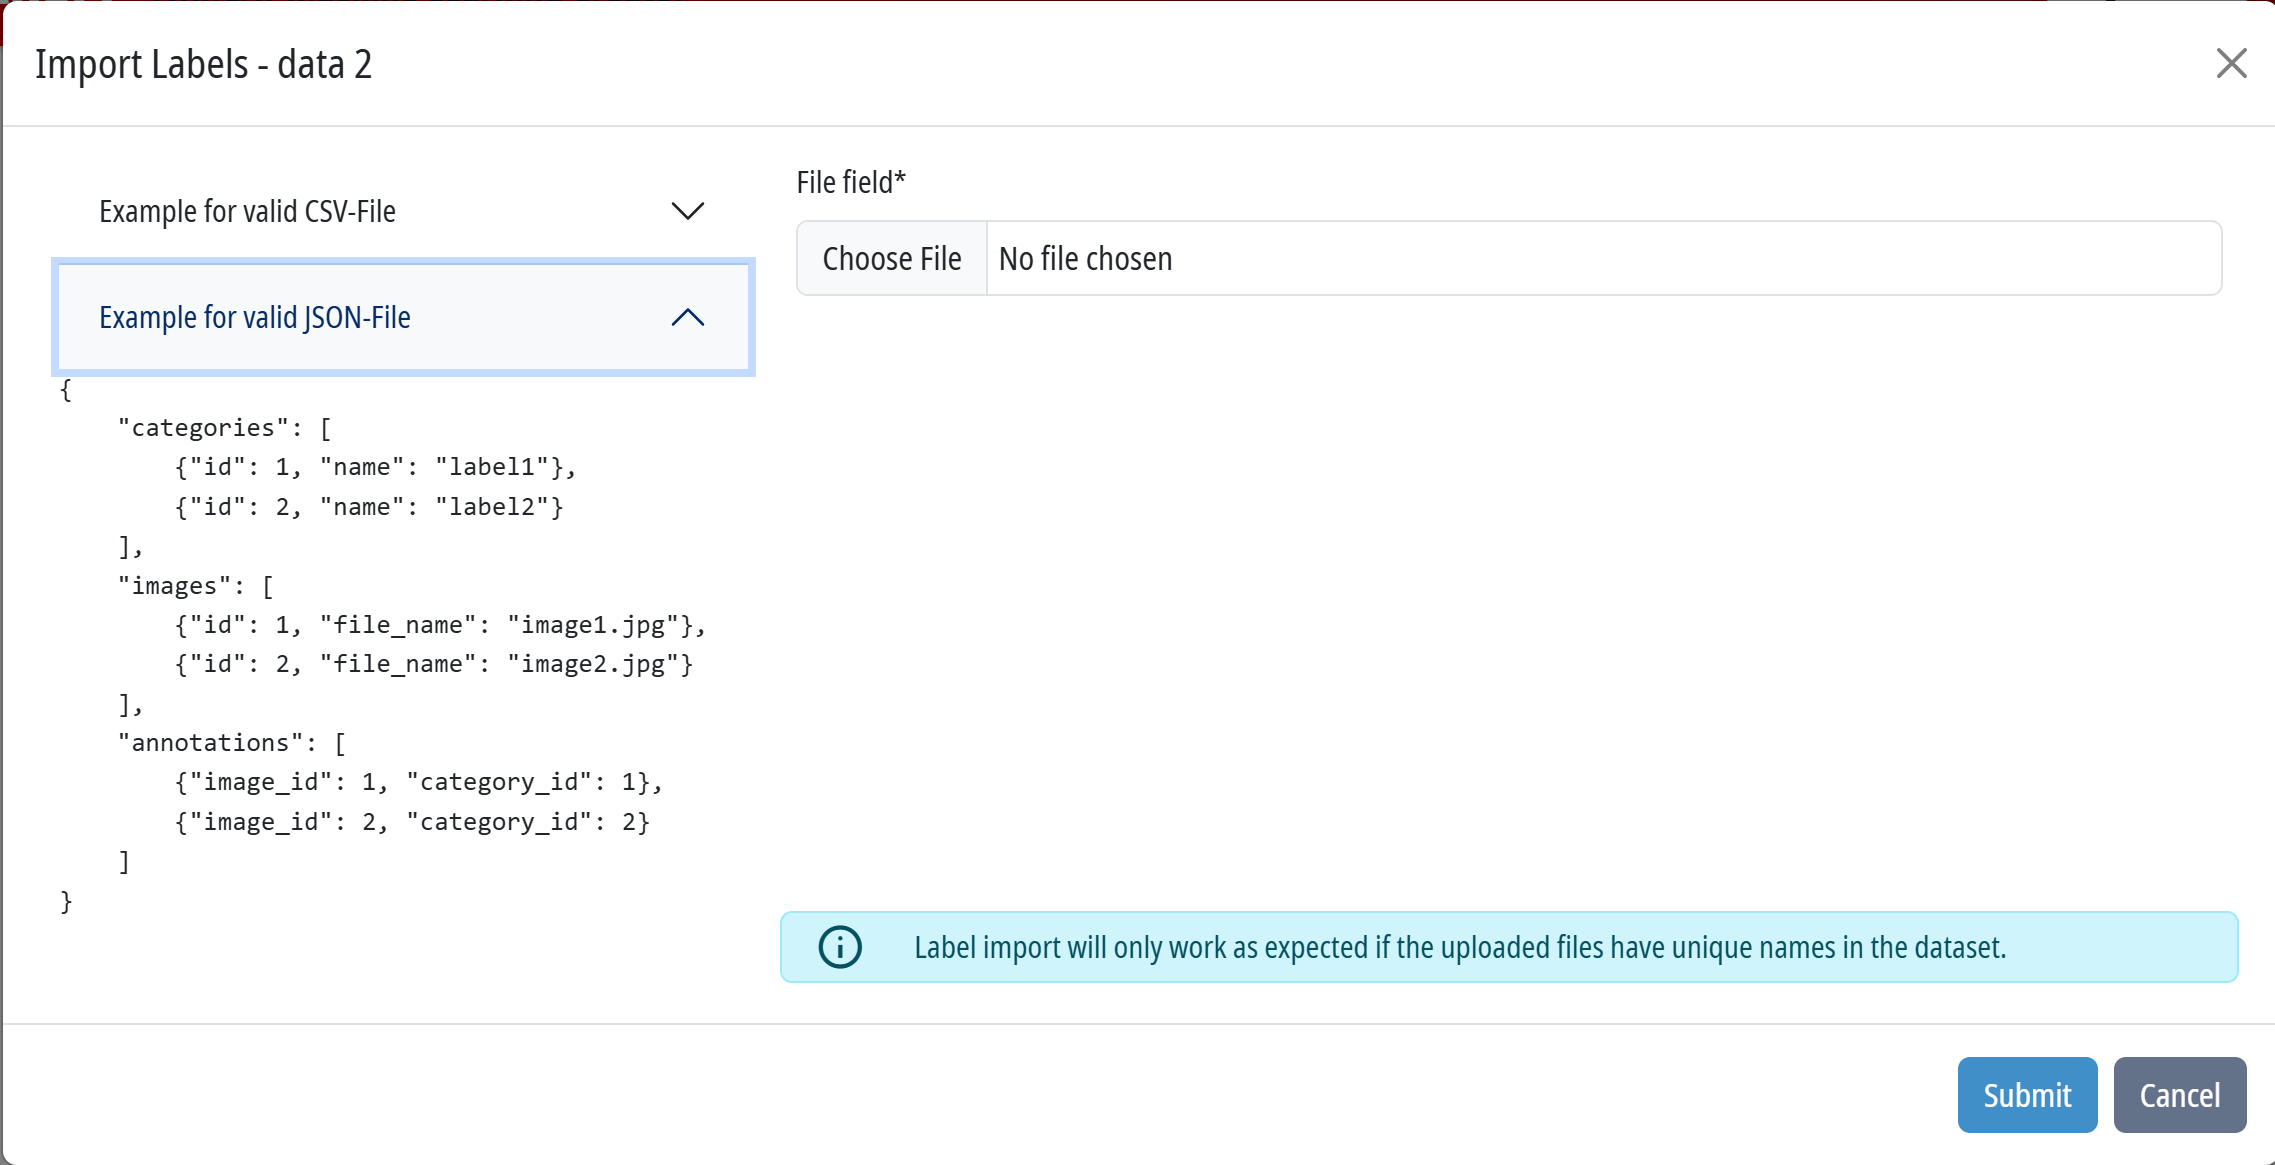
The import is done using Import labels.
Supported formats:
- CSV
- COCO
This allows existing annotations from external workflows to be imported.
Labeling in TwinCAT Machine Learning Creator
Labels can be created and edited directly within the TwinCAT Machine Learning Creator.
Options available through the Label manager:
- Create new labels
- Rename labels
- Manage existing labels
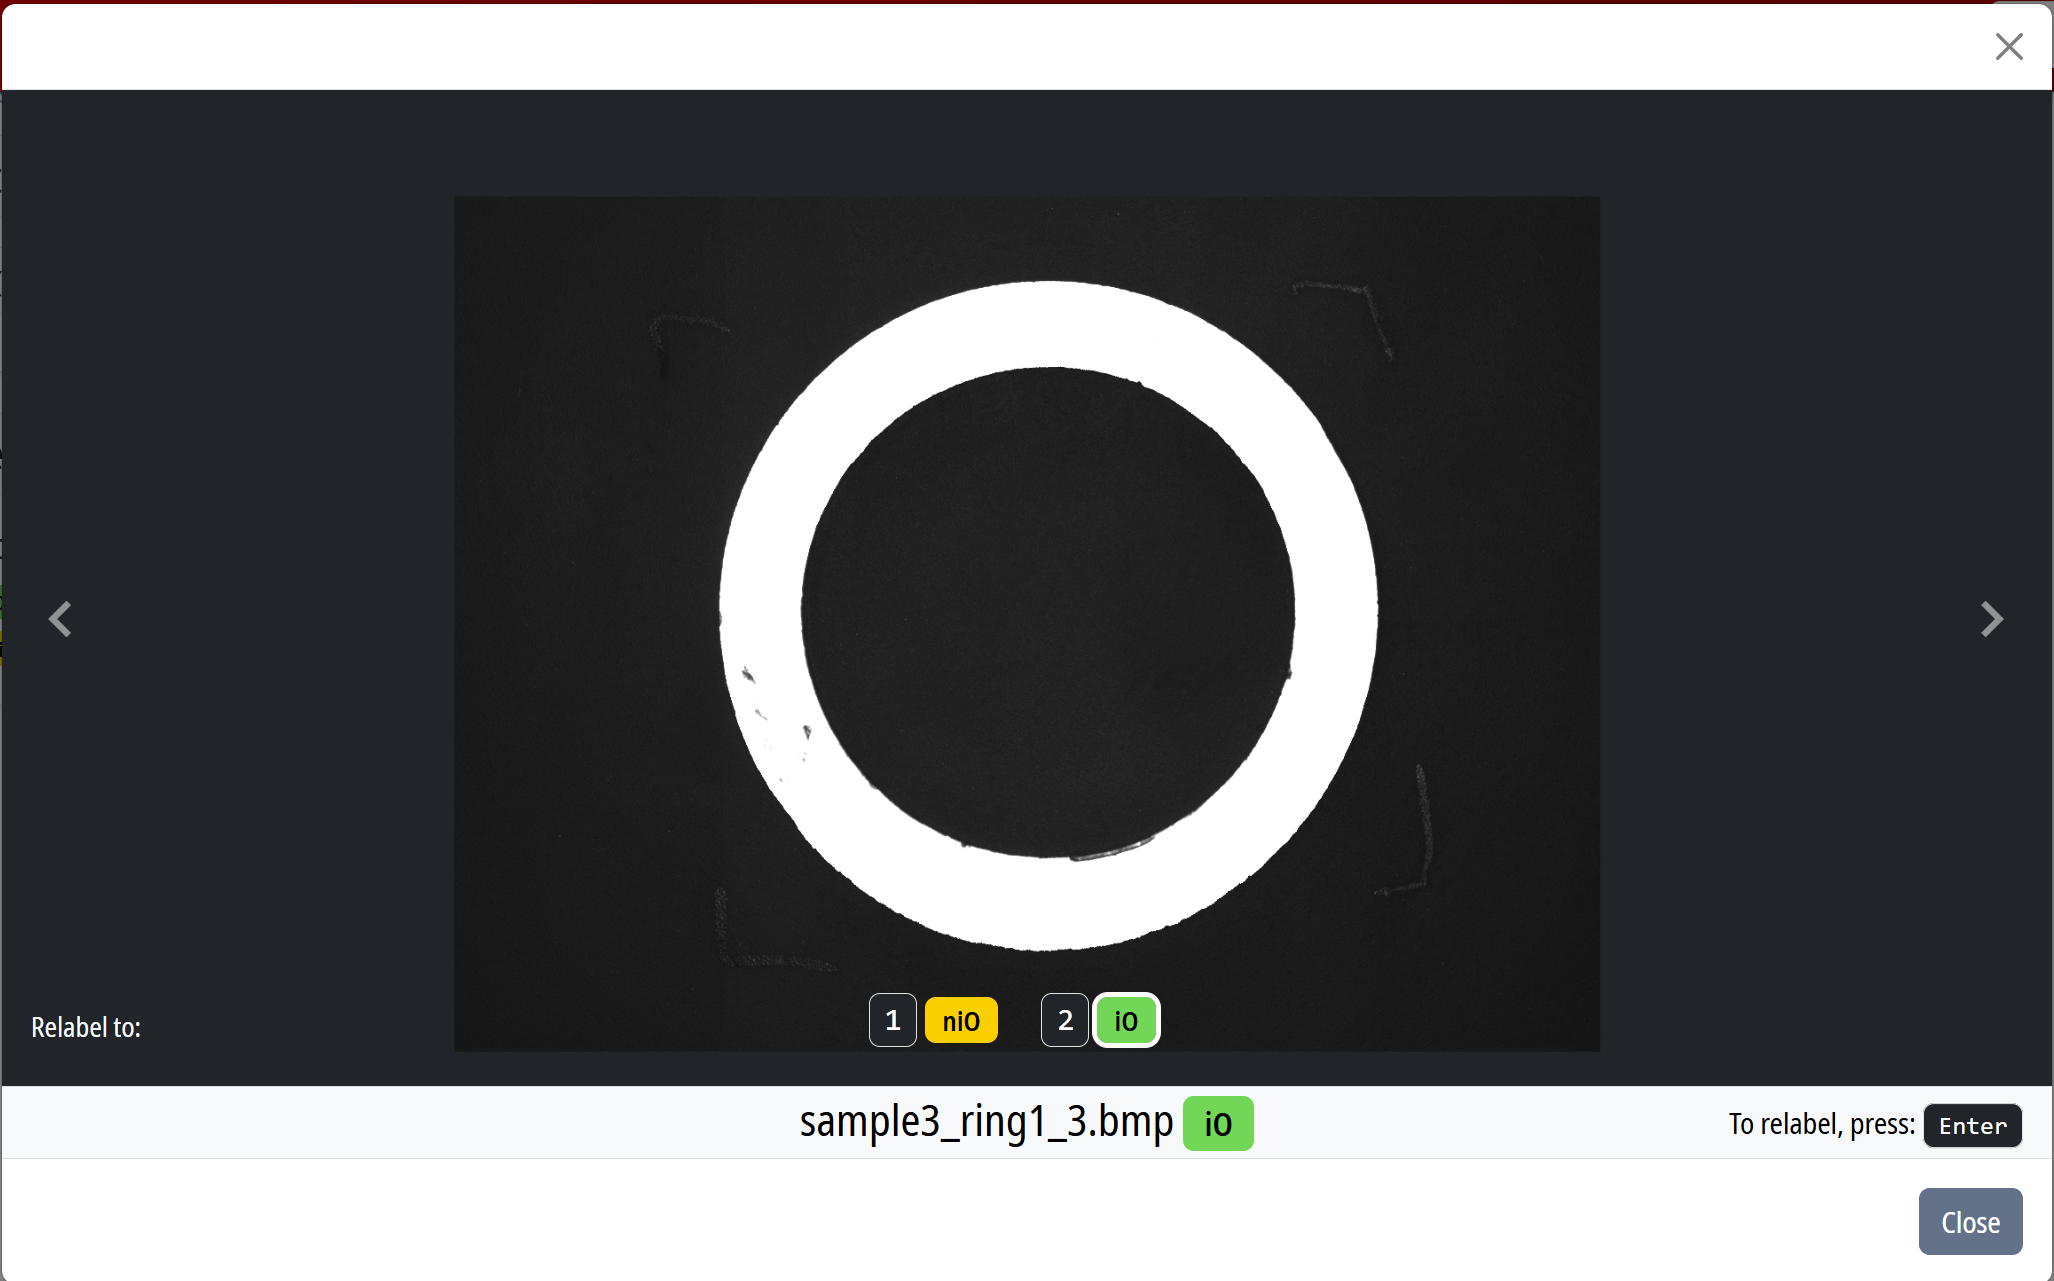
In File explorer, you can label images individually. To do this, make a choice of an image and then press the Enter key to switch to label mode. In label mode, images can be assigned to existing classes or relabeled. You can use the left and right arrow keys to quickly navigate through the data set.