Export
A Data Track Editor can be exported using the Track Editor Export Wizard. To call the wizard you should click this button  , which is next to the tracks timeline.
Start page
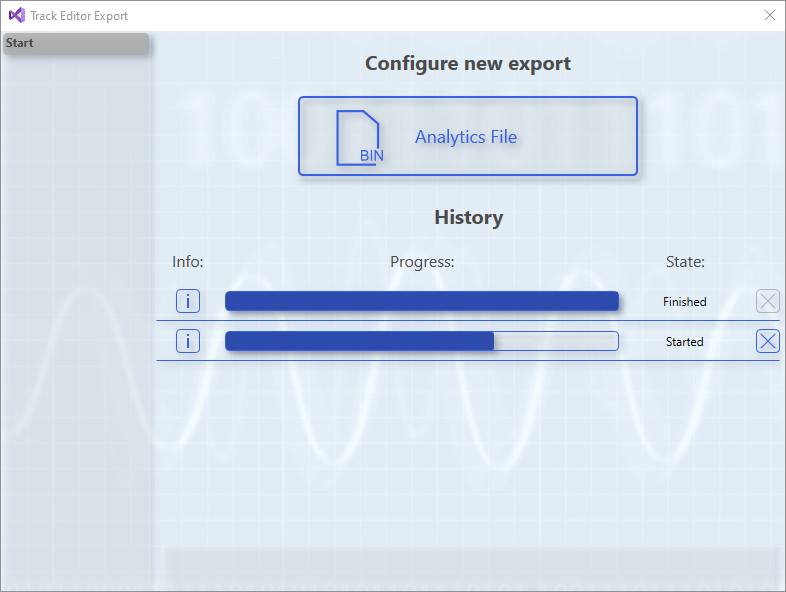
On the start page of the wizard, new exports can be started in the upper part. All available export formats are displayed as a separate button. In the lower part is a history of exports that were started while the project was open. Each entry in the history has a button on the left side with info about the export. The info contains the start time of the export, important properties depending on the format and, in the event of an error, the error message. To the right of this is a progress bar that shows how many of the samples to be exported have already been exported. After that, the status of the export is output. The button on the far right can be used to cancel running exports.
When clicking one of the buttons to start a new export, one or more new pages will appear in the wizard where the settings for the format can be made.
Analytics File Configuration Page
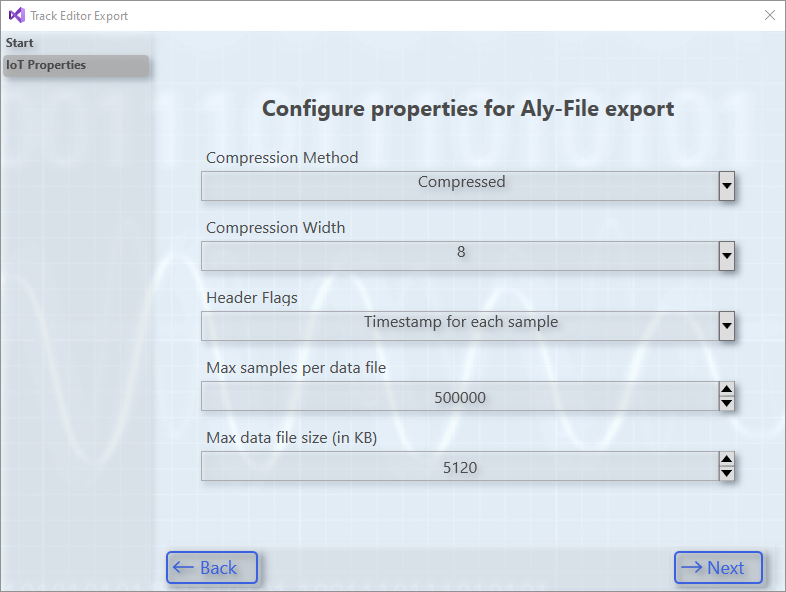
This Analytics File Format configuration page specifies the following settings:
Compression method | Analytics File can be saved compressed or uncompressed. (Data Compression) |
Compression width | This option is only available if the Analytics File is to be saved in compressed form. It gives the maximum width to compare for compression. |
Header flags | In the flags you can specify whether each .tay file should have only one time value or whether each sample in the .tay file should have its own time value. |
Maximum samples and file size | With these two properties you can set how big the .tay files of the Analytics File can become. On the one hand you can set the maximum number of samples to be stored in a file and on the other hand you can set the size of a file in kilobytes in the file system. If one of these values is exceeded, a new .tay file is created. |
Export page
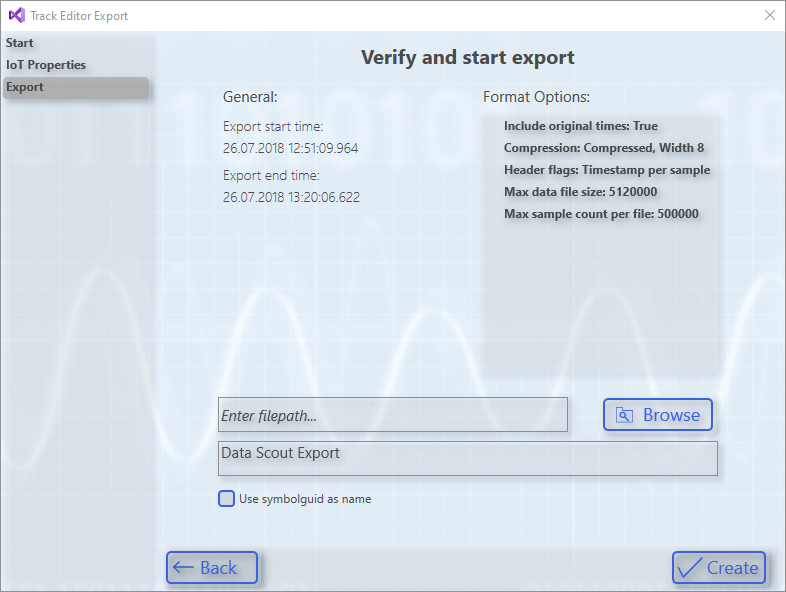
The Export page is displayed after going through the configuration pages for the format. Here all settings are listed again and a storage location can be specified if necessary for the format. The upper text field indicates the folder. The lower text field specifies the file name.
A checkbox can also be ticked for the Analytics File Format instead of specifying a file name. In this case, the ID of the symbol is used as the folder name.
When the Create button is clicked, the export starts in the background. Then this page closes and the wizard jumps back to the start page. The new export is listed here in the history and the progress can be tracked.
Incomplete data elements
If one or more tracks are not completely filled with data, this is marked with red lines above the tracks  . These areas are ignored during export. If there is a gap in the middle of a track, the exported file will not contain all the data. Several records would be created when exporting to Analytics File.