CAN Box Reset
CAN box Reset takes place in 8 steps.
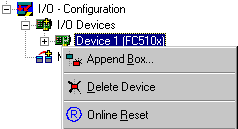
1. Step:
At first, you must add the box. Open the dialog box under the device (here FC510x, CANopen Master, PCI).
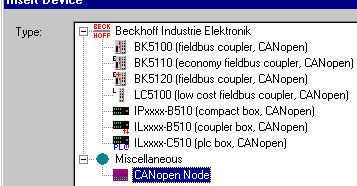
2. Step:
Choose 'CANopenNode' in the diaolg 'Insert device'.
3. Step:
The box has 2 inputs and outputs. You must delete TxPDO1, TxPDO2 and RxPDO1.

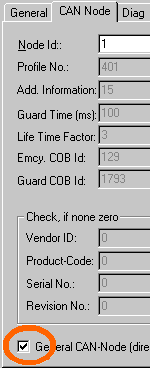
4. Step:
The appropriately tab must have the following settings:
5. Step:
At the output RxPDO1 tab, the COB ID must be set to zero.
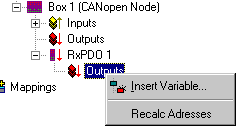
6. Step:
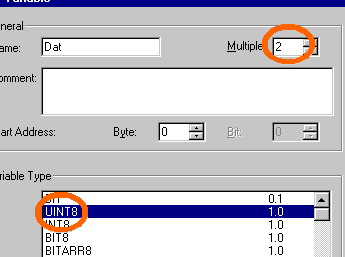
When you open the dialog box under RxPDO 1 'outputs’, you can insert further variables.
7. Step:
The appropriately tab must have the following settings:
8. Step:
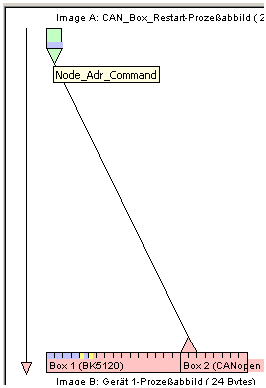
Mapping
This is the appropriately representation.
Thus, CAN box RESET is terminated.