AB Flex I/O Device Configuration
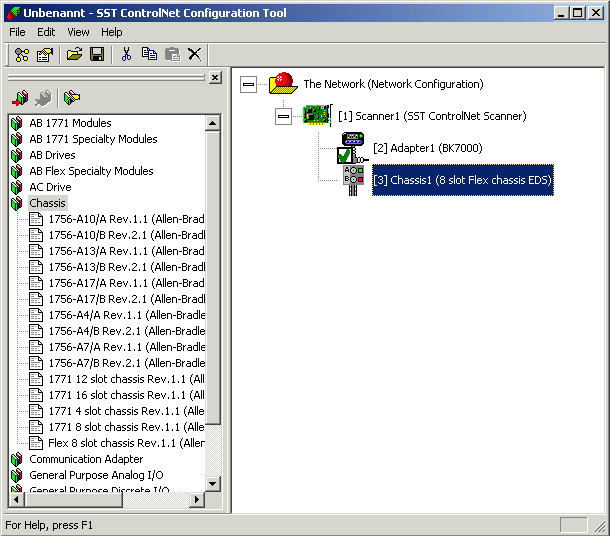
First of all, a "Flex 8 Slot Chassis" must be dragged with the left mouse button from the EDS library's "Chassis" entry to the scanner in the right hand window. The AB Flex I/O chassis then appears in the right hand window.
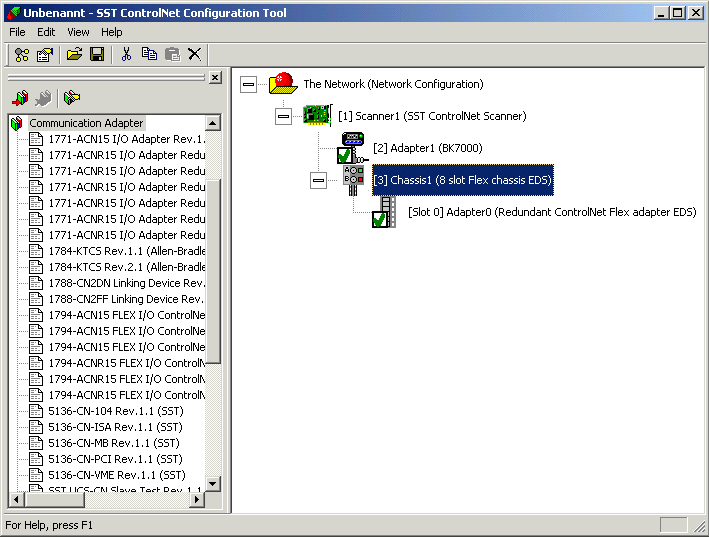
Next, the corresponding Flex I/O adapter is to be dragged with the left mouse button from the EDS library's "Communication Adapter" entry, across to the chassis in the right hand window - a field appears with 0 for the slot number, which is to be selected. The Flex-I/O adapter then appears in the right hand window.
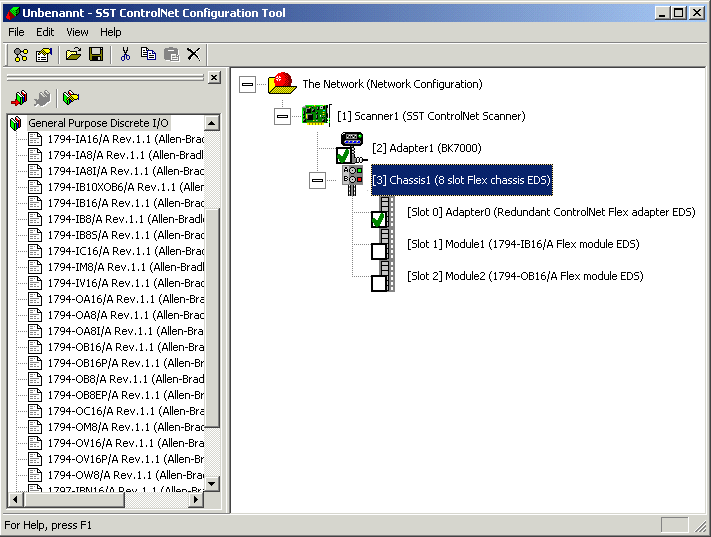
It is finally necessary for the appropriate modules for the Flex-I/O device to be added by dragging them with the left mouse button from the "General Purpose Analog IO" or "General Purpose Digital IO" entries, across to the chassis in the right-hand window. A field with the slot number, which has to be selected, appears.
The Mac-ID can be set in the dialog which appears by double-clicking the chassis.
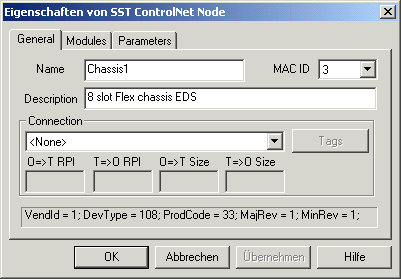
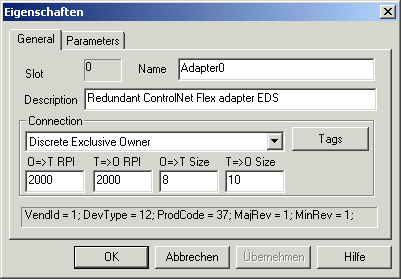
Double-clicking the Flex I/O adapter allows the "O=>T RPI" or "T=>O RPI" values to be set. These values must be greater than or equal to the network settings for the NUT interval.