Scope View 2
After the installation you can start the Scope View 2 under Windows Start ð Programms ð TwinCAT System ð TwinCAT Scope 2. After you followed the path the default-screen opens which is shown in the picture below.
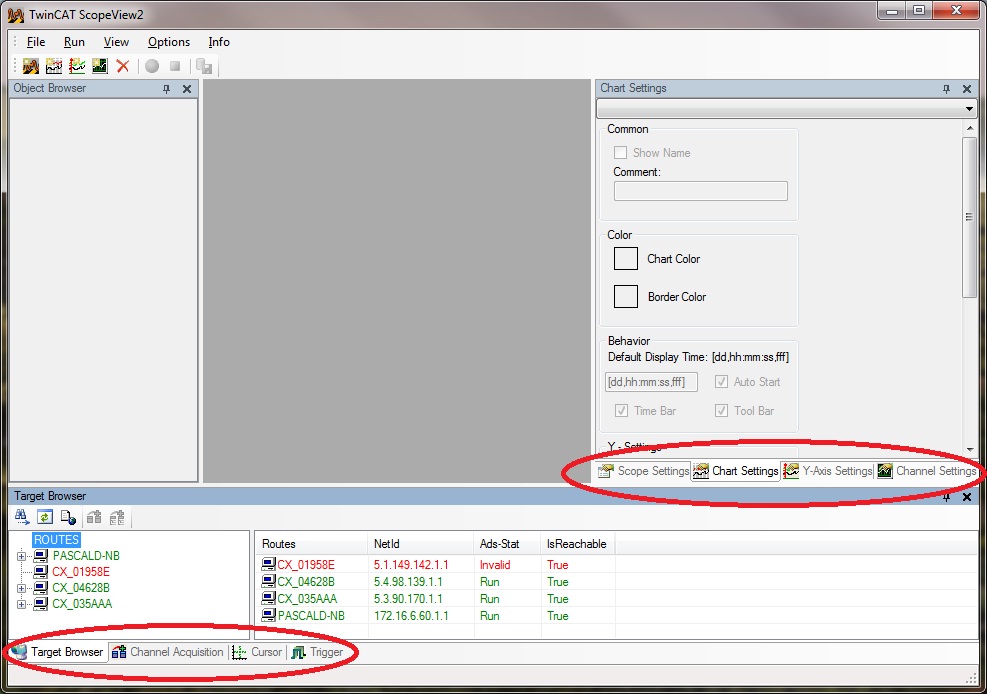
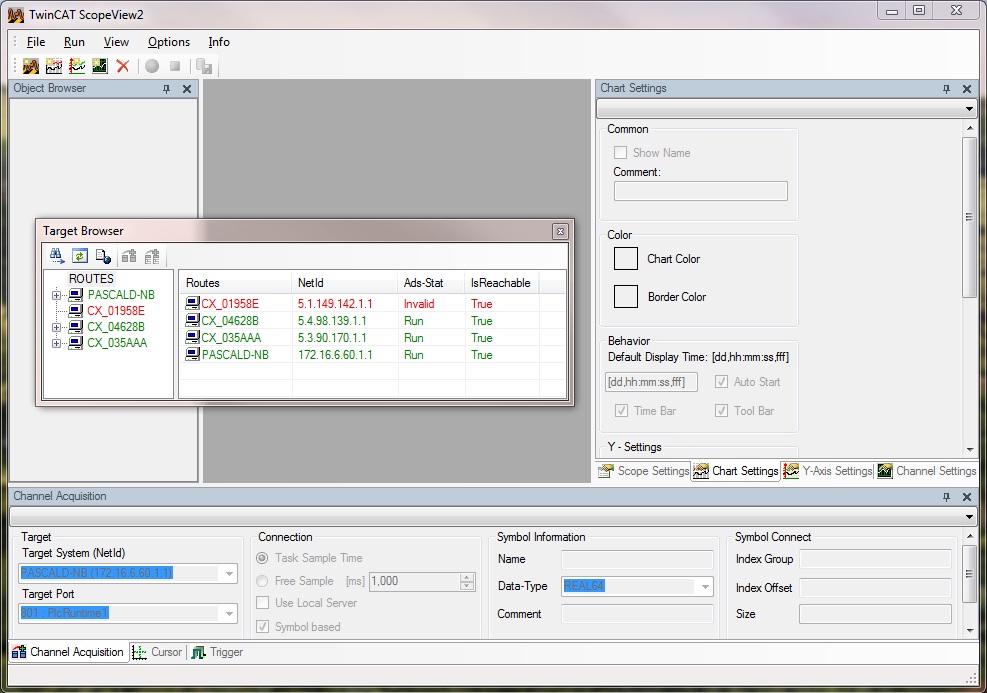
All configuration-menus are visible on the default-sreen shown in the red marked tabs. Every tab can be moved into another place in the Scope View as you can see in the picture below. It is also possible to shut several windows. Windows which were shut can be selected again over the View Menu.
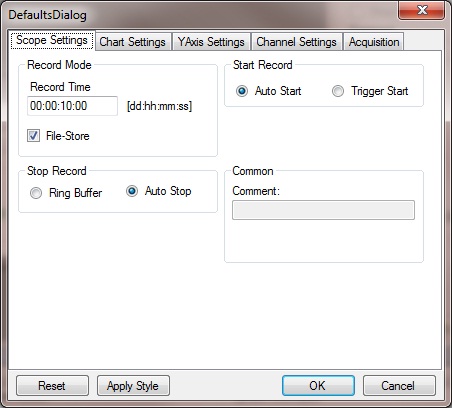
The settings you have made will be loaded in every Scope 2 View Restart. This settings are called User-Default-Settings and are saved for each user that has access on a system. So you can create your very own Scope View. Furthermore there are other settings regarding the Standard-Record time or the signal-display which belongs to the User-Default-Settings. These settings can be set under Options ð Default Settings (see picture below). These settings will be saved individually for each user, too.