Example: DMX master
Sending the cyclic process data as a DMX master (EL6851)
Files for TwinCAT 3.1.
Preparation
The application examples have been tested with a test configuration and are described accordingly. Certain deviations when setting up actual applications are possible.
The following hardware and software were used for the test configuration:
- TwinCAT PC with TwinCAT version 3.1 (Build 4014.2) or newer.
- Beckhoff EtherCAT coupler EK1100, EL6851 and EL9011 terminals.
- RGB-LED DMX slave with 3 channels (one for each color). One slot is occupied per channel.
Starting the sample program
- 1. Save the *.zip file on your hard disk and unzip it.
- 2. Open the project with TwinCAT XAE.
- 3. Connect the hardware accordingly and connect the Ethernet adapter of your PCs to the EtherCAT coupler.
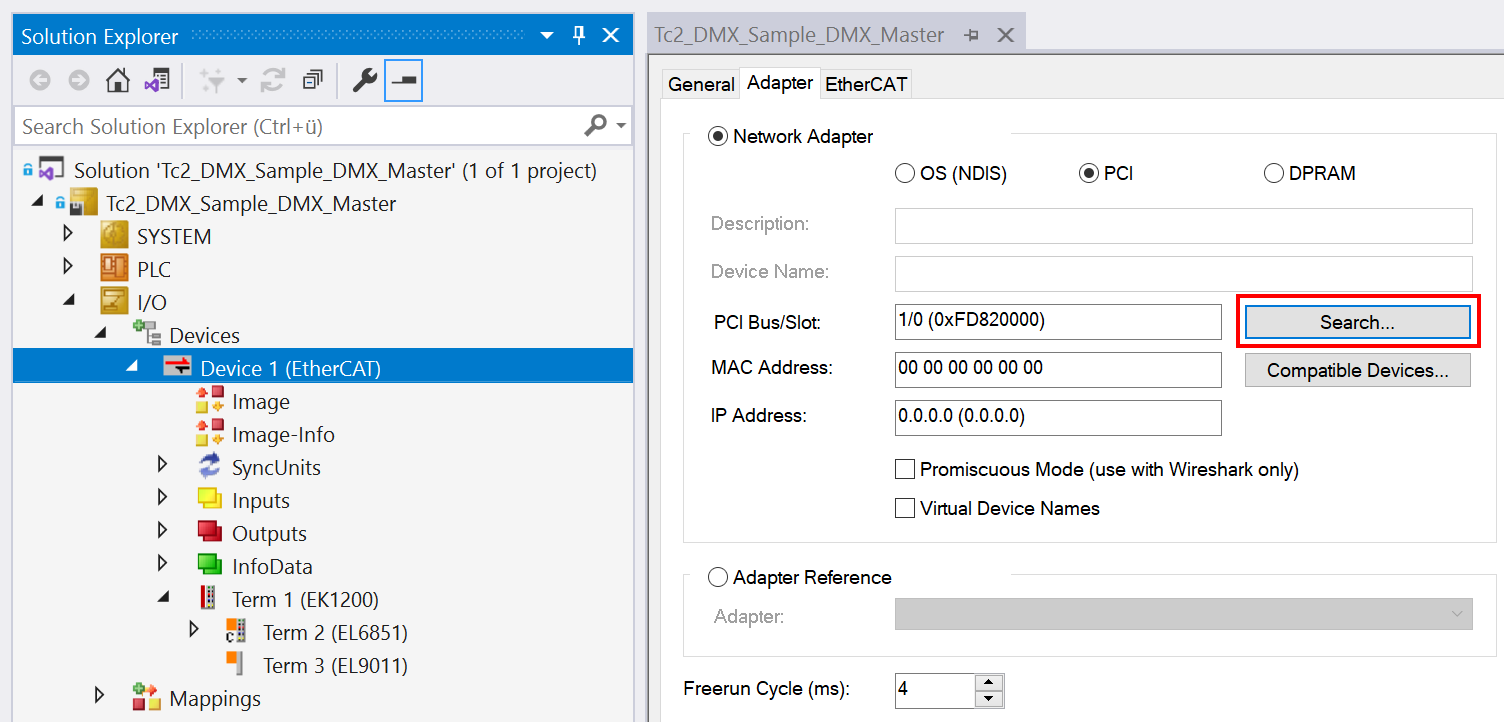
- 4. Select the local Ethernet adapter (with real-time driver, if required) under Tc2_DMX_Sample_DMX_Master > I/O > Devices > Device 1 (EtherCAT) . Then select the appropriate adapter in the Adapter tab under Search... and confirm it.
- 5. Activate the configuration and confirm.
- 6. Start TwinCAT in run mode.
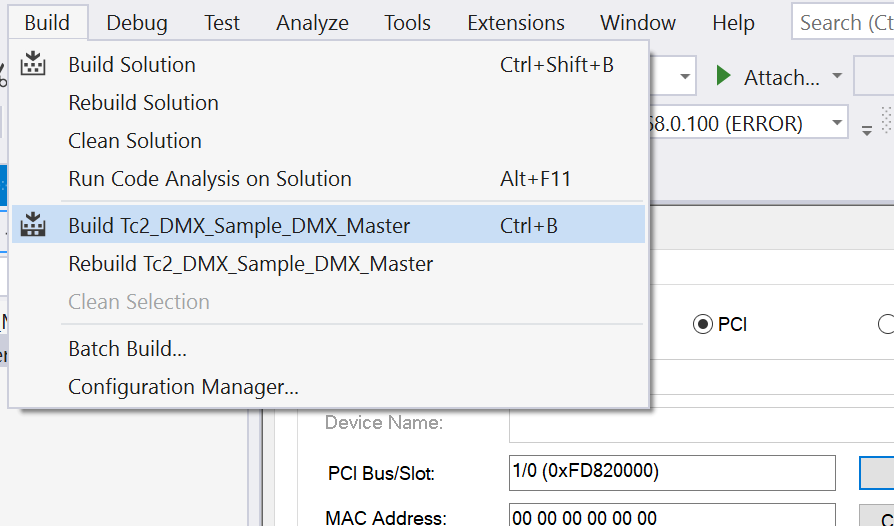
- 7. Build the project in TwinCAT XAE by selecting the command Build Tc2_DMX_Sample_DMX_Master in the Build menu.
- 8. Log in and confirm loading of the program.
- 9. Start the program.
Visualization
Specification of the control values for the three colors of the DMX slave in TwinCAT XAE:
The example transmits the DMX data cyclically to a DMX slave. The DMX device used here occupies three slots (bytes) in the DMX512 frame. Each slot addresses one of the three colors. If the “Start/Stop” button is pressed, then automatically generated data are transmitted to the DMX device. The speed of the changes can be altered using the horizontal slide control. If the “Start/Stop” button is not pressed, you can change the values manually using the three horizontal sliders.