Saving a file
This section explains how to save an exported file in the Visual Studio environment. This provides a mechanism for making projects that have already been processed available in other current projects.
In this chapter, you will learn how to export individual axes or DC links, so that you can use them again in future projects.
Saving a DC link and an axis TC3 Motion Designer has an option for saving your DC links and axis projects. | |
|
|
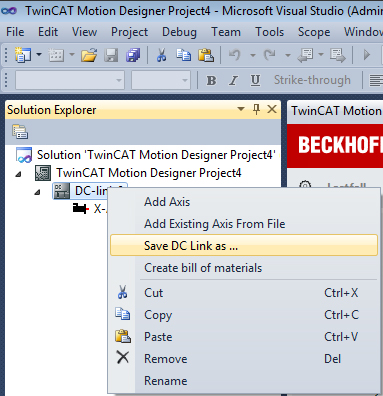
Saving DC link:
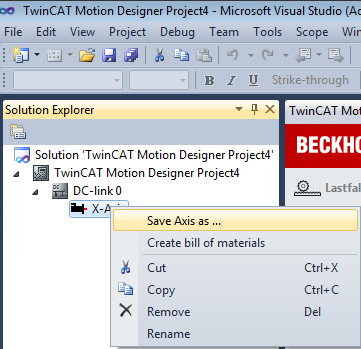
| Saving an axis:
A saved axis can also be imported into other configurations. |
|
|
|
|
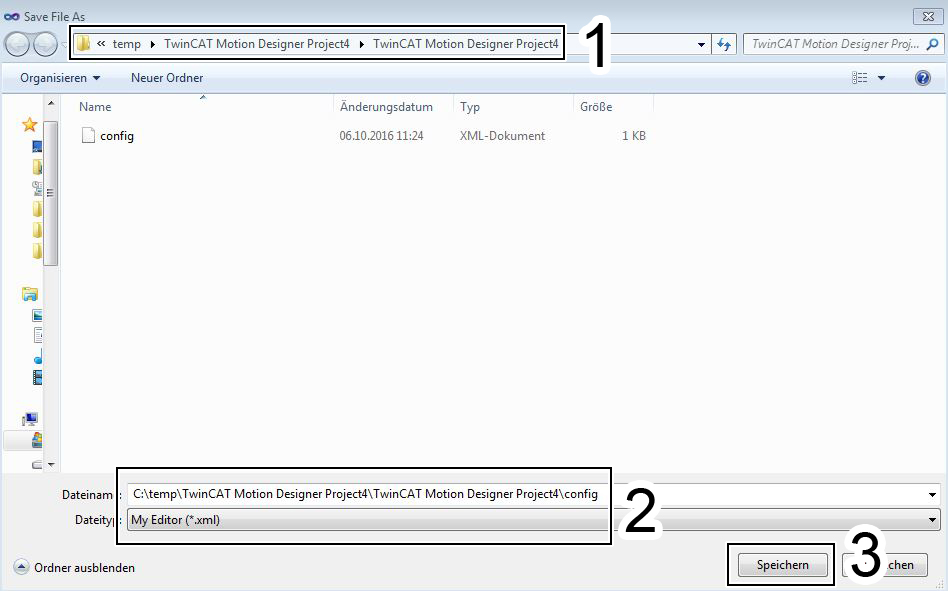
Specifying the storage location |
|
| After left-clicking on: “Save DC link / axis as…”, a new menu window opens.
Make sure the selected storage formats have the following extensions:
Once a name and storage location has been specified (2), confirm your selection with the "Save" button (3). The DC links or axes you saved can be found under:
You have successfully saved a file. |
|
|