Best practice
Overview
- Converting the embedded PLC project of an existing TwinCAT project into a stand-alone PLC project
- Converting a stand-alone PLC project into an embedded PLC project
Converting the embedded PLC project of an existing TwinCAT project into a stand-alone PLC project
- 1. Create a project of type "stand-alone PLC project". Do not create a PLC project.
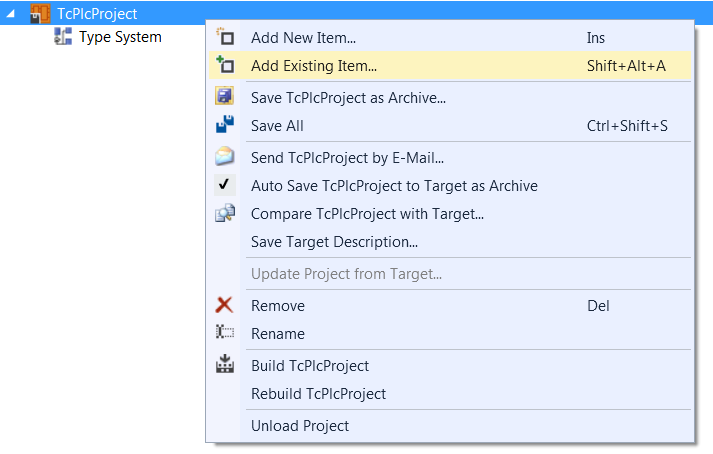
- 2. Add the embedded PLC project of the existing TwinCAT project to the stand-alone PLC project. To do this, click on Add Existing Item… in the context menu of the PLC project and select the .plcproj file of the embedded PLC project in the standard dialog that opens. Confirm the dialog.
- The Add Existing Project dialog opens.
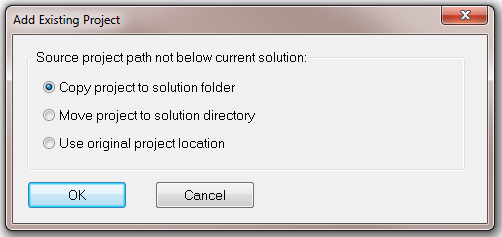
- 3. Select the option Copy project to solution folder to manage the PLC project independently of the original PLC project.
- The PLC project is added to the stand-alone PLC project.
- 4. Create the PLC project to create a TMC file.
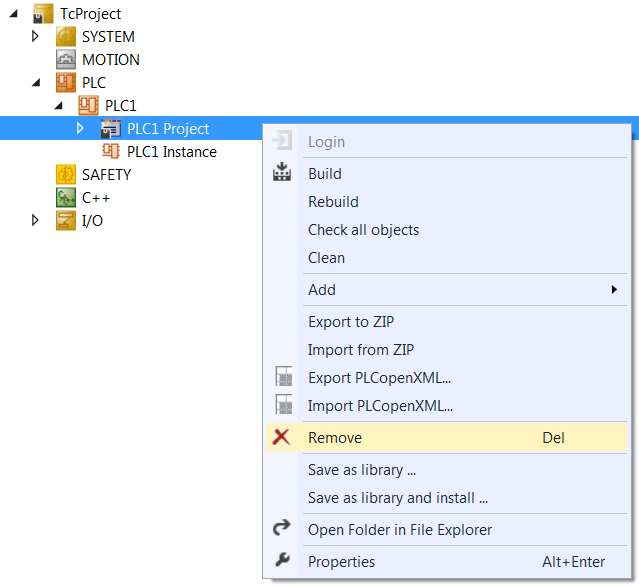
- 5. Delete the embedded PLC project in the existing TwinCAT project by deleting only the actual PLC project, but not the associated instance, so that the existing mappings are retained.
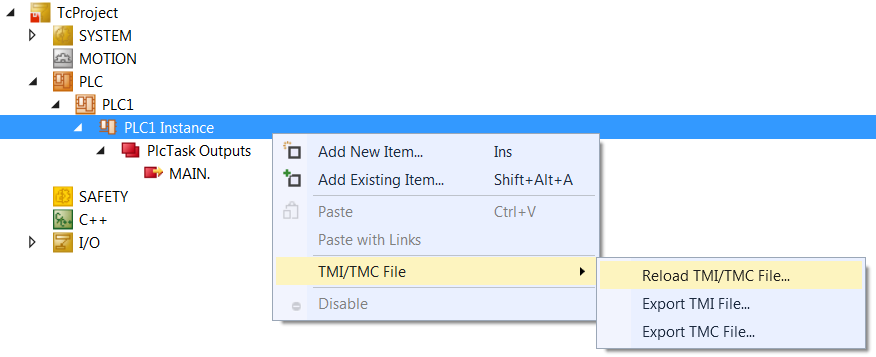
- 6. Change the path of the TMC file. To do this, click on TMI/TMC File > Reload TMI/TMC File… in the context menu of the PLC project instance and select the TMC file of the stand-alone PLC project in the standard dialog that opens. Confirm the dialog.
- The PLC project previously embedded in the TwinCAT project now forms an independent PLC project (stand-alone PLC project).
Converting a stand-alone PLC project into an embedded PLC project
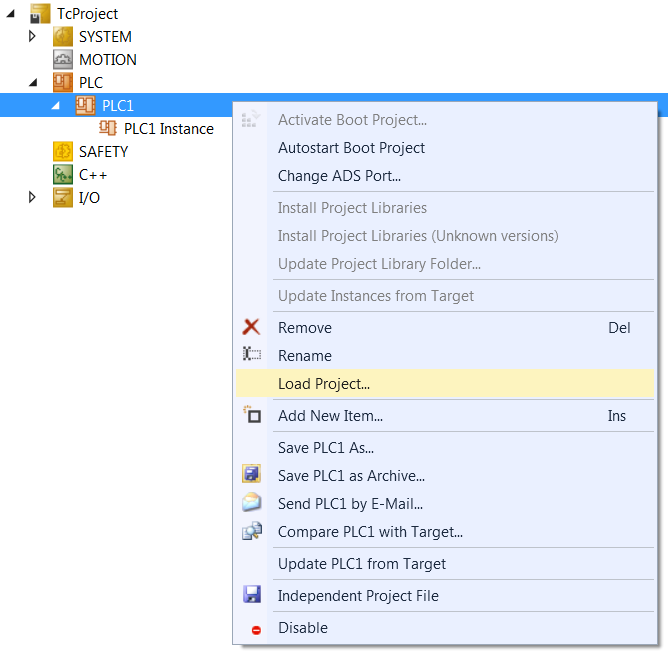
- 1. Add the PLC project of the stand-alone PLC project to the existing PLC project. To do this, click on Load Project… in the context menu of the PLC project and select the .plcproj file of the stand-alone PLC project in the standard dialog that opens. Confirm the dialog.
- The Add Existing Project dialog opens.
- Copy project to solution folder, if you want to manage the PLC project independently of the original stand-alone PLC project and continue to use the stand-alone PLC project.
- Move project to solution directory if you no longer want to use the stand-alone PLC project.
- Use original project location if you want to work with the TwinCAT project and the stand-alone PLC project on the same data.
- 2. Select the desired option and confirm the dialog.
- The stand-alone PLC project is now embedded in the TwinCAT project.