Creating a stand-alone PLC Project
- 1. Select the command New > Project in the menu File.
- The dialog New Project opens.
- 2. Select the TwinCAT PLC template TwinCAT PLC project.
- 3. Give the PLC project a name (e.g. "SeparatePlcProject") and select a storage location and a solution.
- 4. Confirm the dialog with OK.
- A new project folder opens in the Solution Explorer. The project name "SeparatePlcProject" appears in the title bar of the main window.
- 5. Mark the PLC object in the project tree and select the command Add New Item… in the menu Project or in the context menu.
- 6. Select the Standard PLC Project in the Plc Templates category and enter a name (e.g. "PLC1").
- 7. Quit the dialog with Add.
- The following structure is created in the view Solution Explorer:
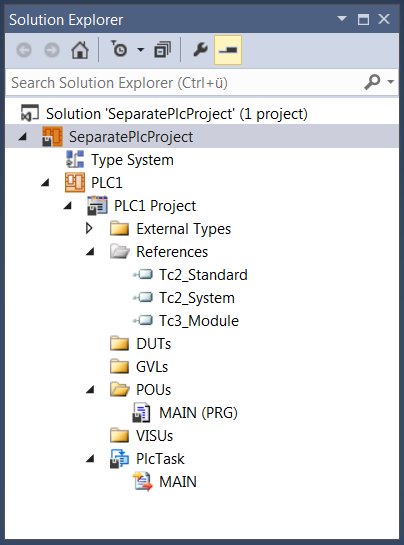
- Below the PLC project object (PLC1), the base objects of a standard PLC project and the type system appear automatically. In contrast to the standard PLC project, which is embedded in a TwinCAT project, no PLC instance is created.
See also: