Overview IO Section
An important component of TwinCAT is the I/O configuration. The simplest expansion stage of TwinCAT is the TwinCAT level I/O, i.e. there is always the "I/O" entry/node in a project in the TwinCAT development environment. Once the respective configurations for various tasks have been carried out and all relevant variables are known to the IO area, the hardware, usually a fieldbus with IO modules, can be configured in the IO area. It is also possible to configure the IO section first and the other tasks at a later time.
Requirements
IO Devices
Configured input devices and configured output devices (field bus cards, NOVRAM, system interfaces, …) in the target system - local or remote - and their process images.
Mappings
Informations about mappings to other TwinCAT IO Devices or rather their process images.
Dialog "General"
The following dialog opens by double-clicking on "I/O" in the Solution Explorer. This dialog is only displayed if no target system other than the local system has been selected, i.e. TwinCAT is set to the local system.
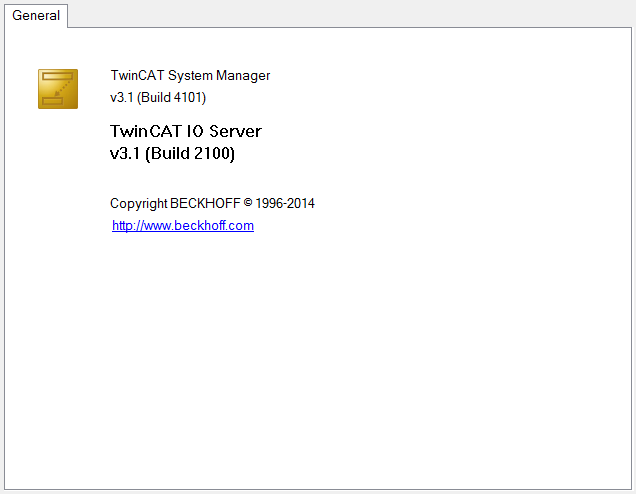
The dialog shows theTwinCAT IO Server of the local system. In the case shown, it is version 3.1 (build 2100) of the TwinCAT IO Server.
Dialog “Version [Target System]”
The following dialog displays the TwinCAT Server of the target system.
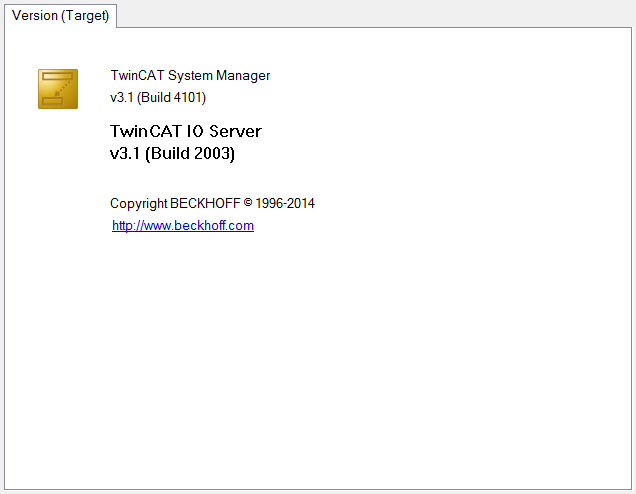
In the image depicted above it is version v3.1 (Build 2003) of the TwinCAT IO Server.
I/O Descriptions (Build 4026)
The fieldbus device descriptions are stored in the TwinCAT installation directory. They can be transferred to the AppData directory of the user by activating the respective checkbox.
- 1. Double-click in the node I/O > Devices to open the I/O Descriptions dialog.
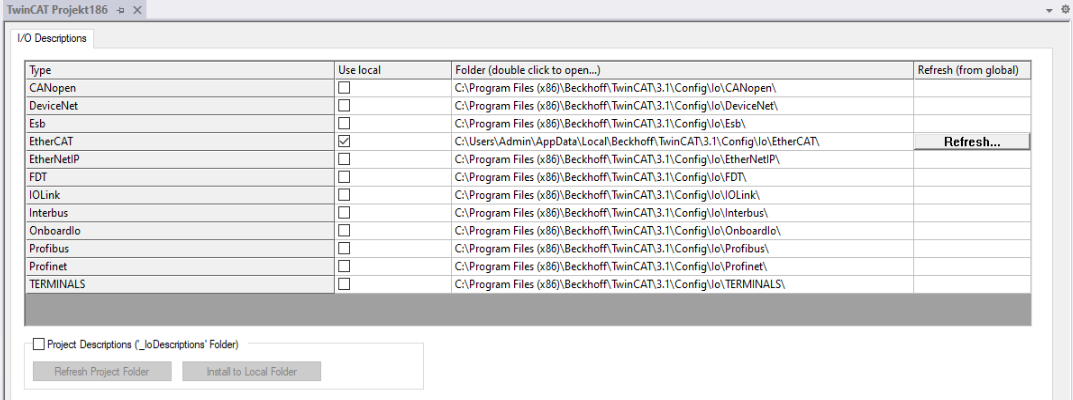
- The respective user can make their own additions in the dialog, such as inserting or changing additional fieldbus device descriptions.
- 2. Update these local copies using the Refresh button if there is new information in the TwinCAT directory, for example due to an update.
- The Project Descriptions checkbox can also be used to make a copy of the current project.
This can be used to transfer the project as an archive, for example, and to have all the necessary data available in the project directory.