Setting up an ActiveSync connection
This page describes the steps for the creation of an ActiveSync connection between the CX device and the host PC. An ActiveSync connection is recommended for the implementation and, above all, testing (debugging) of applications on MS embVC++4 or MS Visual Studio .NET 2003. An ActiveSync connection is sometimes also useful when creating HMI Scada solutions.
Creating an ActiveSync connection is not required: Applications can also be copied directly to the Compact Flash cards by using Compact Flash adapters.
1. Requirements:
Required software on the host PC:
- Windows NT/2000/XP
- Microsoft ActiveSync 3.x (available from Microsoft without license)
Required hardware:
- Null-modem cable for connecting between the CX device and the host PC.
Null-modem cable connection - Optional: A TCP/IP connection between CX device and host PC
2. Connection establishment:
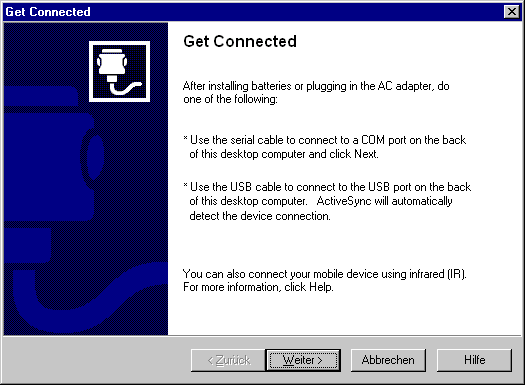
1. After the installation of the Microsoft ActiveSync software on the host PC, Active Sync must be started. The available communication interfaces are created with "Get connected".
The serial interface must be used here when putting a CX1000/CX1020/CX9000 into operation for the first time.
2. No separate setting need to be done on the CX platform. To initiate the connection to the host PC, click the "Start" button on the CX device, select "Run" and enter "Repllog".
3. After confirming with "OK", the CX1000/CX1020/CX9000 calls the host PC with which it is connected by a null-modem cable and attempts to establish a connection with this PC. If the connection was successfully created, you will be prompted to confirm a so-called "partnership" between the host PC and CX device. After confirming, this one-time creation of the ActiveSync connection is finished.
Note for ActiveSync via Ethernet Interface:
The initial connection of the host PC to the CX1000/CX1020/CX9000 is only possible with a serial interface. Later, a faster connection can be made via Ethernet. This enables a much faster ActiveSync connection between host PC and CX device. Please note that sometimes the serial cable must still be available even if the Ethernet interface is used.
To start an ActiveSync connection via Ethernet, enter "Run" "Repllog/remote" on the CX1000/CX1020/CX9000 after pressing the "Start" button, select your host PC from the list and start the connection with "Connect".
Saving settings to the compact flash card:
To save these settings on the CF card, the CX1000/CX1020/CX9000 must be shut down with the "Start" button and "Suspend". The registry of the CE operating system is only backed up to the compact flash of the CX device by "Suspend".