Manual update
As an alternative to updating the secure boot keys via Windows updates, you can also replace the keys directly in the UEFI firmware setup. To do this, you must download the keys from the Microsoft website and save them on a USB stick.
You must download the following components and save them on a USB stick:
- KEK: microsoft corporation kek 2k ca 2023.crt
- Db: windows uefi ca 2023.crt & microsoft uefi ca 2023.crt
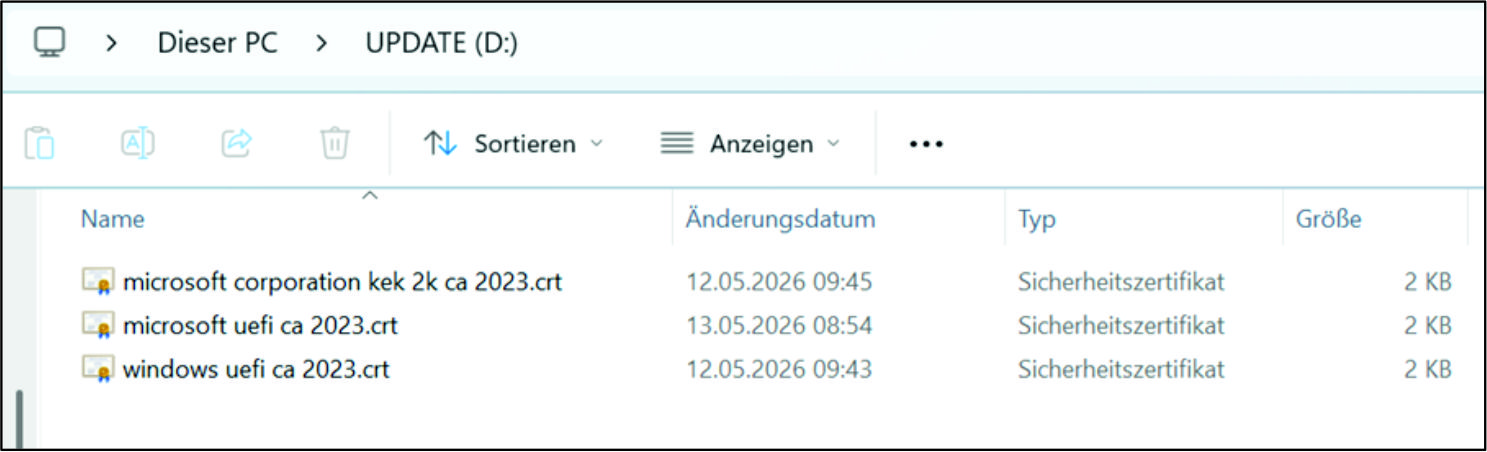 Fig.3: Components
Follow the steps below to replace the secure boot keys directly in the UEFI firmware setup:
- 1. Plug the prepared USB stick into the PC.
- 2. Press F7 immediately after starting the PC until the boot menu appears.
- 3. Press Enter Setup.
- 4. Navigate to the Security tab.
- 5. Select the Secure Boot menu item.
- 6. Set the Secure Boot menu item to [Enabled] and the Secure Boot Mode menu item to [Custom].
- The Expert Key Management menu item is now enabled.
- 7. In the Expert Key Management menu item, choose the appropriate key range from the highlighted options.
- 8. Select Append to add the key range.
- 9. Select No.
- 10. Choose the USB stick in your PC.
- 11. Choose the corresponding file on the USB stick (KEK or db).
- 12. Select Public Key Certificate.
- 13. Confirm the Certificate Owner GUID with Enter to start the import of the Microsoft KEK and db keys from the USB stick into the BIOS.
- 14. Confirm the exchange of the key with Yes.
- 15. Confirm with OK.
- 16. Activate Secure Boot.
- 17. Save the changes with F4 before exiting the UEFI firmware setup.
- 18. Check whether Secure Boot is active and the new keys have been loaded. Please note that after loading the "Factory Key Defaults", the manually loaded keys are no longer available.
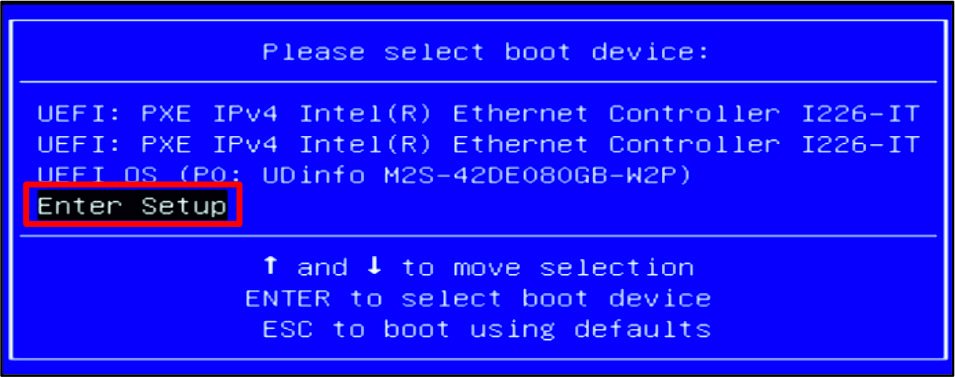 Fig.4: Boot menu
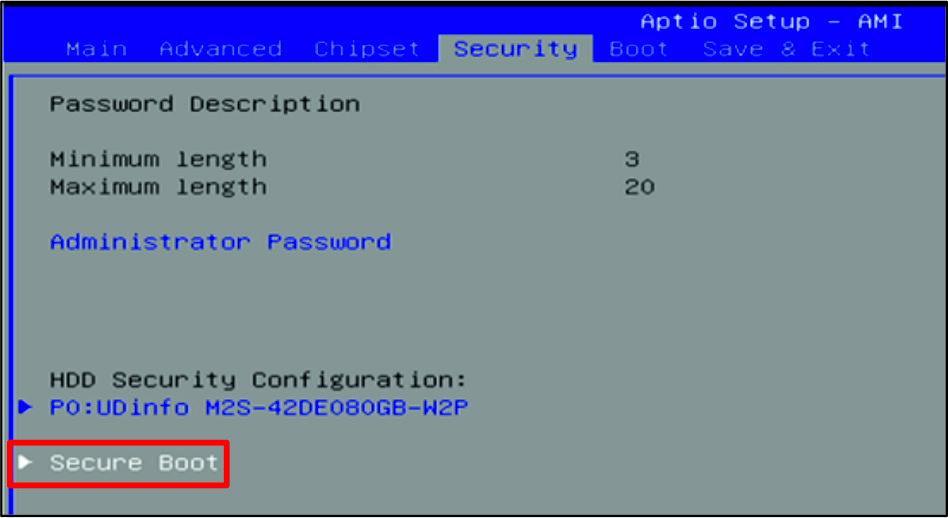 Fig.5: Secure Boot
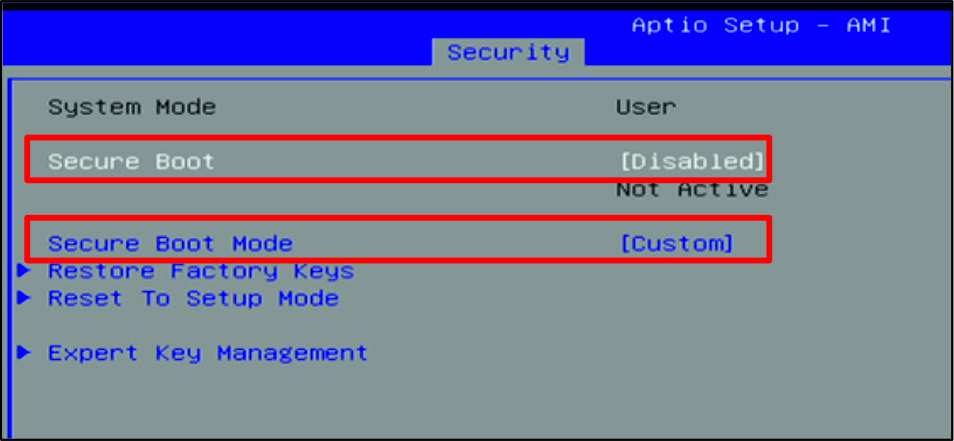 Fig.6: Secure boot settings
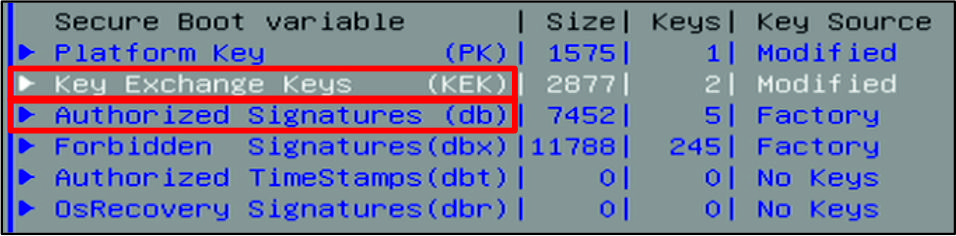 Fig.7: Key areas
 Fig.8: Choice of USB stick
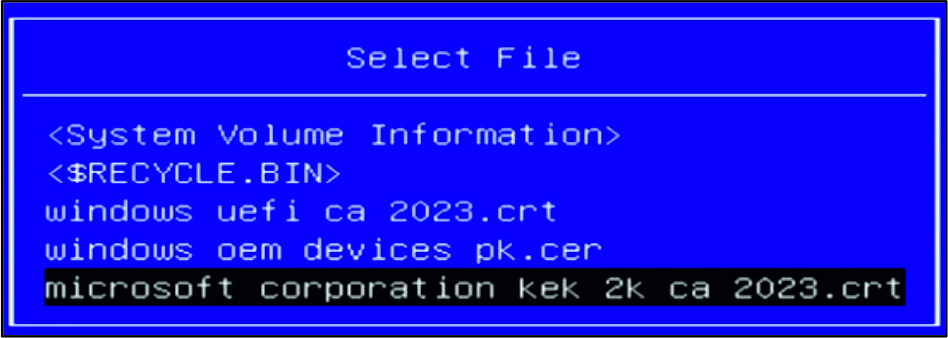 Fig.9: File selection
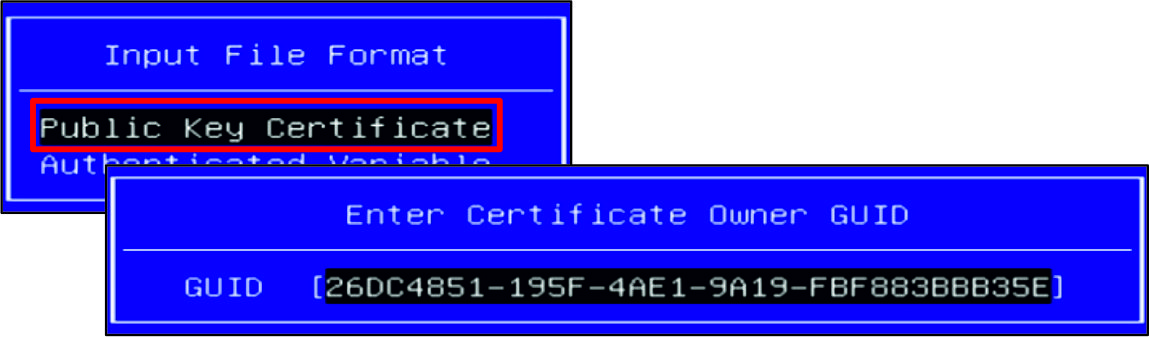 Fig.10: Key Certificate
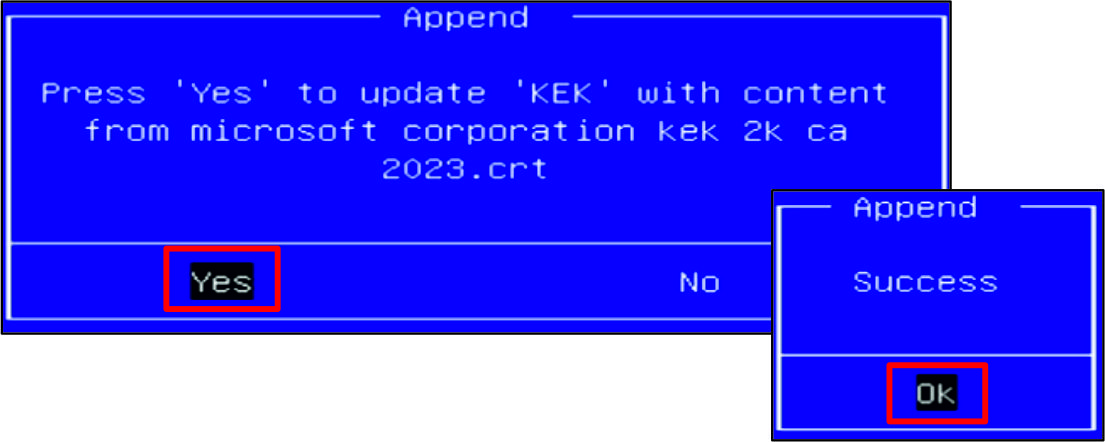 Fig.11: Confirm exchange key
 Fig.12: Save changes
- You have exchanged the secure boot keys.