Create RAID system via BIOS
Notice | |
Data loss due to overwriting If you create a RAID system via the BIOS, the previously existing data on the storage medium to which mirroring is carried out is overwritten with the data of the storage medium to be mirrored.
|
This method sets up the RAID system in BIOS. The data on the storage medium is mirrored to a second storage medium, which enhances the data security. For industrial PCs with Intel Core I CPUs up to and including the 7th generation, create the RAID system in the LEGACY BIOS. For industrial PCs with Intel Core I CPUs from the 9th generation, create the RAID system in the UEFI BIOS.
Prerequisite for this method:
- At least two identical storage media have to be installed in the device.
Creating a RAID system in LEGACY BIOS
To create a RAID system in LEGACY BIOS, follow the steps below:
- 1. Start the device and press & hold [CTRL + I] while the device starts up.
- The main menu for the RAID settings appears.
- 2. Use the [arrow keys] to select 1. Create RAID Volume.
- The menu 1. Create RAID Volume appears.
- 3. Use the [tab] key to select the field Name and enter a name for the RAID system.
- 4. Under RAID Level, select RAID 1.
- 5. Use the [tab] key to navigate to Create Volume and confirm the settings with [Enter].
- 6. Acknowledge the data loss warning with Yes.
- The MAIN MENU appears. The RAID system appears with the name you specified, and the RAID system status is displayed as Normal. In addition, the installed storage media are displayed with the status Member Disk.
- 7. Use the [Arrow keys] to select 6. Exit, press [Enter], confirm with Yes and exit the RAID settings.
- You have created a RAID system.
Creating a RAID system in UEFI BIOS
To create a RAID system in the UEFI BIOS, follow the steps below:
- 1. Start the device and press & hold [DEL] while the device starts up.
- The BIOS appears.
- 2. Go to the tab Advanced using the [arrow keys].
- 3. Use the [arrow keys] to go to Intel (R) Rapid Storage Technology and confirm with [Enter].
- 4. Select Create RAID Volume with the [Enter] .
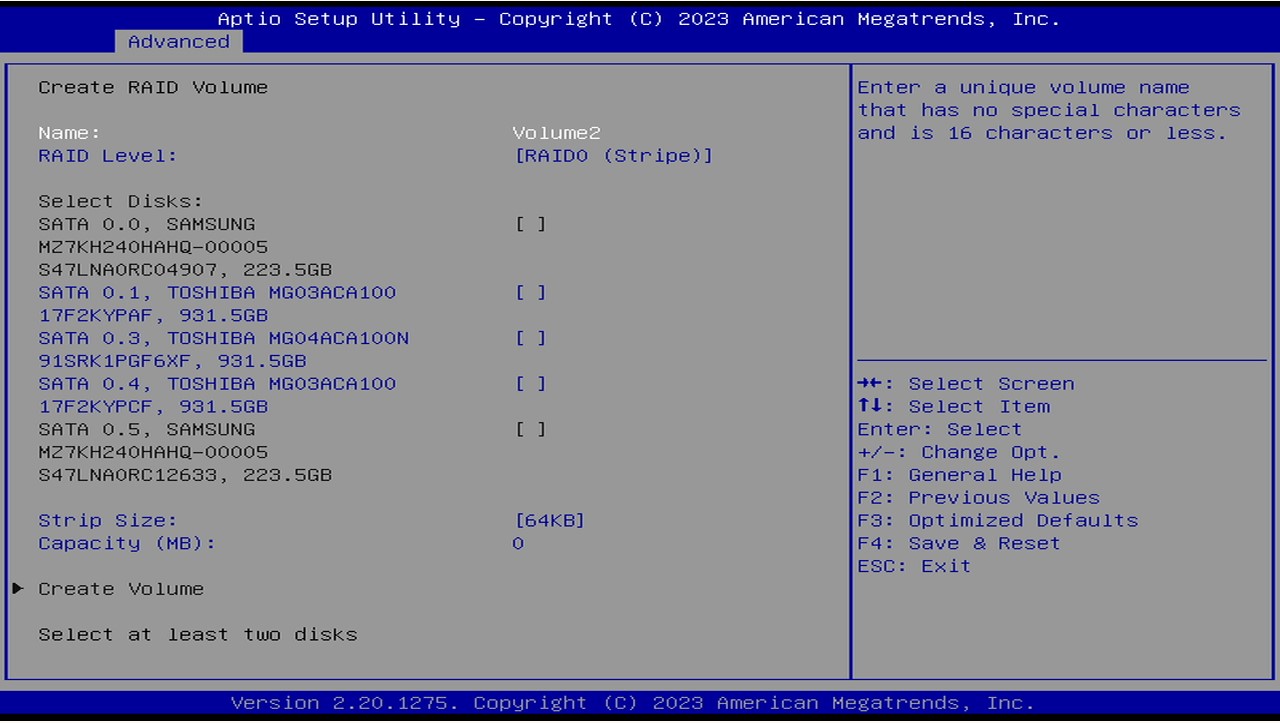
- The menu Create RAID Volume appears.
- 5. Go to Name with the [arrow keys] and confirm with [Enter].
- 6. Enter any name for the RAID system.
- 7. Use [Enter] to select RAID Level .
- 8. Go to RAID 1 (Mirror) with the [arrow keys] and confirm with [Enter].
- 9. Use the [arrow keys] to go to the listed disks that you want to include in the RAID system.
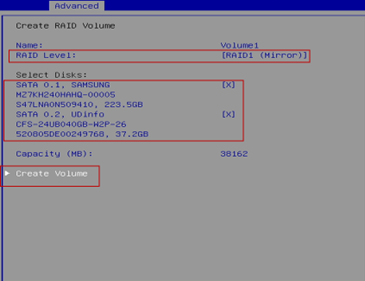
- 10. Confirm the selected disks with [Space].
- A X appears after the selected disk. You will see the RAID level and the selected disks.
- 11. Go to Create Volume with the [arrow keys] and confirm with [Enter].
- Your created RAID volumes are listed and given the status Normal .
- 12. Press [ESC] to exit the menu.
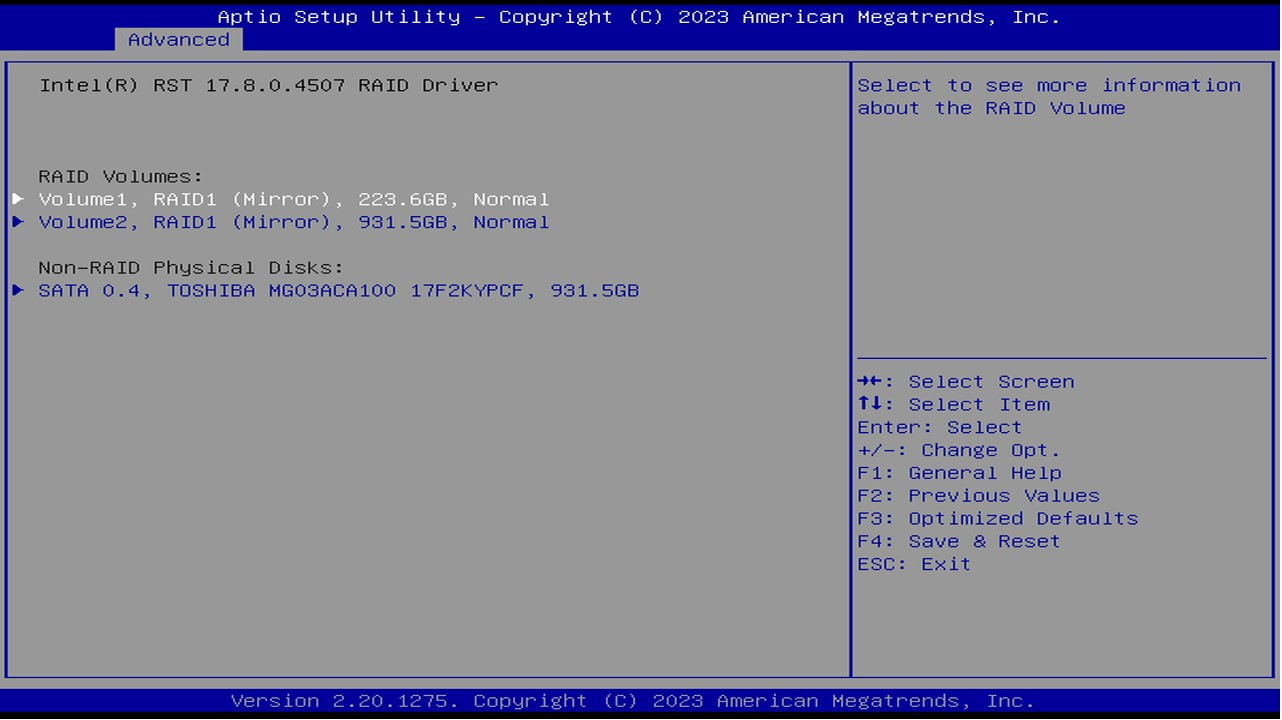
- You have created a RAID system in UEFI BIOS.