Using the Intel Manager for setting up the system
 | Use identical storage media In the RAID configuration errors may occur, with the result that functions and the software interface are not displayed properly in the Intel Manager. Use identical storage media, in order to ensure full functionality. |
| Formatting storage media Errors may occur during the RAID configuration. First, format the additional storage media you wish to include in the RAID system. |
With this method, the RAID system is set up with the Intel Manager. A key advantage of this method is that the image does not have to be reloaded. The Intel Manager is already pre-installed on the device.
Prerequisites for this step:
- At least two storage media have to be installed in the device.
How to set up a RAID system with the Intel Manager:
- 1. Start the Intel Manager under Start > All Programs > Intel > Intel Rapid Storage Technology.
- 2. In the toolbar click on Create.

- 3. Under Select Volume Type select the option Real-time data protection (RAID) 1.

- 4. Click on Next.
- 5. In the Name field enter a name for the RAID system. Tick the checkboxes Disk on port 0 and Disk on port 2. Select the option Yes: Disk on port 2 to determine which storage medium is to be mirrored.

The option Disk on port 2 matches the system drive C:, on which the image is installed. - 6. Click on Next.
- 7. Click on Create Volume and then OK to create the RAID system.

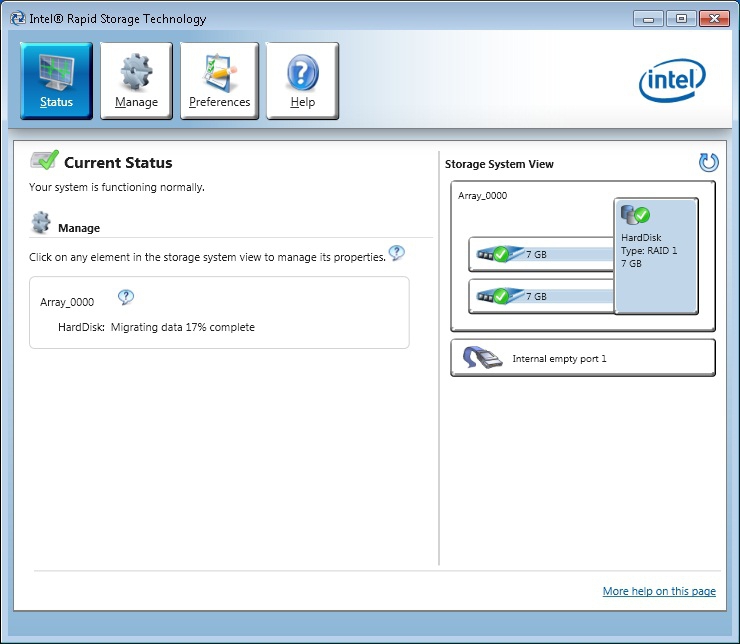
- The RAID system is created. The Intel Manager changes to status view and shows the newly created RAID system and the storage media used. In addition, the progress of the data migration to the second storage medium is displayed in percent.