Disassembly and disposal
The disassembly of a CX20x0 hardware configuration with system interfaces takes place in 3 steps
1. Switching off and disconnecting the power supply
Before a CX20x0 system can be dismantled, the system should be switched off, and the power supply should be disconnected.
2. Removing from the DIN rail
Before the individual modules are disconnected, the whole CX20x0 hardware block should be removed from the DIN rail. Proceed as follows:
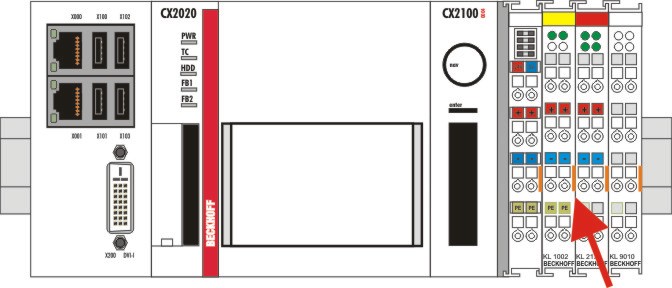
2.1. Release and remove the first Terminal next to the power supply unit on the DIN rail.
First remove any wiring from power supply unit and then from the first terminal on the DIN rail next to the power supply unit. If the wiring is to be reused for another system, it is advisable to make a note of the connections. Then pull the orange terminal release (see arrow) to release the terminal and pull it out.
2.2. Releasing the CX20x0 systems
In order to release the CX20x0 block, the DIN rail fastening above and below the device must be released. To do this, press the hooks outwards using a screwdriver. An audible click indicates that the device is released.
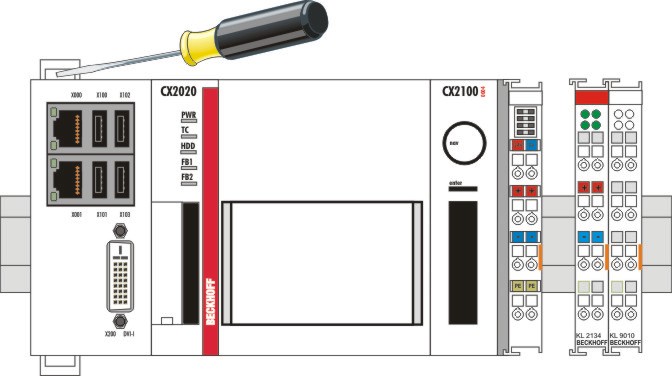
After pulling on the terminal release of the power supply unit (see arrow) the block can be carefully removed from the DIN rail.

Disposal
The device must be fully dismantled in order to dispose of it.
Electronic parts must be disposed of in accordance with national electronics scrap regulations.
3. Disconnecting the system interface
Disconnecting the system modules from the basic module
If the modules are locked, i.e. attached with tie clips, the clips must be released. To this end lift the tie clips with a screwdriver and pull them out. Subsequently, the system interfaces can be separated again.
Notice | |
Do not use force to open the device! Opening the module housing by force would destroy it. The devices may only be opened by Beckhoff service personnel. |