Configuration of a port as an EtherCAT port
Repeat the following instructions for each port that you want to configure as an EtherCAT port.
- 1. Right-click on “Devices” under “I/O” in the Solution Explorer and select “Add New Item…”.

- 2. In the window that appears, select the type “EtherCAT” > “EtherCAT Master” and confirm with OK.
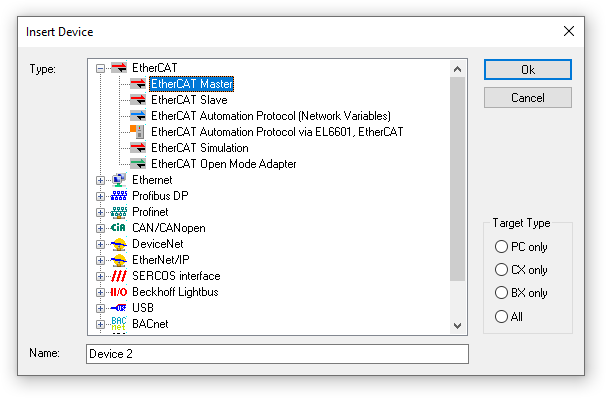
- A list of the available ports of the PC and the downlink ports of the CU2508-0022 appears.
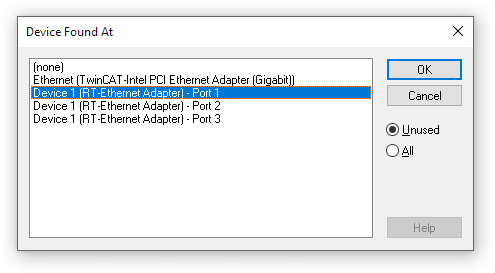
If no list appears, set the port subsequently in the “Adapter” tab of the device “EtherCAT Master” you have just created, see chapter Changing the port of a device. Skip the following step. - 3. Select the desired port of the CU2508-0022 in the list.
X01 is port 1, X02 is port 2, etc.
Please note that the selected port must not be configured as a TCP/IP port.
You can also select “(none)” and/or set the port afterwards. See chapter Changing the port of a device. - 4. If the CU2508-0022 and the EtherCAT devices are present on this port, wired and supplied with power, you can have the connected EtherCAT devices automatically detected by a scan.
For EtherCAT segments with cable redundancy, you must temporarily disconnect the connection to the redundancy port before the scan, otherwise the scan will fail.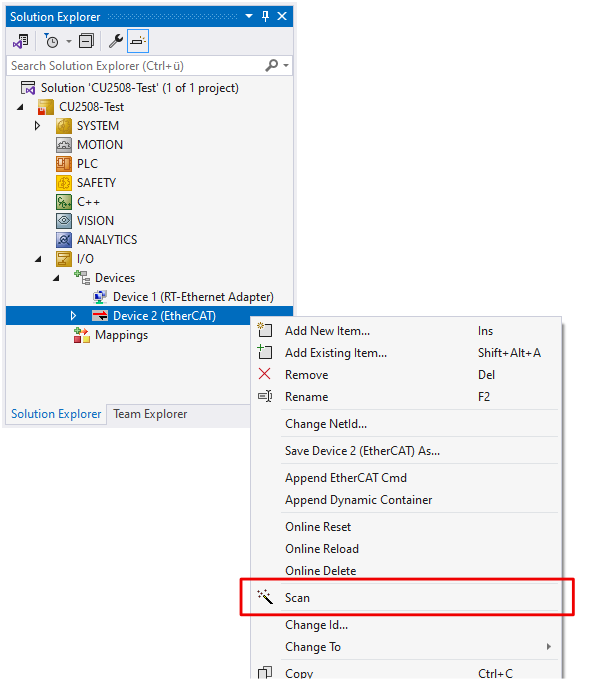
If a scan is not possible, continue with the following steps.
- 5. Right-click on the “EtherCAT” device in the Solution Explorer and select “Add New Item…”.
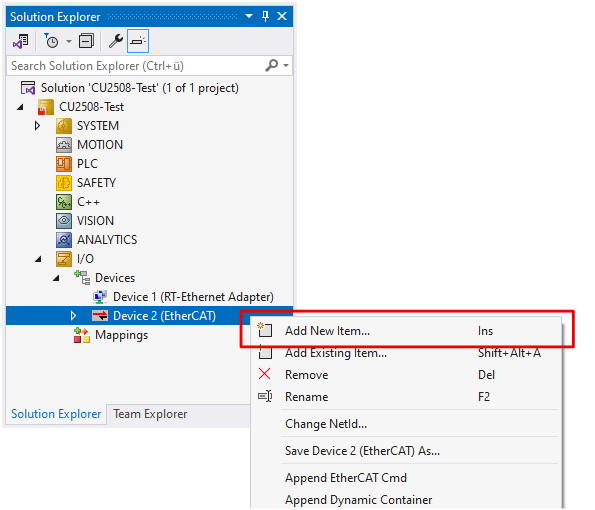
- 6. In the window that appears, select “CU2508-0022 Ethernet Port” and confirm with OK.
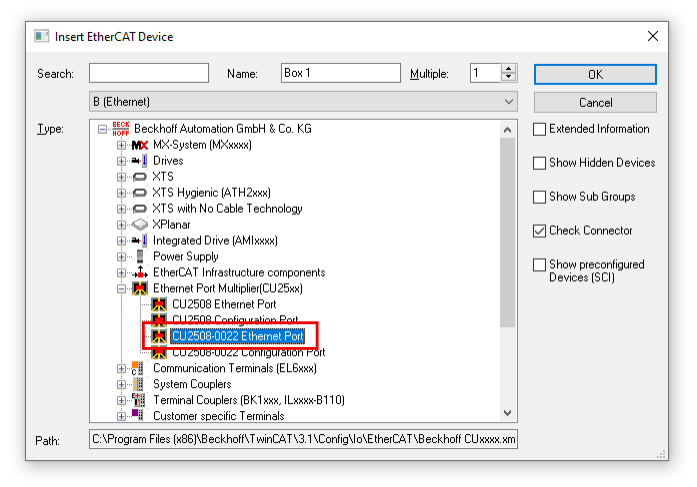
- The port appears in the Solution Explorer as “Box 1 (CU2508-0022)”.
- 7. If necessary, configure the port as Reference Clock for distributed clocks. See chapter Distributed Clocks.
- 8. Right-click on the “EtherCAT” device again on the Solution Explorer, select “Add New Item…” and append the desired EtherCAT devices, e.g. EP1008-0001, EK1100 etc.
Further Information