Configuration
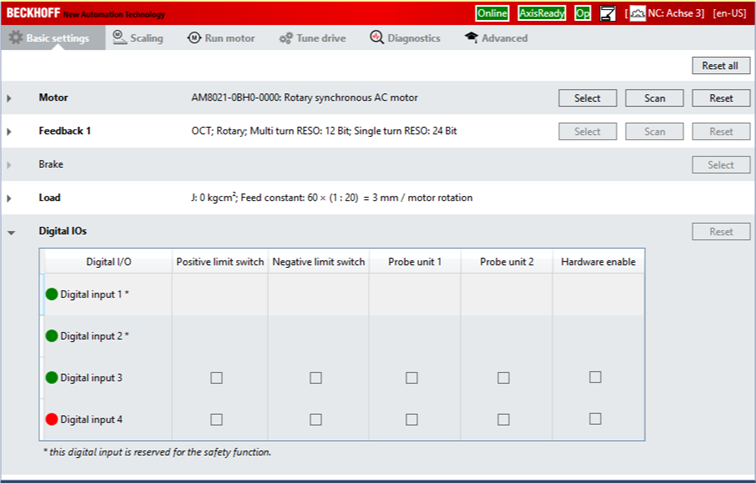
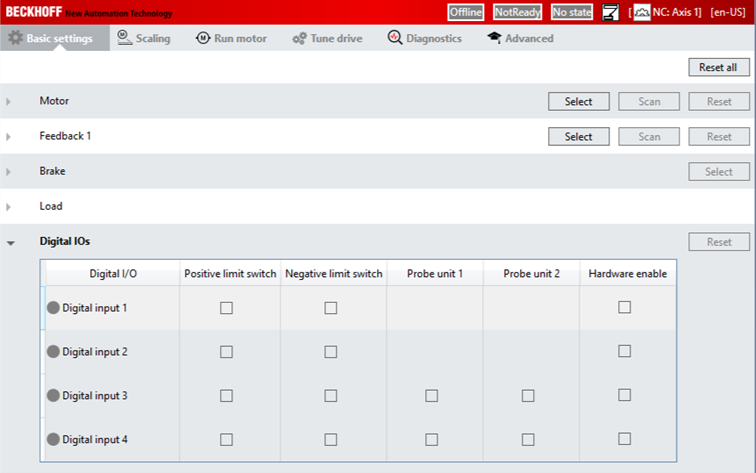
The digital inputs can be configured differently via the TC3 Drive Manager 2. The lower part of the "Basic settings" tab contains the selection menu for the digital inputs.

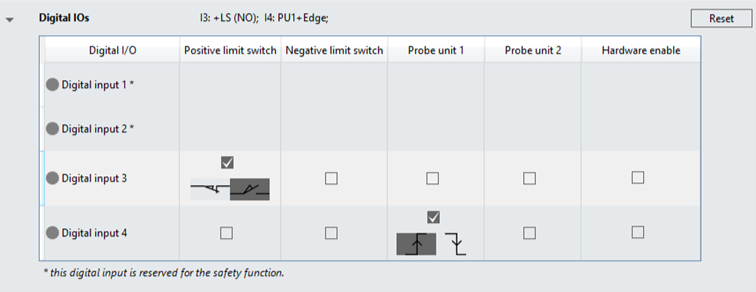
The selection menu may differ depending on the AX8000 device (AX8xxx-x0xx, AX8xxx-x1xx, AX8xxx-x2xx). For devices with safety functionality, the top two inputs are preset as safe inputs and cannot be used for other functions (limit switch, touch probe, hardware enable).
AX8xxx-x0xx Device without Safety / Digital input 1 and 2 can be used additionally
AX8xxx-x2xx device with Safety / Digital input 1 and 2 are preassigned Safety inputs

The activation of the functions is done by checking the appropriate box. In the following picture, for example, a positive limit switch and a touch probe. The logic of the switch can be changed by selecting the buttons below the tick. (normally closed contact / normally open contact)
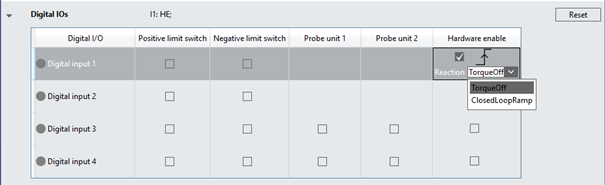
If you use an input as hardware enable you have the choice between the reaction "Torque off" or "Closed Loop Ramp".
The state of the inputs is indicated online by the red (level low) or green (level high) button.