Creating an NC axis
If an NC axis configuration has already been created, the individual axes can be created and linked.
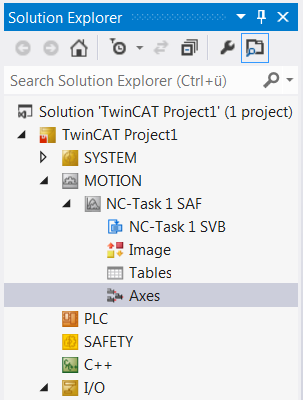
The Motion section of the Solution Explorer expands and shows the new NC axis configuration.
|
|
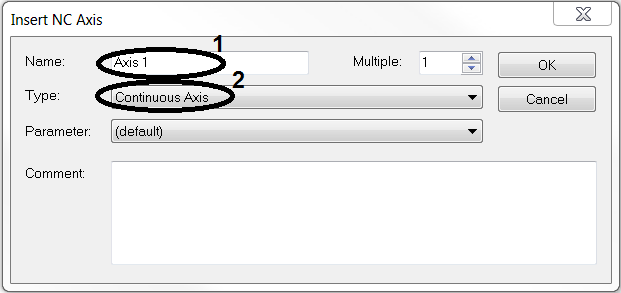
Right-click on Axes within the axis configuration. Select Add New Item.... Enter a name for the NC axis (1). Determine the axis type (2). Confirm with OK.
|
|
|
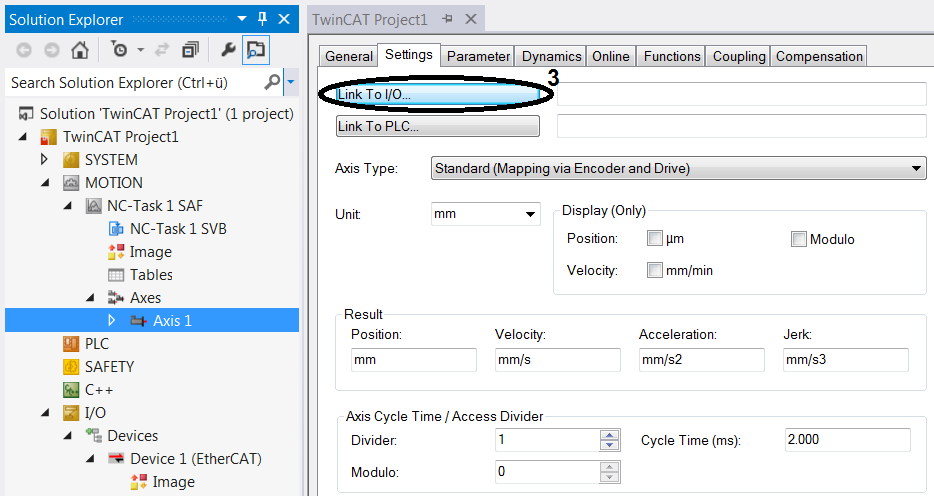
In the Solution Explorer the new axis appears with its name within the NC axis configuration. Link the individual NC axes with the drive, in order to enable control. Open Axis 1 in the Solution Explorer. Switch to the Settings tab. Link the NC axis with the hardware axis via Link to I/O... (3). |
|
|
Select the drive to be linked from the list. Confirm the selection with OK. |
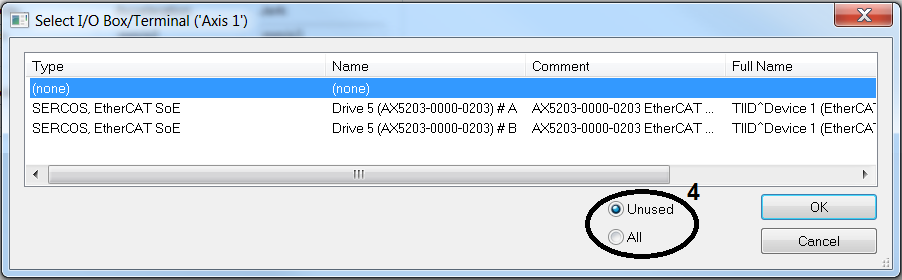
→ Your NC axis is successfully linked with the drive.