Creating a new safety project
- 1. A new safety project is created by right-clicking the SAFETY node and choosing Add new item...
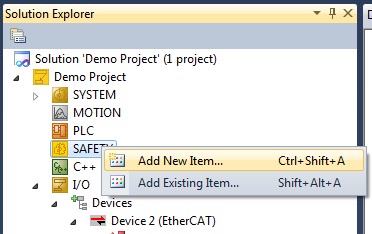
- This starts the wizard for TwinCAT 3 Safety projects.
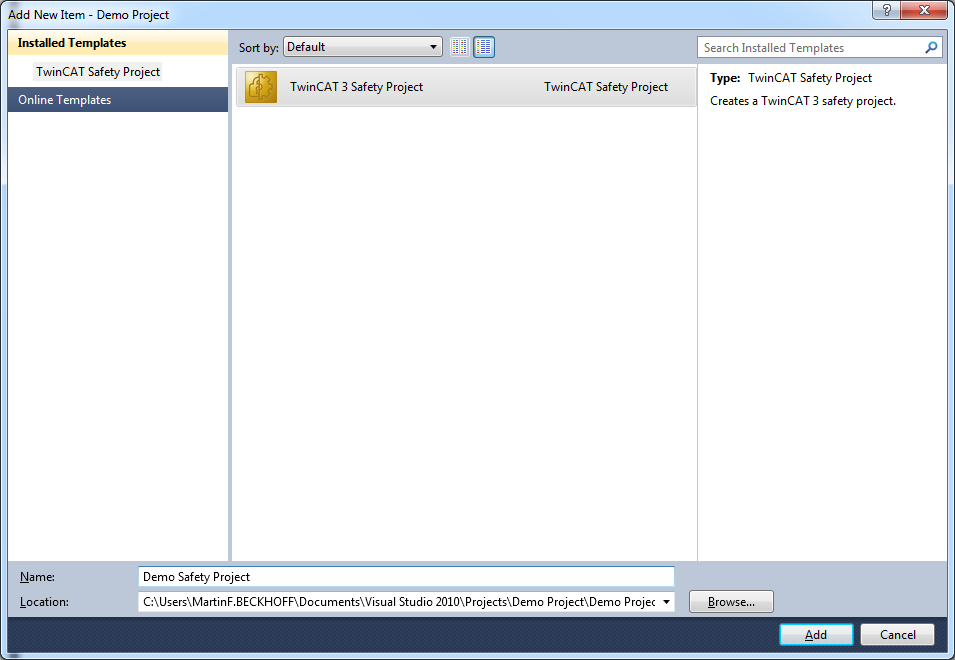
- 2. After choosing the desired safety project name and selecting the Template TwinCAT 3 Safety Project, the wizard for the additional configuration of the safety project is shown.
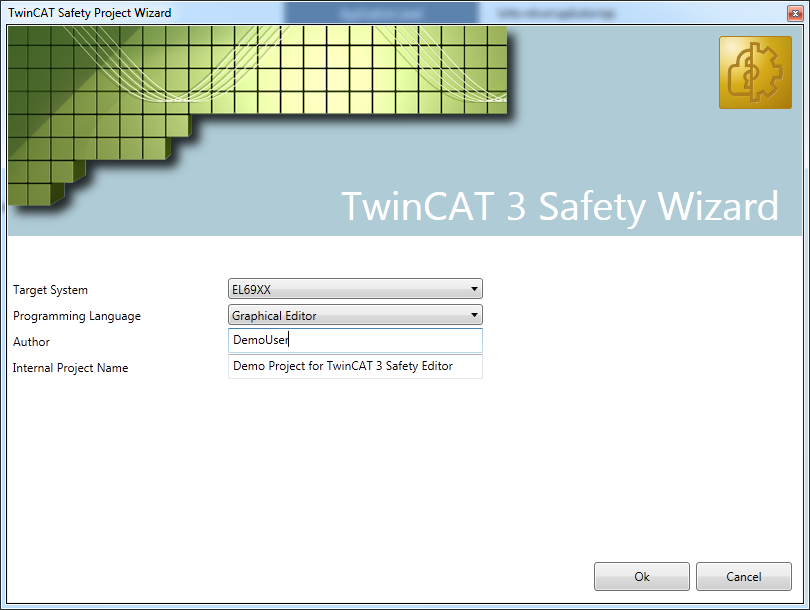 Within this wizard, the following options can be configured:
- Target System: The target system of the safety project (EL 69XX, TwinCAT Safety PLC and future target systems).
- Programming Language: This options allows the selection of the desired programming language, at which the Graphical Editor is the only option for the already known hardware terminals EL 69XX.
- Author: With help of the author input field, the user can supply a name for the author, which is shown within the automatically generated documentation of the safety project.
- Internal Project Name: Similar to the author input field, the internal project name allows a custom name for the project, which is also used in the automatically generated documentation.
- 3. A click on the OK button continues the wizard and a new safety project is created. The following Figure shows the initial view of the created safety project in the Solution Explorer.
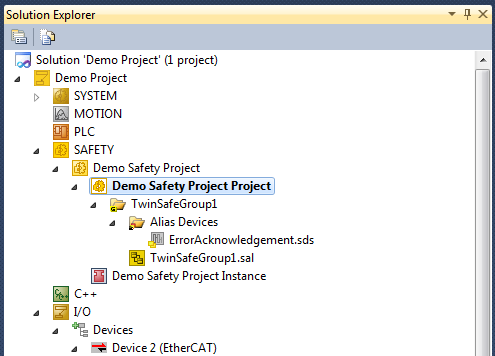
- A new safety project initially contains the first TwinSAFE Group called TwinSafeGroup1. The TwinSAFE Group contains a section Alias Devices, which serves as container for all alias devices used within the TwinSAFE Group (the Alias Level mentioned in the Basic Architecture). The file TwinSafeGroup1.sal (the extension ".sal" stands for "Safety Application Language") resembles the Application Level of the safety project, where the basic logic of the safety application can be implemented.