Creating a User Control
A User Control is an object type of its own.
- 1. Right-click on the TwinCAT HMI project or on a folder
- 2. Select Add / New Item and UserControl.

- 3. The User Control editor appears. It is very similar to the Designer, except that there is additionally a parameter editor (P button) on the right-hand side for quick access.
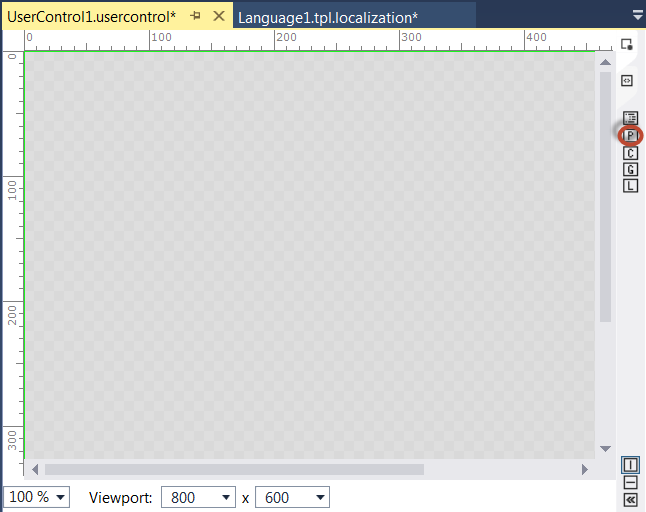
- 4. Drag a control out of the toolbox into the User Control editor
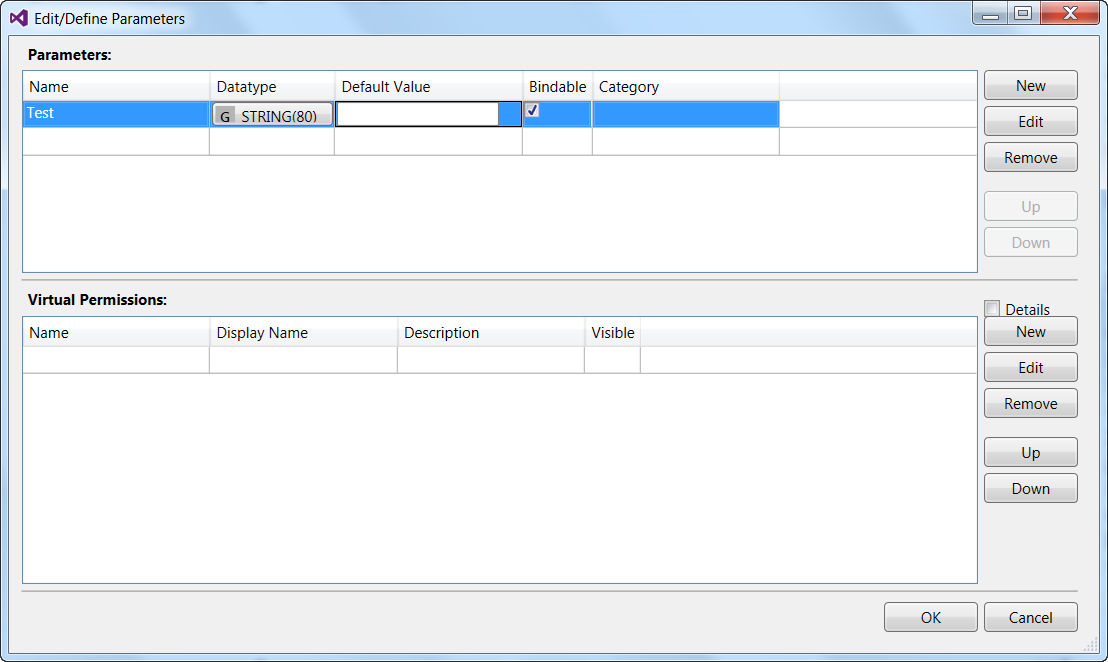
- 5. Click on P to open the Parameter editor.
- 6. Enter the name of the parameter in the dialog Edit/Define Parameters. The "Display Name" is generated automatically after the parameter name has been entered.
- 7. In the Data type column, select the data type from a drop-down menu. If the data type is a structure, select the corresponding structure type in the Options column.
- 8. In the Bindable column, define whether the parameter may be mapped to a symbol later on.
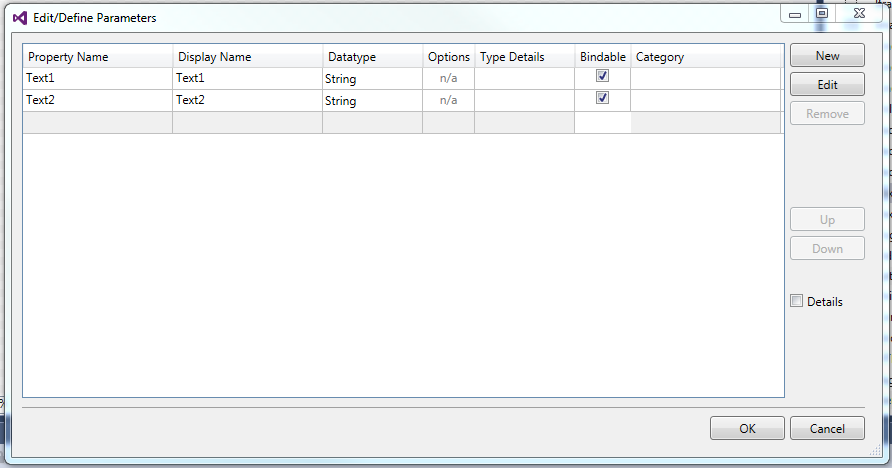
- You can now use the newly created parameters inside the User Control with their mapping properties (see Creating a data binding).
As a simple example, the illustration below shows the properties of an added User Control whose size is 100 x 130 pixels.

Two text blocks have been added to this User Control, each bound to a parameter of the type String (see ⑯).
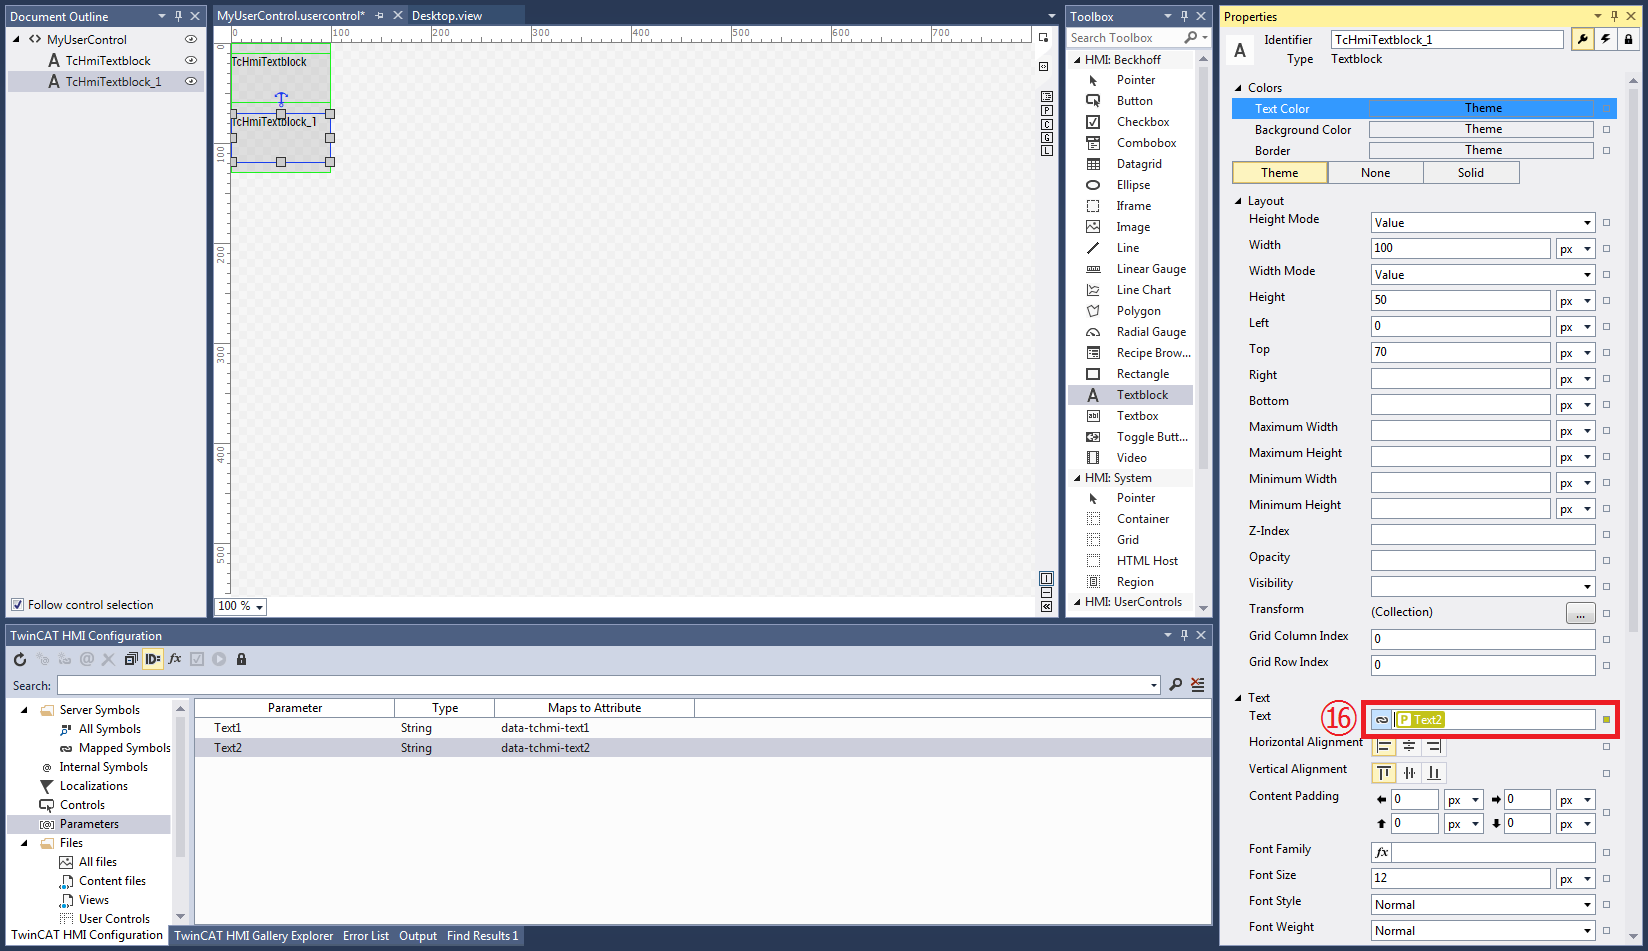
The User Controls that were added to the project are now available via the Toolbox; you can add them to the Designer by drag-and-drop. The parameters have been added to the properties of the User Control and are displayed in the Properties window ⑱. If they were created as bindable it is also possible to map them to a symbol.
