Creating trial licenses manually
You can manually generate TwinCAT 3 test licenses in the TwinCAT 3 development environment.
- The TwinCAT 3 development environment has been started and a project is loaded.
- 1. Set the desired target system. To do this, select the target system from the Choose Target System dropdown list in the TwinCAT XAE Base Toolbar Options:
If the target system is the local computer, select <Local>.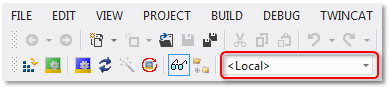
If the target system is a remote computer, select it from the list or select "Choose Target System" and configure the target system. (If necessary, a new ADS route will be created.)
- The licensing settings in the license manager refer precisely to the target system set here. When the project is activated on the target system, the corresponding TwinCAT 3 licenses are automatically copied to this system.
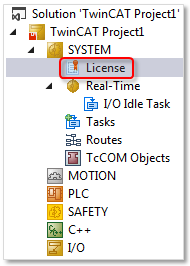
- 2. Open the TwinCAT 3 license manager by double-clicking License in the System subtree of the TwinCAT project tree.
- 3. Open the Manage Licenses tab
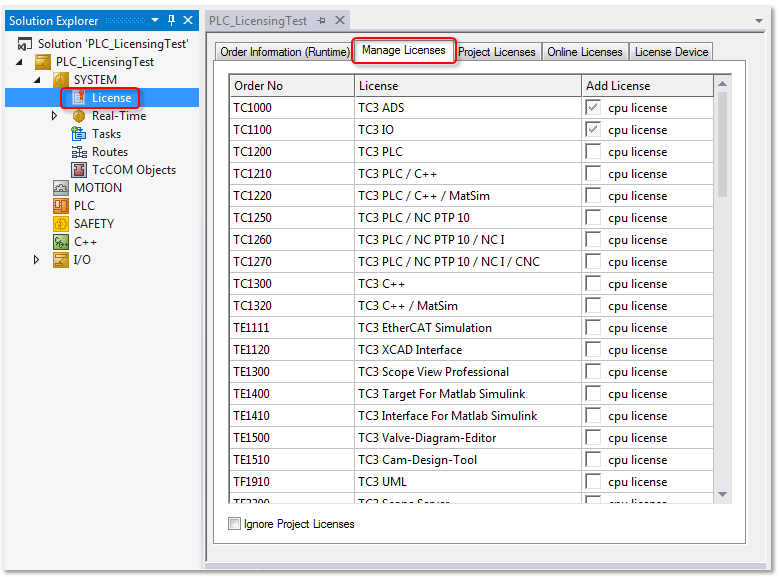
- 4. Select all licenses you want to add to your TwinCAT 3 project.
To do this, select the Ignore Project Licenses checkbox. This disables automatic detection of the required licenses and allows you free license selection. If you do not check the checkbox, the licenses required for the project are automatically selected and cannot be deselected. - 5. Then open the Order Information (Runtime) tab.
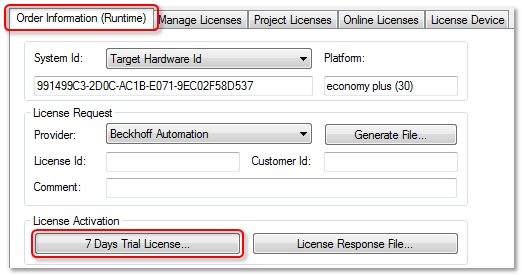
- 6. Click on 7 Days Trial License... to activate the TwinCAT 3 trial licenses.
- A dialog box opens, prompting you to enter the security code displayed in the dialog.
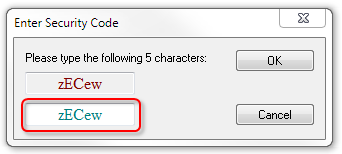
- 7. Enter the code exactly as it is displayed and click on OK.
- The licenses marked in the Manage Licenses tab are activated as trial licenses for 7 days.