Installation on the mounting rail
 | Installation position and minimum distances The modules or devices may overheat, if the installation position is incorrect or the minimum distances are not adhered to. The devices may only be operated at ambient temperatures up to 60 °C. Ensure adequate ventilation. Choose a horizontal installation position for the devices. Leave at least 30 mm clearance above and below the installed devices. |
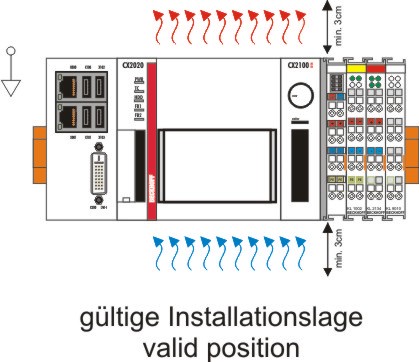
Correct installation position
The devices may be operated up to an ambient temperature of 60 °C. The high performance and the compact design of the CX2000 Embedded PC series may result in increased heat generation. The heat is dissipated via a passive ventilation system. Venting of the devices requires a correct installation position.
Ventilation openings are located at the top and bottom of the housing. The system therefore has to be installed horizontally. This ensures optimum airflow through the devices in vertical direction.
During installation, leave at least 30 mm clearance above and below the devices to ensure adequate ventilation.
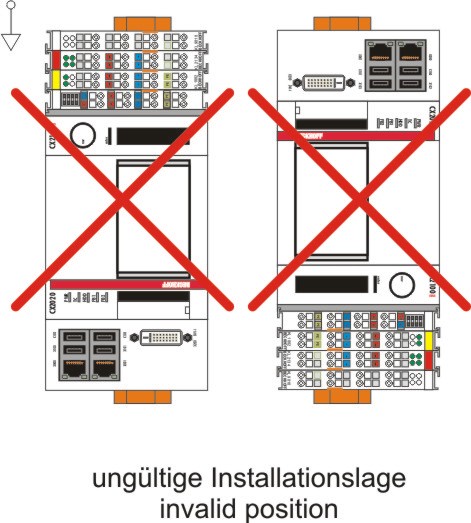
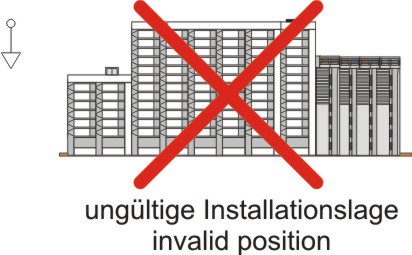
The images below show the permitted and two unacceptable installation positions:
Incorrect installation positions
The CX20x0 system must not be operated vertically on the DIN rail. This installation position provides insufficient ventilation for the devices. In horizontal position the devices are not sufficiently ventilated either.
|
|
|
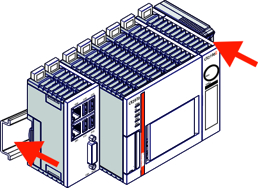
Installation on the mounting rail
| Avoid damage Do not use force or excessive pressure when installing the devices on the mounting rail. |
The CX20x0 can easily be installed on the mounting rail. The housing is designed such that it can be pushed against the mounting rail and engaged on it.
Install the devices on the mounting rail as follows:
- 1. Unlock the latches at the top and bottom.
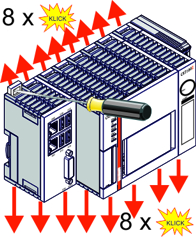
- 2. Position the devices at the front of the mounting rail. Gently push the devices onto the mounting rail until you can hear a click and the devices are engaged.
- 3. Then lock the latches again.
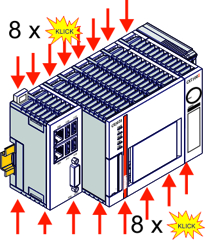
- The devices are now installed successfully. Verify that the devices are installed correctly and that all devices are engaged on the mounting rail.
In the next step you can commission the devices.